You’re itching to sew, but you’re also starring at a jumble of threads, needles, and a machine that sounds like a tiny jet taking off. Before you stitch a single seam, let’s get you grounded. No fear, no fuss—just the essentials that turn “I want to sew” into “I actually sew.”
What beginners should know before you even press the foot down
Sewing is a mix of art and troubleshooting. Start with the basics, and you’ll save hours of head-scratching later. Think of it as building a tiny toolbox you’ll actually reach for.
– Pick the right project for your level. Small projects like a pillowcase or tote bag teach speed, accuracy, and seam allowance without drama.
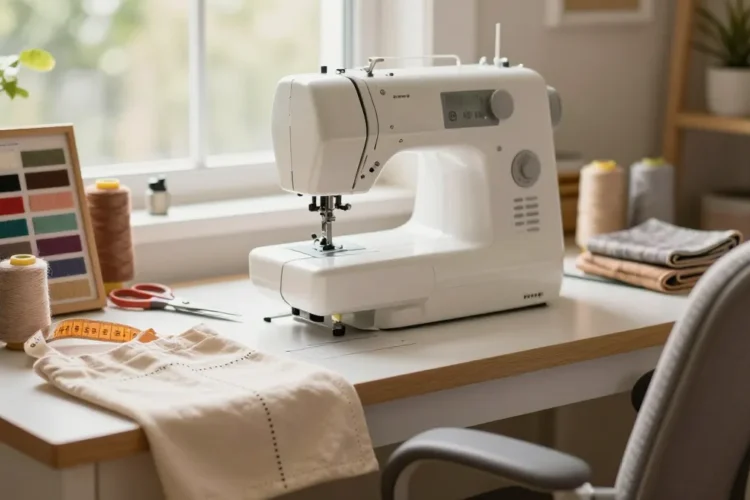
– Set up a station you actually enjoy. Good light, a comfortable chair, and the right scissors make a world of difference.
– Don’t chase perfection on day one. Aim for steady stitches and clean seams; perfection arrives with practice.
Choose the right machine and tools
Your machine is your best buddy, not a mystery box of doom. Here’s how to pick what you actually need.
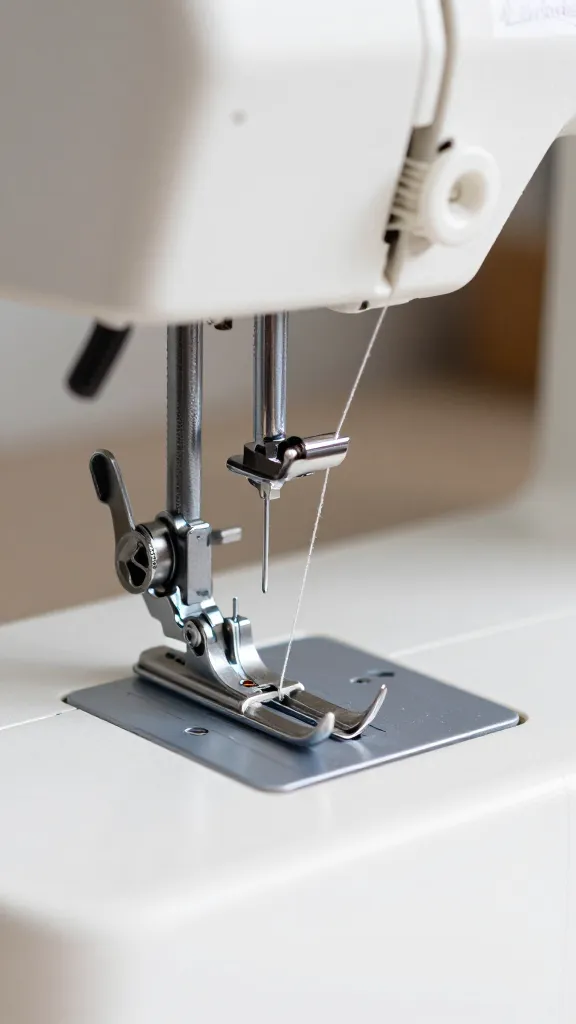
– Start with these basics: a straight stitch, a zigzag stitch, a handful of bobbins, extra needles, and thread snips.
– Get a green light on tension before you start. If your stitches look wacky on scrap fabric, trouble-shooting usually lives in tension, thread, or needle size.
– Use the right needle for the job. A universal needle works for most woven fabrics, but stretch fabrics want a ballpoint needle. Denim? A heavier needle. No shame in swapping!
Understand fabric and thread basics
Understanding fabric and thread helps you avoid the “I ruined it” moments.
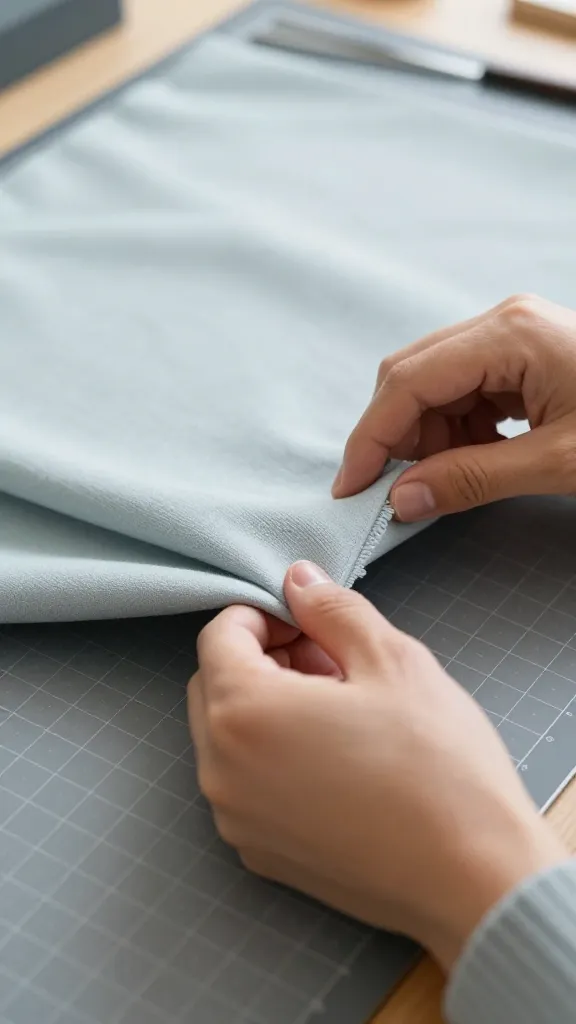
– Fabric matters more than you think. Wovens behave differently from knits. Pre-wash fabrics when possible to prevent surprises after you finish.
– Thread matches are crucial. All-purpose polyester thread is a good default. Match thread weight to fabric weight for cleaner seams.
– Prepping fabric saves frustration. Staystitch along curves that will be under tension, and finish raw edges to prevent fraying on woven fabrics.
Pinning, cutting, and seam allowance—the trio you’ll rely on
This is where good habits become second nature. Do it once, do it right, then glide.
– Pin or clip with intention. Use sharp pins for woven fabrics; clips help with slippery knits. Space pins every couple of inches to keep fabric from shifting.
– Cut confidently. Use a rotary cutter or sharp fabric scissors and a proper pattern that’s sized to reality. Don’t rush the edge; a steady hand wins.
– Seam allowances matter. Most home projects use 1/4 inch (6 mm) seams. If you’re following a pattern, respect the guide—don’t eyeball it. Tiny seams look cute until they don’t hold.
Stitching technique: from straight lines to tricky curves
Your stitches are the handwriting on your fabric. Make them readable.
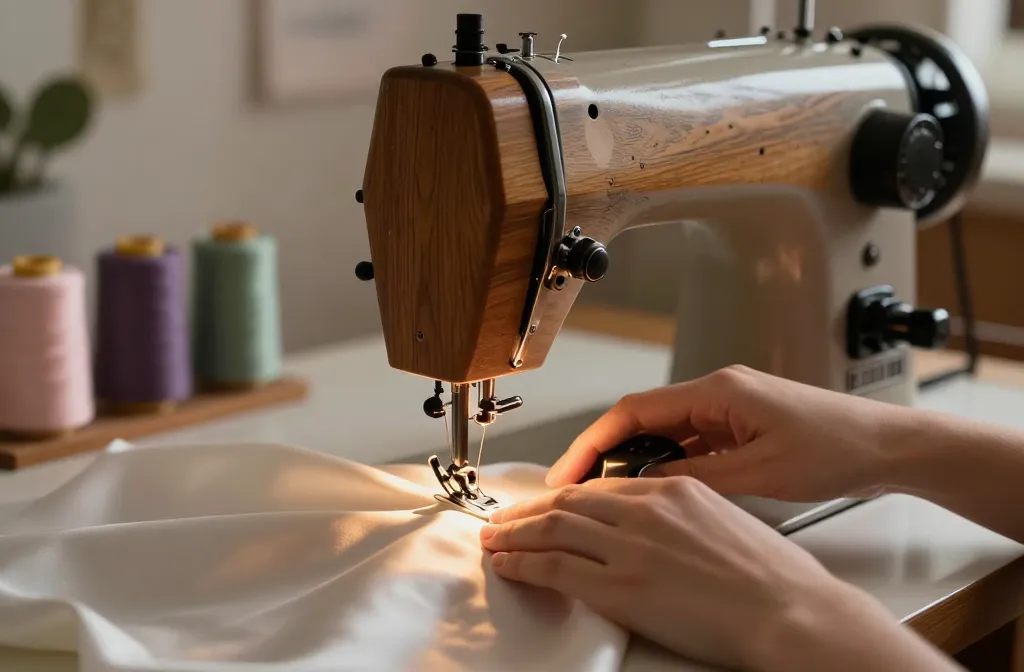
– Start with straight lines. Practice straight seams on scrap fabric, then graduate to gentle curves.
– Manage fabric feeding. Guide the fabric, don’t push. Let the machine do the work; your hands do the steering.
– Backstitch, then go forward. A quick backstitch at the start and end anchors the seam so it doesn’t unravel.
– Finishing touches. A simple zigzag or overcast stitch prevents fraying on woven fabrics. For knits, a stretch stitch or a narrow zigzag helps keep seams flexible.
Finishing touches that actually work and don’t make you cringe later
Dramatic reveals are great, but neat edges matter more to most projects.
– Pressing is your friend. Use a clean iron and a proper pressing cloth. Press, don’t iron—lower heat for delicate fabrics.
– Clean finishing stitches. Topstitch where it matters—hammock-tighten that seam on a tote, or add a decorative touch on a pillow.
– Edges that survive life in the real world. Finish exposed edges with a serger if you have one, or a zigzag stitch. Your future self will thank you.
Common sewing hiccups and quick fixes, so you don’t panic)
You’ll meet little gremlins along the way. Here’s how to tame them.
– Skipped stitches? Re-thread both top and bobbin. Check needle type and fabric compatibility, a bent needle is the silent killer.
– Puckered seams? Ironing while stitching isn’t cheating—release the fabric and re-sew with a lighter stitch length or adjust tension.
– Fabric sticking? Use a stabilizer on slippery fabrics. A walking foot helps with tricky layers.
– Bobbin confusion. Ensure you’re winding the bobbin evenly and that it sits correctly in its case. If the stitch looks off, re-thread the bobbin and needle.
When to upgrade: a practical mindset for newbies
You don’t need every gadget to start, but certain upgrades are worth it as you grow.
– A good pair of fabric shears and thread snips are non-negotiable. Cheap scissors ruin edges.
– A dedicated seam ripper with a pointed tip saves more fabric than you’d expect.
– A walking foot, especially for knits and slippery fabrics, makes life easier. Don’t rush into buying expensive machines—learn first, then decide what you truly value.
Putting it into practice: a simple starter project you’ll actually finish
Try something fun that teaches multiple skills without being overwhelming.
– Project idea: a simple tote bag.
– Practice cutting, straight seams, and topstitching.
– Add optional pockets to learn alignment and precise placement.
– Finish with a sturdy handle; you’ll feel like a sewing superhero.
Adjust your project plan as you go
– If a technique stalls you, switch to a simpler variation of the project. You’ll still learn and you won’t lose momentum.
– Keep a small notebook. Jot down what worked, what didn’t, and any tension settings that felt right, your future self will thank you.
Common Questions
Do I need an expensive sewing machine to start?
Nope. Start with a reliable, basic machine that does straight stitch and zigzag. You’ll learn the ropes, and you can upgrade later as your projects get more ambitious.
What’s the easiest fabric to begin with?
Cotton is king for beginners. It’s forgiving, presses well, and doesn’t slip around like silk or satin. Once you’re comfy, try knits and lighter or heavier fabrics.
How often should I practice to improve quickly?
Aim for short sessions 3–4 times a week. Consistency trumps marathon sessions. Even 20–30 minutes can build muscle memory and confidence.
How do I fix a seam that’s puckered?
First, check tension and thread (top and bobbin). Re-sew with a slightly longer stitch length, and ensure you’re not pulling the fabric. Pressing with a hot iron and steam helps set things straight.
What’s the best way to store fabric and tools?
Keep fabric folded or rolled to avoid creases. Store threads by color in clear containers. Use zip-top bags for notions and bobbins. A tidy space keeps your brain from short-circuiting every time you sit at the machine.
Conclusion
Sewing isn’t hard. It’s a step-by-step, learn-as-you-go craft that rewards consistency more than miracle talent. Start with the basics, respect the fabric, and keep your tools sharp and your tension in check. Before you know it, you’ll be finishing projects with a little swagger and a lot less drama, the best part is that each seam teaches you something new, and you’ll finally have a legit reason to own three different levels of blue thread. Ready to stitch your confidence higher than your dramatic bobbin thread tangles? Let’s do this, you’ve got this.
0 Comments