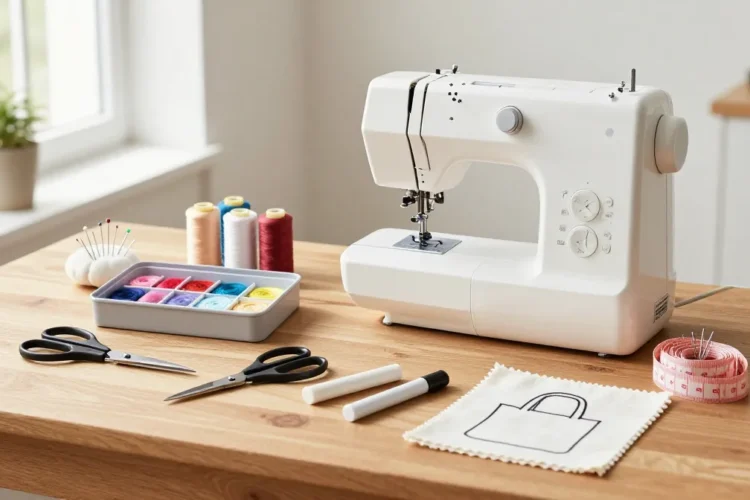
From snagging a needle to finding the perfect starter kit, sewing can feel like stepping into a treasure trove. You don’t need a giant, fancy studio to start—just a few trusty tools and a little hands-on curiosity. Let’s break down what you actually need to kick off your sewing journey without turning it into a shopping spree.
What you absolutely need to begin sewing
You can dive in with a lean setup and upgrade later. Think of this as your starter toolbox, not a museum of overkill.
- Basic sewing machine or a simple hand sewing kit
- Needles (machine needles and hand-sewing needles)
- Thread (a few colors, plus a universal all-purpose)
- Scissors (one dedicated to fabric, one small for snips)
- Pins and a pin cushion
- Measuring tools (tape measure, clear ruler)
- Chalk or fabric marker for pattern marking
- Seam ripper (the unsung hero of fix-it moments)
- Fabric to practice on, plus a simple pattern or project
If you’re totally new and unsure about a machine, a basic entry-level machine is plenty. It doesn’t have to hummingbird-fast; you just want reliable stitch options and a straightforward bobbin setup. FYI, you’ll learn a lot by starting with simple projects like a pillowcase or tote bag.
Choosing the right starter machine (or not)
There’s a lot of hype around fancy features. Here’s the blunt truth: you don’t need a Tesla to learn.
- Straight stitch and a zigzag are enough to start. Look for at least a few basic stitches and adjustable stitch length.
- Drop-in bobbin is a game changer for beginners. It’s easier to thread and keeps things tidy.
- Lightweight and simple—you’ll actually use it if it’s easy to move around your space.
If you don’t want to commit to a machine yet, you can absolutely start with hand sewing. It teaches tension, stitch quality, and fabric behavior without any power tools. Plus, you’ll still need a few of these same basic accessories.
Must-have tools you’ll actually use
Here’s the core toolkit broken down with why each item matters.
Needles and thread: the dynamic duo
– Machine needles come in various sizes; 14/90 is a good starting point for woven fabrics, 12/90 for denim or thick fabrics.
– Hand-sewing needles let you do quick fixes or basting.
– Thread: pick a versatile all-purpose polyester or cotton-polyester blend. Have a couple of colors that match your fabrics, plus a contrasting thread for topstitching practice.
Scissors, rulers, and chalk
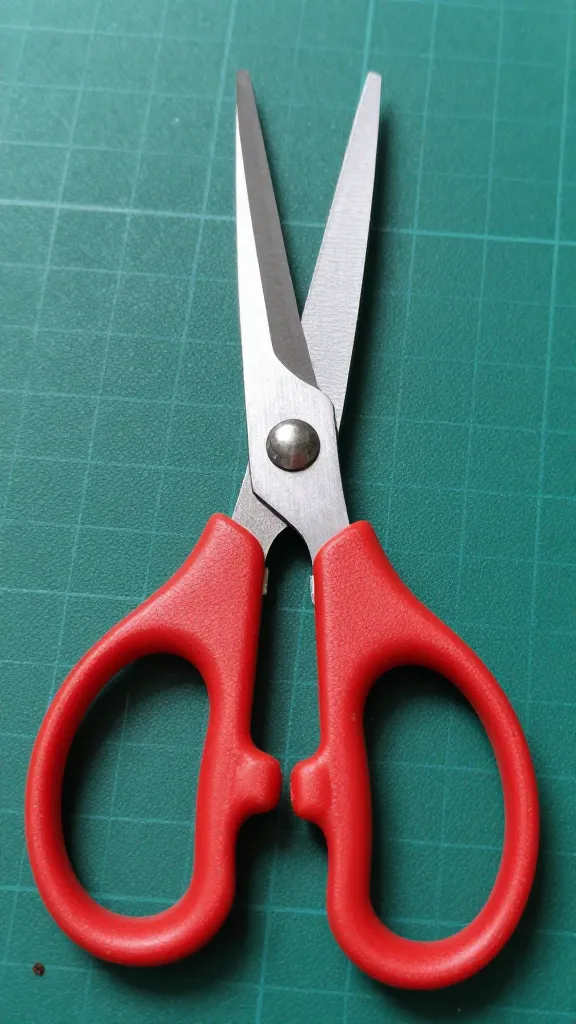
– Fabric scissors: dedicated pair that only cuts fabric. If you can’t swing a second pair, never cut paper with your fabric scissors—that’s a rookie move.
– Small scissors or snips for trimming threads.
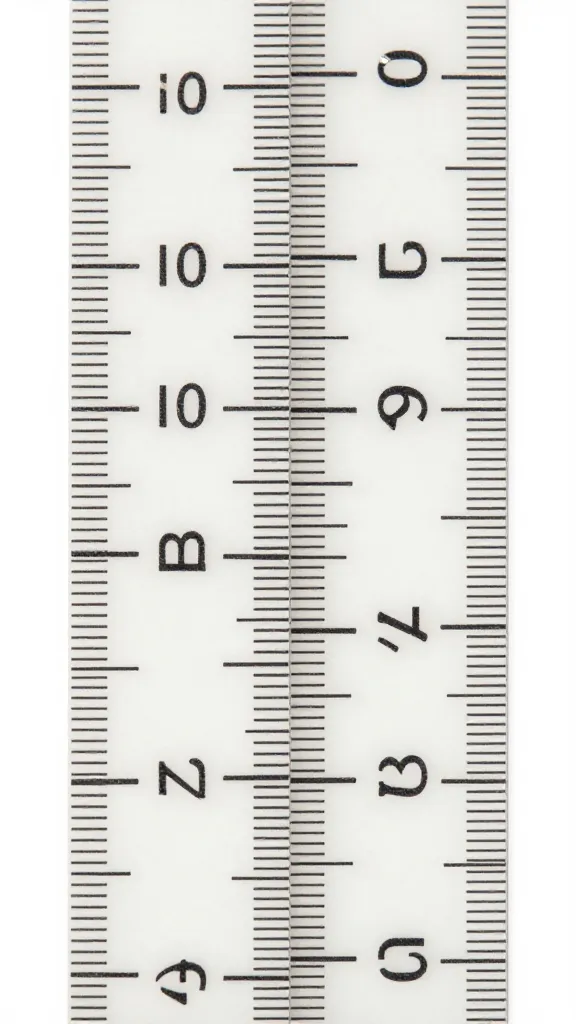
– A clear ruler and a measuring tape help with straight lines and quick hems.
– Fabric chalk or a washable fabric marker lets you mark patterns without ruining your fabric.
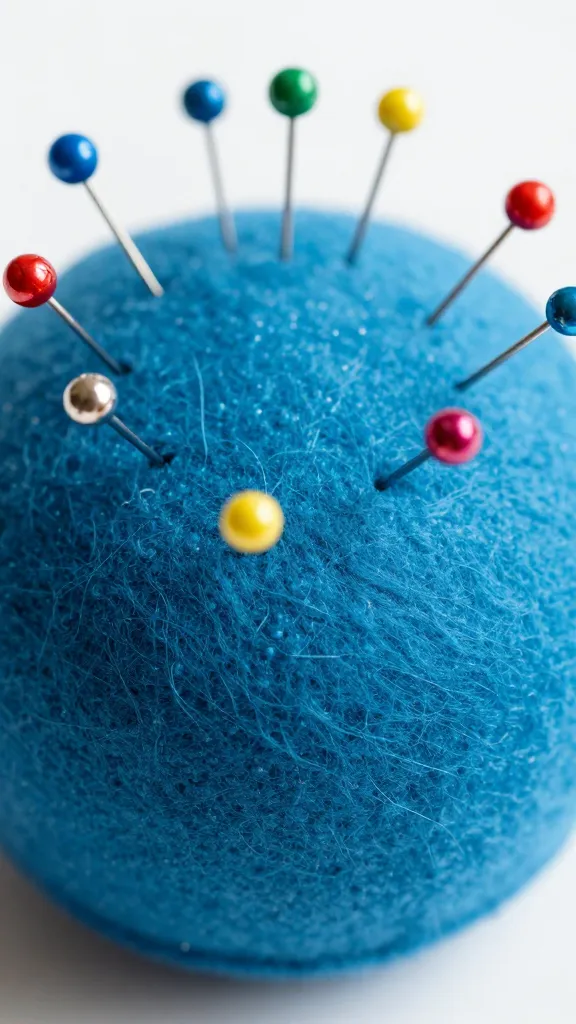
Pins and a sturdy pin cushion
– Use pins to hold fabric together as you sew. Look for pins with glass heads so they’re easy to grab.
– A magnetic pin cushion keeps them handy, and you’ll love that satisfying thwack when you drop them in.
Seam ripper and basic notions
– Sew a lot? You will make mistakes. A seam ripper is your best friend for quick, clean fixes.
– Keep extra bobbins, needles for hand sewing, and a small rolling chalk eraser for minor cleanups.
Fabric, patterns, and your first projects
Choosing the right starter projects makes all the difference. Start small, win fast, and feel the progress.
- Pillow covers are forgiving and quick. You learn straight seams, turning fabric, and finishing edges.
- Tote bags teach straight cutting, topstitching, and sturdier seams.
- Simple skirts or elastic waist pants introduce you to basic patterns and hems.
- Practice fabrics like cotton or muslin—easy to sew, easy to press, and forgiving if you mess up a seam.
How to pick your first fabric
– Start with cotton or cotton blends; they’re forgiving and hold stitches well.
– Avoid heavy fabrics like leather or thick vinyl until you’ve built confidence.
– Buy a small amount of fabric to test seams and tension before committing to a full project.
Pattern guides and layout tricks
Patterns aren’t scary, they’re just maps. A little know-how makes them friendly.
- Read the pattern envelope before buying. Check fabric requirements, notions, and notions list (zippers, buttons, elastic, etc.).
- Use a tailor’s chalk or a fabric marker to transfer pattern markings accurately.
- Lay out fabric flat, silkies side up, and align pattern pieces along the grain line for the best drape. It saves you from wonky hems later.
Locks, tension, and getting good stitches
– If your stitches skip or your fabric puckers, you’re fighting tension. Start with a straight stitch and test on scrap fabric to dial in thread tension.
– Check bobbin winding: a loose bobbin can cause jams. Take a minute to thread correctly and run a few test stitches.
– Practice backstitching at the start and end of seams to secure them, like a pro.
Maintenance: keep your tools in shape
A small maintenance routine saves you hours of frustration.
- Clean lint from the bobbin area after every few projects. It’s not glamorous, but it matters.
- Oil if your machine owner’s manual says so. A tiny drop goes a long way—literally a few drops on moving parts.
- Store needles and pins in a dry, safe place to avoid rust or bending.
Practice routines that actually pay off
Learning happens faster when you practice with a plan. Here’s a simple, friendly routine.
- Warm-up: 5 minutes of straight stitching on scrap fabric. Check tension, stitch length, and straightness.
- Try a quick project: pillow cover or tote bag. Finish with topstitching and neat hems.
- Review and adjust: note what worked, what didn’t, and what you want to try next time.
Common beginner pitfalls and how to dodge them
We’ve all been there. Here are the gotchas and fixes.
- Trying to sew with dull scissors or a blunt needle. Description: your fabric will fray, your seams will drift. Fix: replace as soon as you notice the blade or needle is dull.
- Skipping tests. Description: you’ll waste fabric and thread. Fix: always sew on scrap first.
- Underestimating seam allowances. Description: you cut too little and end up with mismatched edges. Fix: keep a consistent 1/4 inch or 5/8 inch seam allowance and use a guide.
Common Questions
Do I really need a computer-controlled machine to start?
Nope. A reliable basic model works just fine for most beginners. If you love gadgets and you’re curious about automatic features, you can explore later. The key is consistent stitches and ease of use, not bells and whistles.
How much should I expect to spend on a starter setup?
You can start lean for around $100–$200 if you’re buying a basic machine, a small toolkit, and a few fabrics. If you go mid-range, expect to spend $250–$400. If you’re feeling fancy, you’ll be tempted by upgrades, but you’ll learn more with the basics first.
What if I don’t have a sewing space?
Even a small corner with a folding table and good lighting works. A dedicated chair and a clear surface make all the difference. If you travel between spaces, a portable kit can keep you sewing on the go.
Is hand sewing enough to start?
Absolutely. Hand sewing teaches tension, stitch control, and fabric behavior. It’s slower but gives you a solid foundation. You can switch to machine sewing once you’re comfortable.
How do I know if I’m buying the right fabric for my project?
Patterns usually specify fabric types and weights. If you’re unsure, ask for help at the fabric store or check online tutorials. Start with easy fabrics like cotton or jersey for tees and simple garments.
Conclusion
Sewing doesn’t require a warehouse full of gear to get going. Start with a lean set of essentials, pick forgiving fabrics, and tackle small projects that give you tangible wins. As you gain confidence, you’ll naturally add more tools and upgrade your kit—no pressure to become a sewing savant overnight. IMO, the best tool is a curious mindset and a willingness to scrap a few ideas and try again. Enjoy the process, celebrate the stitches, and you’ll be surprised how quickly you’ll level up. FYI, your future self will thank you for starting today.

0 Comments