
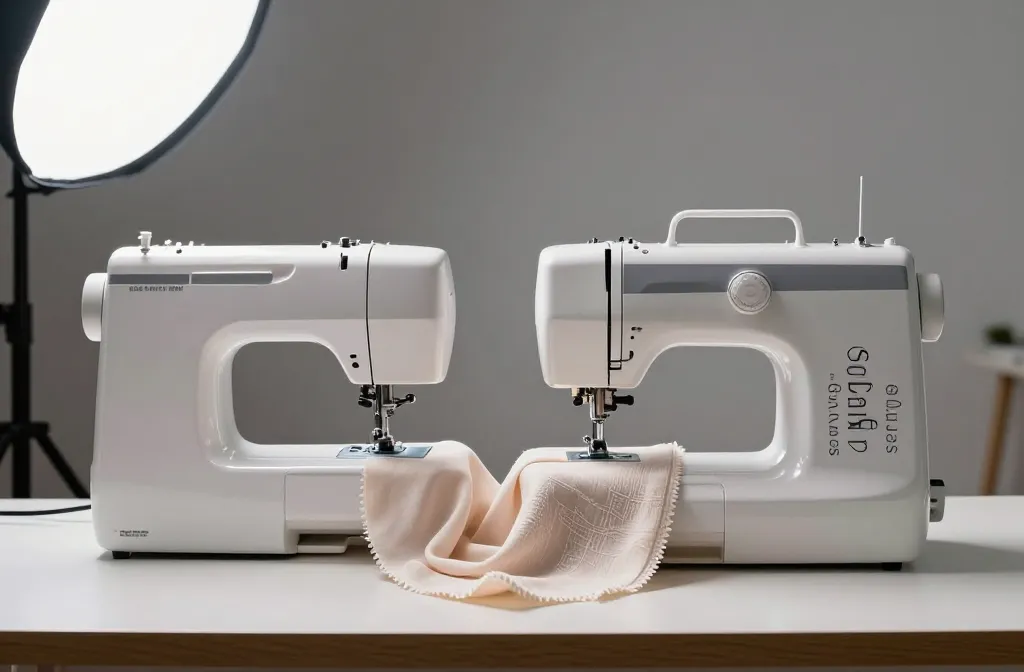
Sewing is my main hobby but setting up sewing machine the right way will determine the outcome of your projects. If you’ve ever wrestled with bobbins or fought bird-nest seams, you’re not alone. Let’s get you dialed in, calm the chaos, and make your machine your best sewing buddy.
First things first: set the stage for success
Ever walk into a messy workspace and feel your brain short-circuit? Not today. Clear a clean, flat surface, plug in where you can see the light, and grab a good chair. Your back will thank you, and so will your seams.
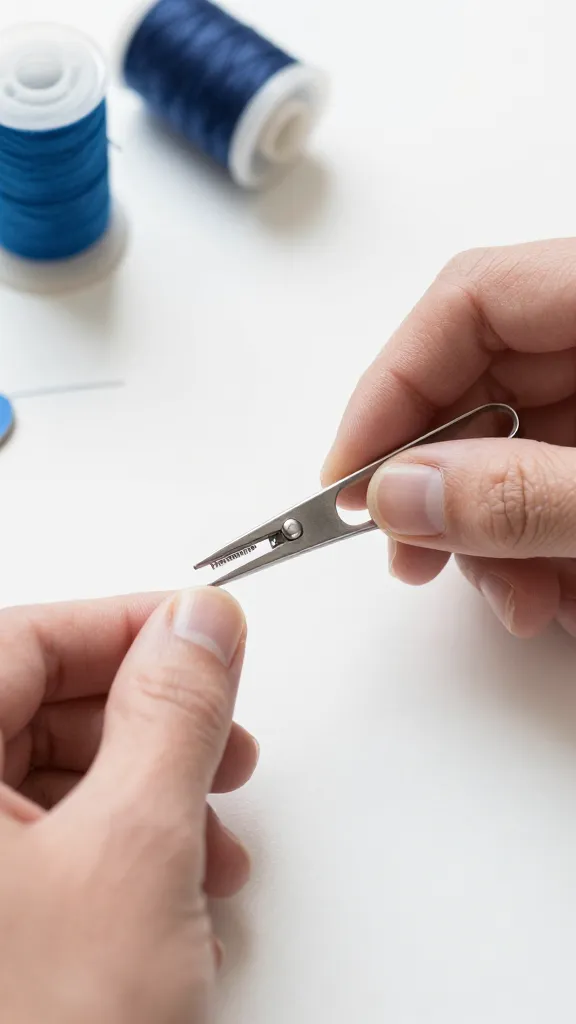
– Pick a dedicated spot with steady lighting.
– Keep all essential tools within arm’s reach: scissors, seam ripper, bobbins, new needles, thread, and a scrap fabric for testing.
– Have a small station for guides and manuals, most manuals live online if yours didn’t survive the move.
Threading the machine
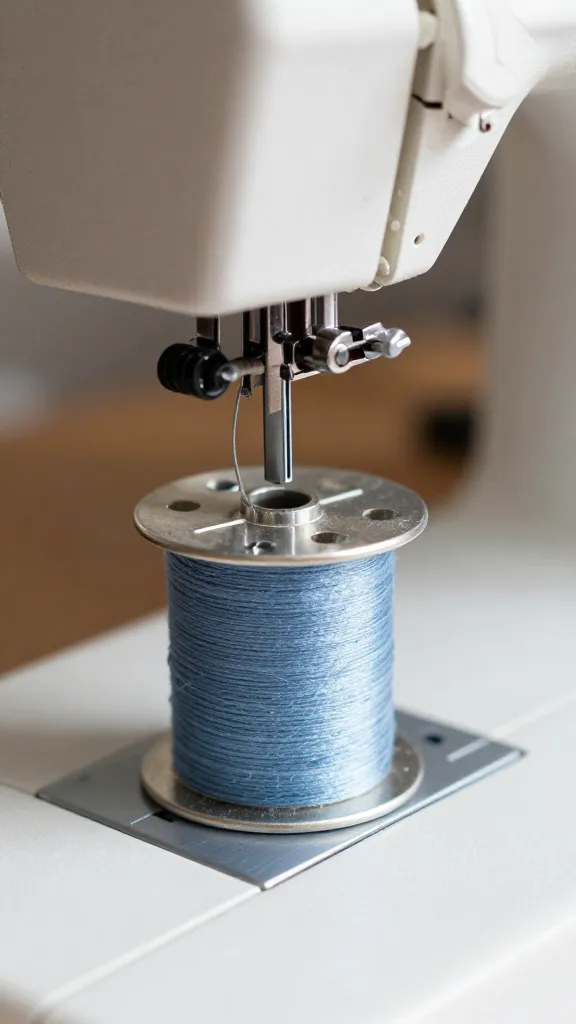
Threading is the magic that makes your fabric glide, not fight you. If you hear grinding or see loose threads, you’ll know you’re off.
- Open the top cover and bobbin case. Check for lint or thread fuzz—clean if needed.
- Thread the top according to your model’s path. Follow arrows if they exist—they’re not just cute graphics.
- Insert the bobbin with the thread unwinding the correct direction. This is where most “it’s not working” stories begin—so double-check!
- Pull the thread through the needle’s eye from front to back, or as your machine suggests. Give a gentle tug to ensure it’s seated.
– Pro tip: replace a dull needle. It’s the quickest upgrade you’ll notice.
– If your thread keeps snagging, consider a lighter thread or a slower stitch pace to keep things calm.
Needles, fabric, and tension
Your fabric will talk to you through tension. If it sounds like a kazoo, you’re not in harmony yet.
- Choose the right needle for the fabric: universal for knits, sharp for woven, ballpoint for knits, a size 70/10 or 80/12 is versatile for most projects.
- Set the stitch length appropriately: 2.5–3.0 mm for general seams, longer for basting, shorter for topstitching.
- Adjust tension by testing on a scrap. If top thread looks loose or you see looped bobbin threads on the top, tweak one notch at a time.
Want a quick tension test?
– Load a scrap with two layers of fabric. Sew a short seam, then flip the scrap and sew another. If your stitches look balanced on both sides, you’re golden.
Bobbin basics: winding, inserting, and avoiding tangles
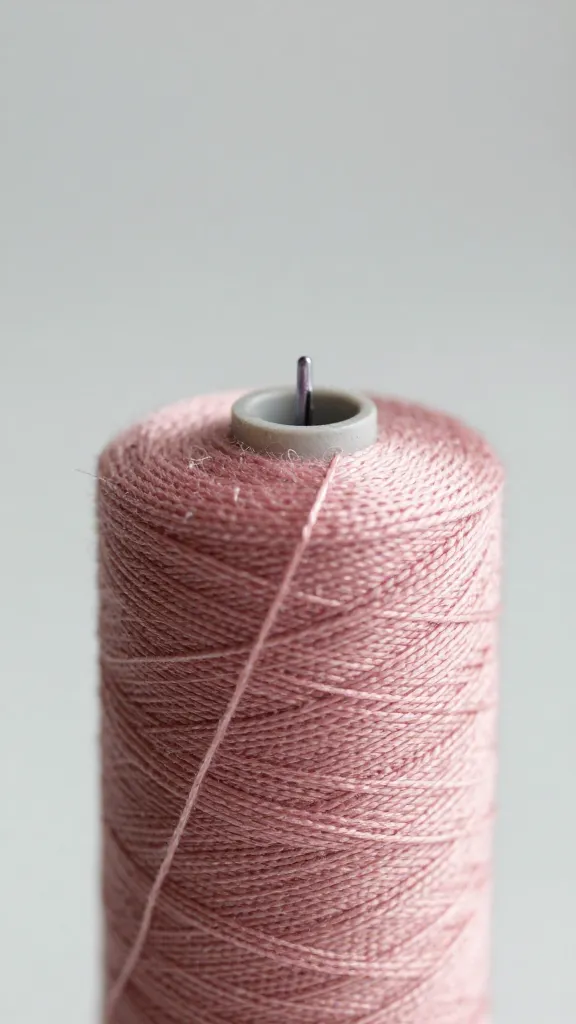
Bobbin drama is a common source of frustration. Let’s keep it boring and predictable.
- Wind the bobbin evenly and don’t overfill. Stop when you can’t see thread leaving the spool clearly.
- Load the bobbin so the thread pulls as you rotate counterclockwise (or as your manual says). This varies by model, so check the arrow marks.
- Insert the bobbin in the case with the thread feeding in the correct direction. If you can twirl the bobbin and it doesn’t spin smoothly, take it out and rethread.
- Test with scrap to confirm both top and bottom stitches look clean.
Common bobbin hiccups
– Skipped stitches? Check needle size and whether it’s properly inserted.
– Bird-nested seams? Likely tension or threading misfire. Re-thread from scratch.
– Thread shredding? Consider thread quality and needle compatibility.
Choosing the right stitches and settings for your project
Not all stitches are created equal. Some are for speed, some for durability, some for flair. Pick your weapon wisely.
- Straight stitch for sturdy seams, length around 2.5–3.0 mm.
- Backstitch option to lock seams. If your machine has a backstitch button, use it at the start and end.
- Zigzag for knit hems or finishing raw edges to prevent fraying.
- Walking foot or walking-stitch alternatives can help with slippery fabrics like satin or silk.
Finishing touches that look pro
– Finish raw edges with a zigzag or overlock stitch to prevent fraying.
– Use pressing cloths to keep fabrics from crushing or scorching.
– Press, don’t iron aggressively; a good press puts energy into your project, not the fibers.
Practice projects: tiny wins that build confidence
If you’re new, start small. A napkin, a tote bag, or a simple pillow sham teaches you so much more than a long, ambitious quilt swatch.
- Practice seam accuracy on scrap fabric. Compare seam allowances with a ruler; aim for consistency.
- Create a reversible tote. It teaches you to manage fabric layers and corners.
- Monograms or simple topstitching add personality, this also helps you master needle control.
Maintenance: keep the machine running
A happy machine runs smoother and longer. A little regular care goes a long way.
- Clean lint from the bobbin area after every few hours of sewing. Dust bunnies do not belong near your feed dogs.
- Oil only as the manual recommends. More oil isn’t better—it invites gumminess.
- Cover your machine when not in use to guard against dust and curious pets.
What to do if something feels off
– If the feed dogs stop feeding fabric evenly, re-check thread paths and tension.
– If you hear grinding, turn off and inspect the bobbin and needle area for jams.
– If your machine won’t stitch at all, verify it’s in the correct mode and the foot is lowered properly.
Tips for a smoother learning curve
You don’t need to become a couture tailor overnight. Small, deliberate steps pay off.
- Keep a sewing journal: note what worked, what didn’t, and what tension you used.
- Watch a quick tutorial or two, then try it hands-on. Practical reps beat long theories.
- Invite a friend to sew with you. A little friendly competition never hurt anyone, and you’ll learn faster from questions you didn’t know to ask.
Common mistakes to avoid
– Forcing fabric through a stubborn seam: slow down, guide with your hands, don’t push.
– Forgetting to change needle when switching fabric types: brittle fibers? You’ll snap immediately.
– Skipping regular cleaning: lint is not your friend.
Common Questions
How often should I oil my sewing machine?
Most machines only need a light oiling every 8–10 hours of sewing, or per the manual. Over-oiling can attract dust and gum up the works, so follow the model’s guidance.
What needle should I start with for a beginner project?
A sharp universal needle in a mid-range size (like 70/10 or 80/12) works well for cottons and blends. Switch to a ballpoint for knits and a narrower point for chiffon or silk.
My stitches look loose on top or bottom—what gives?
Likely tension is off. Test with a scrap, adjust one notch at a time, and sew again. If one side still looks wonky, rethread both top and bobbin to ensure no twists.
Why is my bobbin thread showing on the top?
Most common cause: top thread is too loose or the bobbin is wound backward. Rewind the bobbin, rethread the top, and test on scrap until the stitch looks balanced.
Is it okay to sew with a walking foot on all fabrics?
Walking feet help with slippery fabrics and multiple layers, but not all projects need them. For basic seams on woven fabrics, you can skip it, it won’t hurt to experiment on a scrap with and without the foot to see what you prefer.
Conclusion
Setting up your sewing machine the right way isn’t some mysterious ritual. It’s a mix of following the path, giving the machine the right tools, and practicing until your stitches look like they were made with a smile. Once you dial in threading, tension, and fabric handling, you’ll glide through projects with confidence. So go grab that scrap fabric, thread a needle, and sew something you’re proud of. You’ve earned it.

0 Comments