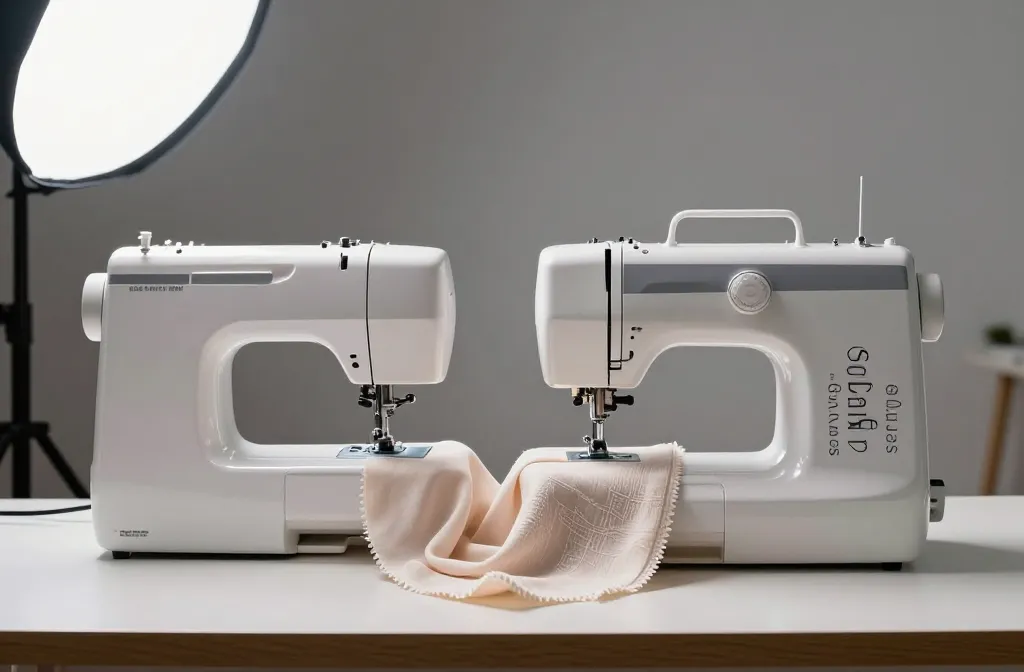
Are you ready to sew like a pro? before you stitch a single seam, you’ve got to treat your fabrics right. Prep first, frustration later. Let’s walk through practical, no-nonsense steps that make your sewing smoother, faster, and a lot more fun.
Know your fabric inside and out
Before you reach for the scissors, spend a minute learning what you’re dealing with. Different fabrics behave like different pets—some purr, some bite.
- Cabrio fabrics (think cottons and linens) love crisp lines and sharp pressing. They’re hardy, forgiving, and great for beginners.
- Slinkier fabrics (silks, rayons, toppers) slide and shift. They need patience, slippery pins, and maybe a walking foot.
- Stretch fabrics rely on elastics and careful handling. Use ballpoints and test seams first.
Why this matters
If you pretend fabrics are all the same, you’ll have a bad time: uneven hems, puckers, and seams that refuse to cooperate. FYI, a quick fabric knowledge dump saves you hours of frustration later.
Pre-wash or not: the great debate
Ah, the moment that splits friendships: should you pre-wash? Short answer: it depends.
- Natural fibers like cotton, linen, wool shrink, so pre-wash to avoid post-project drama.
- Synthetics like polyester often don’t shrink, but they can bleed dye. Pre-wash if you’re unsure.
- Delicate prints or embroidery can fade or run after washing—test first.
How to pre-wash without chaos
– Use a mild detergent and cold water. Hot water can shrink or distort.
– Dry according to the fabric’s vibe: tumble low for cottons, air-dry for delicate knits.
– Do a quick line-dry check for colorfastness by testing a hidden corner with a damp cloth.
Still washing? Do a proper dye-test
Dye bleeding can ruin a perfectly good project faster than you can say “Oops.” If you’re working with bold prints or unknown batches, test the dye migration.
- Cut a tiny swatch from the same fabric you’ll use.
- Wash it as you would in your project (detergent, water temp).
- Check for color transfer on a white cloth. If bleed happens, wash the whole piece first or choose a different yardage.
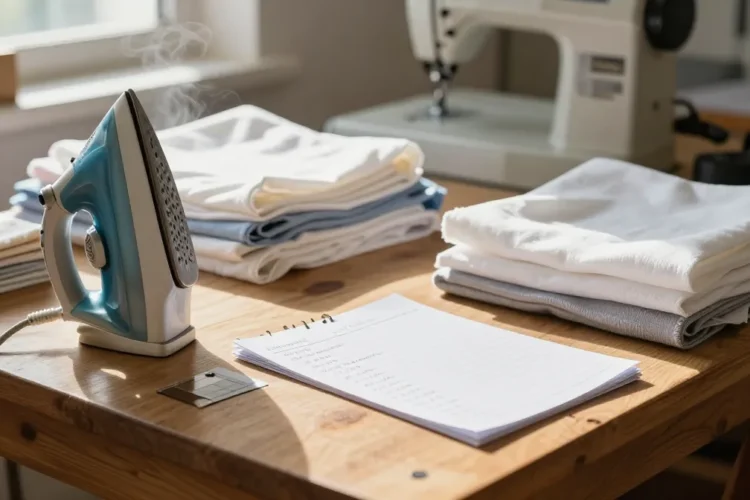
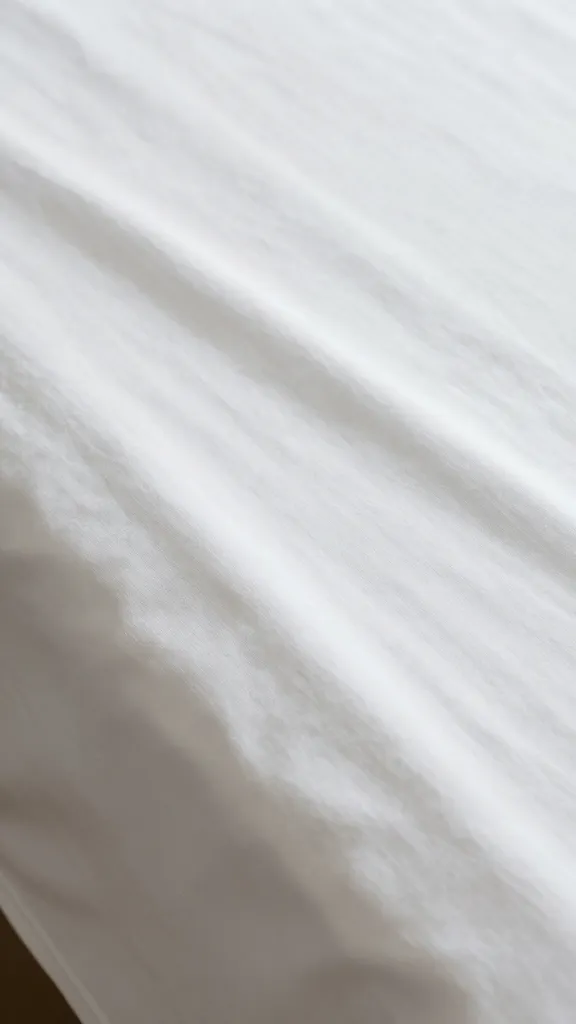
Pressing like a boss
Pressing is not just about aesthetics; it helps your seams behave. A good press beats a heavy iron every time.
- Set the right temperature for your fabric. Cotton needs more heat; synthetics want a lighter touch.
- Use steam where possible, but test first on a scrap to avoid shiny marks on dark fabrics.
- Press, don’t drag. Lift, press, reposition. Your seams will thank you.
Tools that actually help
– A damp pressing cloth to protect delicate fibers.
– A tailor’s ham or small ironing board for curved seams.
– Spray bottle with water for stubborn wrinkles, not puddles.
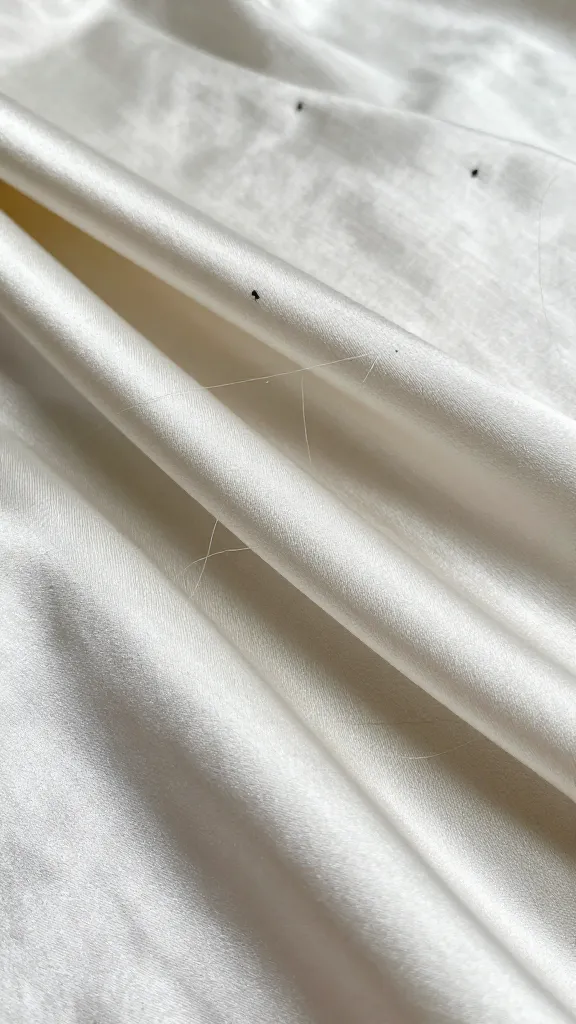
Stabilize for success on tricky fabrics
Stability matters. Slippery, stretchy, or delicate fabrics require a little extra grip to stay on track.
- Interfacing helps collars, hems, and plackets stay put. Pick lightweight for light fabrics, firmer for structured pieces.
- Stay tape or stabilizers keep hems even on knit or sheer fabrics.
- Walking foot can prevent layers from shifting during sewing, especially on slippery fabrics.
When to use interfacing
If you’re making collars, cuffs, waistbands, or button plackets, you’ll thank yourself for adding interfacing. It keeps edges crisp and reduces stretch where you don’t want it.
Cutting with confidence
Great seams start on the cutting table. Don’t rush this part.
- Take your time laying out the pattern pieces. Use weights or pins to prevent shifting.
- Cut with sharp scissors or a rotary cutter. Dull blades = ragged edges and frustration.
- Mark notches, darts, and grainlines clearly. Survival tip: double-check grain direction before you cut!
Grainline wisdom
Always align the pattern with the fabric’s grain. Misaligned grain can cause hems to ride up or the garment to twist as you wear it. If in doubt, straighten your fabric along the warp and weave and go from there.
Pinning, not pinching
Pins are your friends, not your enemies. The right pins in the right places prevent shifting and tears.
- Use finer pins for delicate fabrics and sturdier pins for thicker textiles.
- Pin parallel to seams for a cleaner stitch line, unless you’re basing with notches.
- Consider using silk pins on silk or lace—they glide in without snagging.
Alternative fasteners
If pins feel fussy, try fabric weights or clips for light fabrics. For curves and corners, wonder clips can be a game changer.
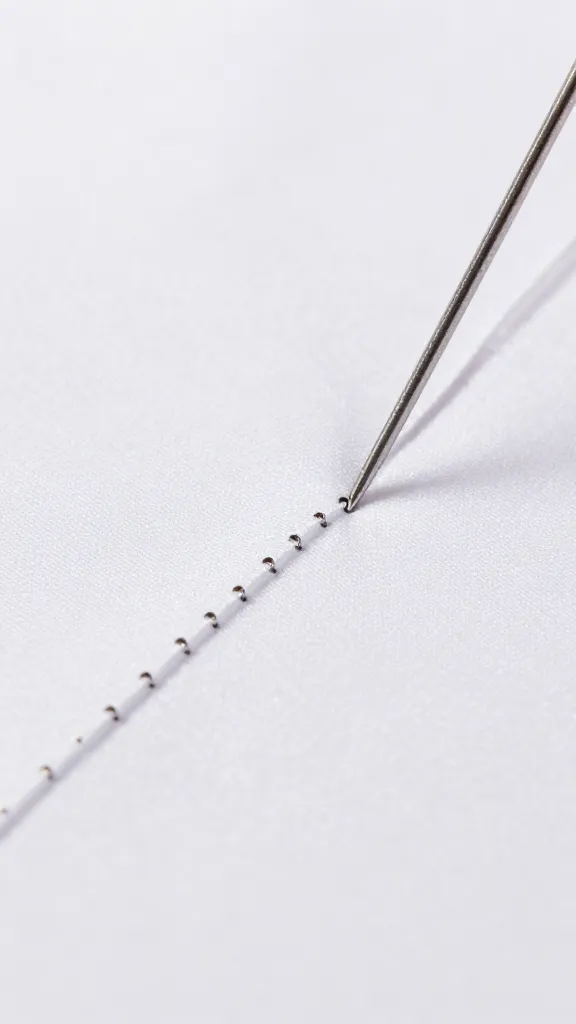
Test stitches before you commit
Your machine is not a mind reader. Test stitches on scrap fabric that matches your project.
- Check stitch length and tension. Too tight? Loosen. Too loose? Tighten.
- Test on edge finishes: straight stitch, zigzag, and any decorative stitches you plan to use.
- Try a practice seam: a quick rectangle with seams and notches. If it behaves, you’re ready.
Common sewing snags and quick fixes
– Puckering: usually tension or fabric too thick for needle. Increase thread tension slightly or use a different needle size.
– Threads breaking: check bobbin, re-thread, or switch to a new needle.
– Skipped stitches: re-thread, check needle insertion, or replace the needle.
Common Questions
Do I always need to pre-wash fabric?
Not always. If you’re sewing a non-shrinking synthetic or a fabric that’s colorfast and color-true, you might skip pre-washing. If you’re unsure, do a quick test swatch and decide.
What needle should I use for delicate fabrics?
Use a sharp, fine needle for woven fabrics and a ballpoint needle for knits to prevent snags and skipped stitches. If you’re sewing silk or chiffon, go with a specialty needle and reduce presser foot pressure a bit.
How do I handle slippery fabrics?
Use a walking foot, silk pins, and consider a spray-on stabilizer or tissue paper between the fabric and your presser foot to minimize shifting. Slow and steady wins the race.
Is it okay to cut fabric before washing?
Yes, but only if you’re confident the fabric won’t shrink or bleed. For most natural fibers prone to shrinking, I pre-wash first to avoid post-project drama.
What’s the one weapon for beginners learning fabric prep?
A sharp pair of fabric scissors, a reliable iron with steam, and a sturdy cutting mat. These three basics keep your edges clean, your pieces aligned, and your sanity intact.
Conclusion
Prep isn’t glamorous, but it pays off in spades. When you know your fabric, pre-wash and test, press with purpose, stabilize where needed, cut cleanly, pin smart, and test stitches, you’ll avoid most rookie mistakes. FYI, the payoff shows in nicer seams, faster finishes, and less frustration when tattoos of thread appear in the wrong places. So gather your fabrics, do the prep, and sew like you mean it. You’ve got this.
0 Comments