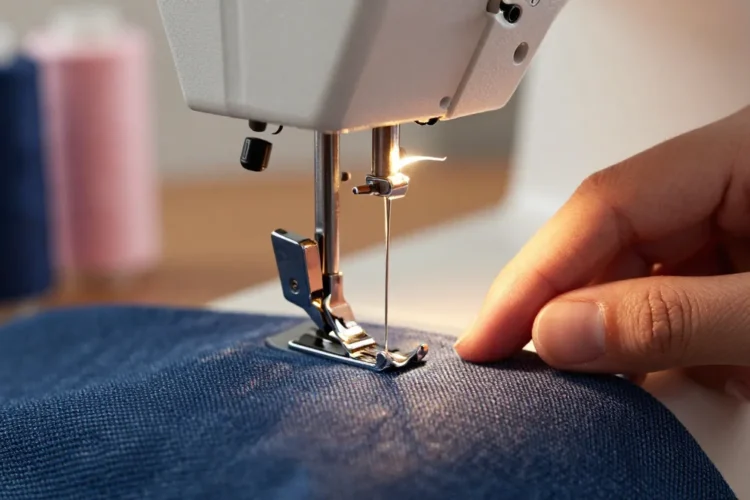
I know the feeling: you’re mid-project, thread snapped, and you realize your needle is playing hard to get. Do you change it now or pretend everything’s fine and pretend you can sew through a rock? Let’s settle this once and for all. Spoiler: the right needle and a quick swap will save you time, thread frustration, and a few curse words.
How often should you change sewing machine needles?
Short answer: as soon as they’re dull and bent. Dull needles can snag fabric, leave skipped stitches, or produce scratchy seams. Bent needles can break, ruin your fabric, or poke you in the finger (not fun). The general rule of thumb is to replace needles after about 8–12 hours of sewing on average fabric projects. If you’re quilting heavy layers, denim, or leather, swap more often—think every 4–6 hours. If you’re doing delicate silk or jersey, you might get more life from a sharp needle, but you’ll still want to swap when you notice skipped stitches or snags.
Pro tips to know if you should change now
- Thread breaks or messy topstitching appear from a dull needle.
- The fabric starts to pucker or skip stitches.
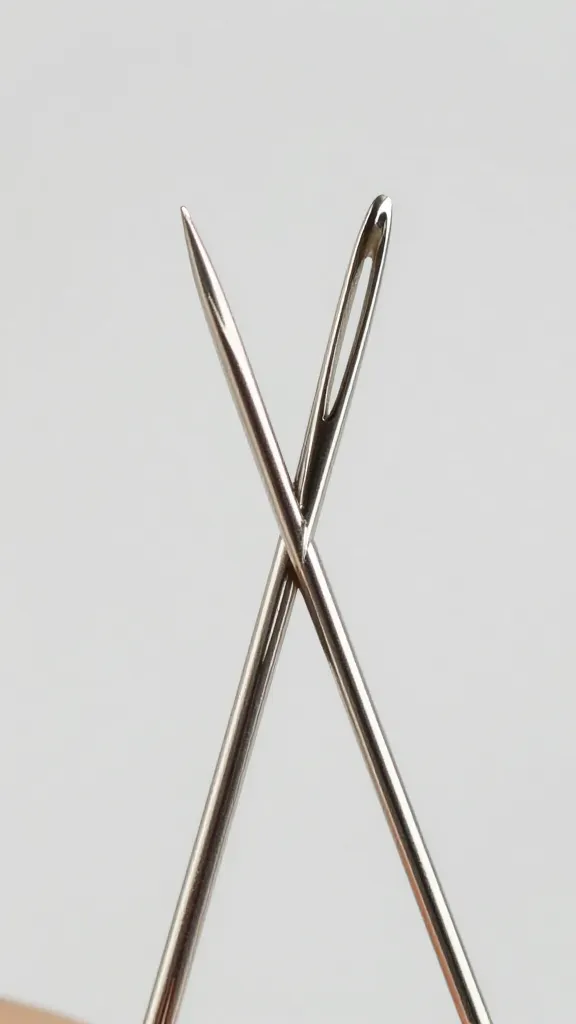
- The needle looks bent or bent in the eye, not straight.
- You’re changing fabric type mid-project (hello, satin to denim switch).
If you’re doing decorative stitches or embroidery, change needles more often. The machine’s speed and needle interaction can wear needles faster. And if you’re not sure, it’s better to swap than to regret it after a ruined seam.
What you’ll need to change a needle like a pro
Let’s keep this simple. You don’t need a toolkit bigger than your sewing machine manual.
- A fresh needle in the right size and style for your fabric
- Needle-nose pliers (optional but handy if a needle is stubborn)
- A good light and a clean workspace
- Your machine’s manual to confirm the needle type and insertion direction
If you’re starting a big project, add a spare spool, thread, and a backup needle to your sewing kit. You’ll thank yourself later when you realize you didn’t have to rummage through drawers mid-sew.
Choosing the right needle for the job
Not all needles are created equal. The right needle makes the difference between a smooth ride and a fabric-tugging catastrophe.
- Universal needles are the all-rounders. Great for woven fabrics like cotton, linen, and blends.
- Stretch needles have a ballpoint tip that glides through knits without grabbing fibers.
- Denim/jean needles are strong and thick to handle heavy fabrics; they resist bending.
- Topstitch needles have a slightly thicker shank with a larger eye for decorative stitching and to prevent snagging.
- Embroidery needles have a long, large eye for thread flow in decorative work.
Size matters too. For lightweight fabrics, start around size 60/8 or 65/9. For jeans, go 90/14 or 100/16. If you’re unsure, a quick test on scrap fabric helps you see if the stitch looks right and the needle doesn’t skip.
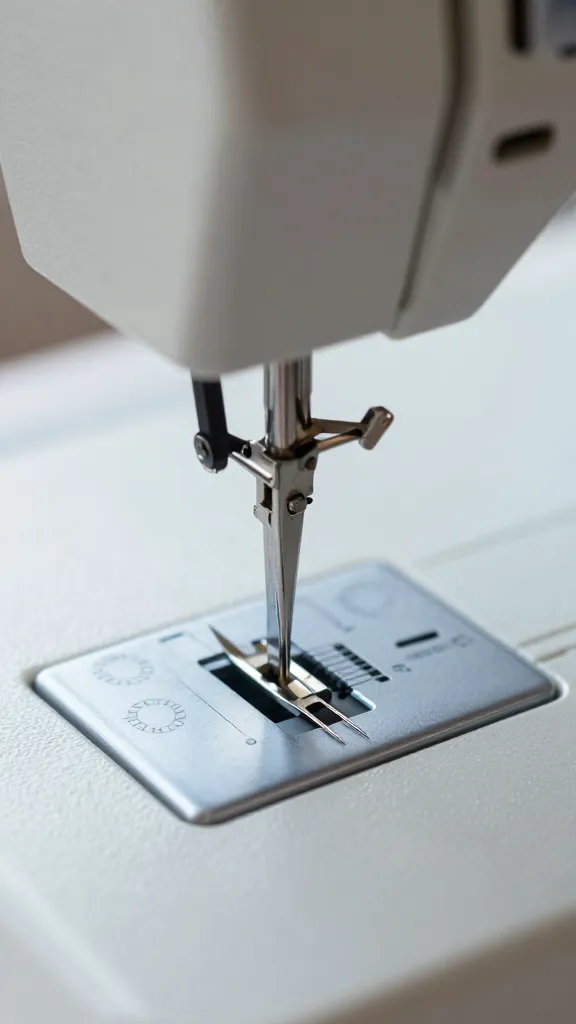
How to actually change the needle
The moment of truth. It’s easier than you think, and yes, you can do it without sweating.
- Turn off the machine and unplug it. Safety first, friend.
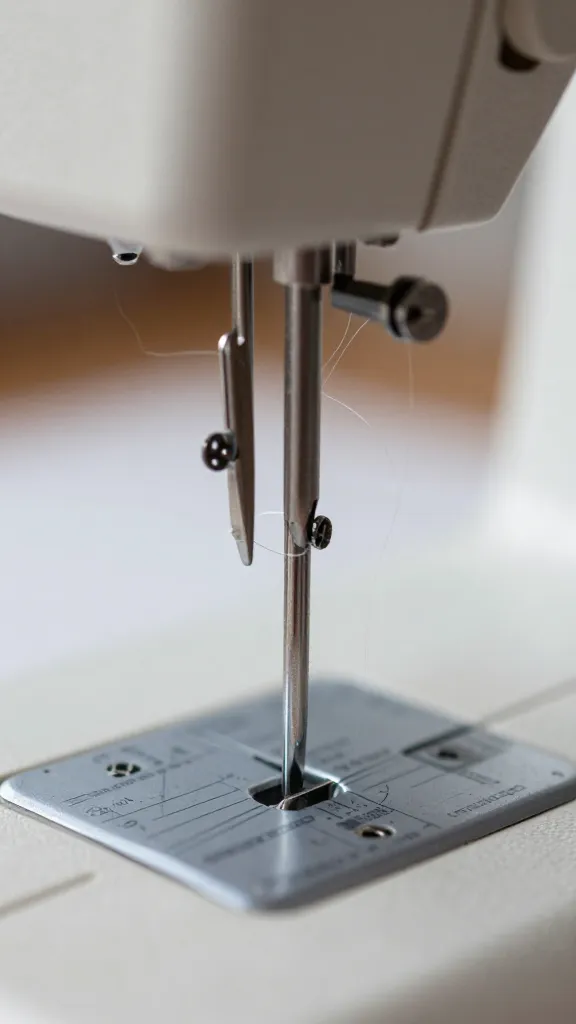
- Raise the needle to its highest position. This gives you room to grab it.
- Loosen or unscrew the needle clamp screw. Some machines use a release lever; others have a tiny screw you turn with a screwdriver or the included tool.
- Remove the old needle by pulling it straight down and out. Do not tug at an angle; you’ll bend the needle bar or the needle itself.
- Choose the new needle with the groove (the scarf) facing the back of the machine. Insert it all the way up until it seats against the needle seat.
- Gently tighten the clamp screw. Don’t over-tighten—just snug enough to hold it in place.
- Thread your machine again and test on a scrap piece before you dive into your project. If the thread catches or skips, stop and recheck needle insertion.
If your machine has a needle threader, you can use it, but don’t rely on it entirely. Sometimes those little devices aren’t perfect, and you want to make sure the thread isn’t caught or mis-threaded.
Common issues you’ll see if the needle is wrong for the job
A misfit needle shows up fast. Here’s what to look for and how to fix it quickly.
Skipped stitches
– Cause: Wrong needle type for fabric or needle is not fully inserted.
– Fix: Change to the correct needle type and ensure it’s seated properly.
Thread breakage or shredding
– Cause: Tired, bent, or wrong needle for the thread.
– Fix: Use a fresh needle of appropriate size and ensure the thread isn’t snagged on fabric edges.
Poor fabric pucker or feed issues
– Cause: Needle too large for delicate fabric or wrong stitch length.
– Fix: Swap to a finer needle and adjust stitch length.
How to know when you’re done sewing and it’s time to swap again
You’ve just finished a seam, and it’s tempting to pat yourself on the back and walk away. Don’t do it. Here’s a quick post-sew checklist that will save you headaches later.
- Inspect the needle visually for any bending or burrs. If it looks suspicious, replace it.
- Run a scrap piece and check the stitches. If they look even and clean, you’re good.
- Note your fabric type and the project’s pace. If you felt resistance or frequent thread breaks, consider a needle swap sooner next time.
- Keep a spare needle in your notions pouch. You’ll thank yourself when you’re mid-project and not hunting for tools.
Special cases: Tricky fabrics and curious machines
Some fabrics demand extra care, and some machines like to be dramatic about needle changes.
Delicate fabrics
Use a small, sharp universal or a thin ballpoint needle to minimize snags. Test on a scrap before committing to a seam.
Knits and jersey
Stretch needles with ballpoints work wonders. Use a slightly stretch-friendly stitch like a zigzag or triple-stitch when needed.
Heavy fabrics
Denim and canvas call for sturdy needles. Don’t press your luck with a fine needle—upgrade to a tougher one and slow down the stitch length to prevent slippage.
Common Questions
How often should I change a needle on a regular project?
Answer: Change it after every 8–12 hours of sewing on typical fabrics. If you notice skipped stitches or fabric snags, swap sooner. For heavy-duty projects, aim for every 4–6 hours.
Can I reuse old needles?
Answer: It’s not a great idea. A dull or bent needle can ruin fabric and cause thread breaks. If you’ve only lightly used one needle and it’s still sharp, you could reuse it once, but better to rotate to a fresh one for reliability.
What needle size should I start with for a beginners project?
Answer: Start with a universal needle in 80/12 or 90/14 for standard woven fabrics. If you’re sewing knits, go with a stretch needle 75/11 or 90/14. And always test on scrap first.
My machine won’t thread after changing the needle. What did I do wrong?
Answer: Make sure the needle is inserted fully and the groove lines up with the thread path. Re-thread from the beginning, including the bobbin, and check the manual for your machine’s threading route. If in doubt, take a breath and redo the process slowly.
Is there a difference between needles for Sergers vs. regular sewing machines?
Answer: Yes. Sergers use different needles designed for overcasting and loopers. Don’t use regular home sewing machine needles in a Serger, and vice versa. Check your machine’s manual for the recommended needle type.
Conclusion
Changing the needle isn’t a ritual; it’s a quick habit that saves you time and fabric drama. Keep a few blunt truths in mind: use the right needle for the job, replace it when it shows wear, and test on scrap fabric before committing to a seam. With that approach, you’ll glide through projects with fewer snags and more confidence. So next time you thread up, give that needle a fresh partner—you and your fabric will thank you, a little prevention goes a long way, and it’s the small wins that keep sewing fun.
0 Comments