I’ve seen too many corners that look like a math problem gone wrong. Let’s fix that, quick and clean. Sewing corners isn’t mysterious magic; it’s a tiny skill that pays off big when your stuff actually sits right and looks neat. Grab your fabric, your needle, and your sense of humor. Lets me break it down.
Why corners matter, and why you shouldn’t fear them
Corners are the little finishing touches that make a project look professional. A wonky corner sticks out like a sore thumb, while a crisp, well-sewn corner says “I know what I’m doing.” The trick isn’t talent alone—it’s a method you can practice until it becomes second nature, even seasoned sewists still measure twice and stitch once.
Tools and prep: what you actually need
First things first: you don’t need a fancy toolkit to sew clean corners. Here’s a quick checklist:
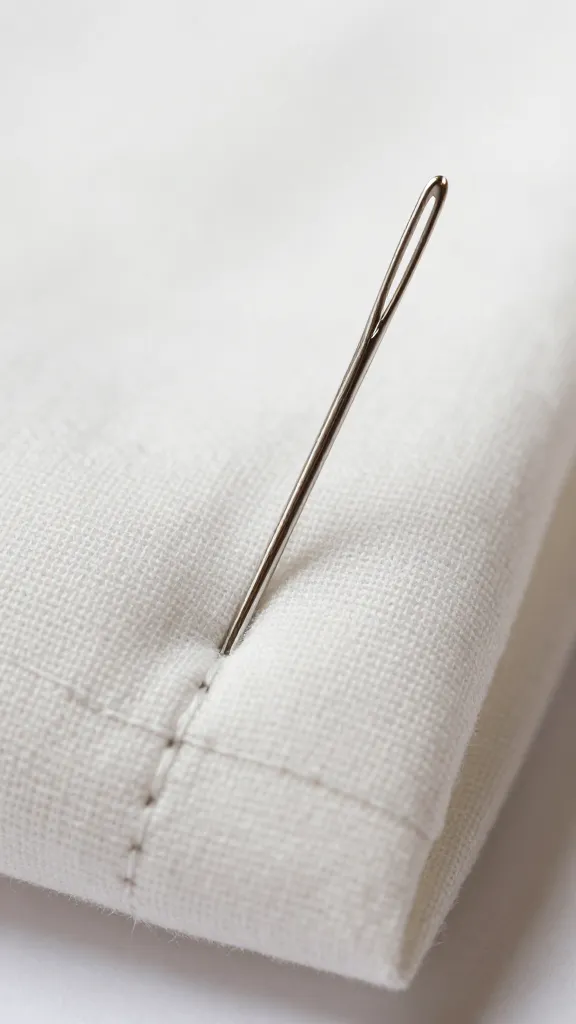
- Sharp needle (strong enough for your fabric)
- Good thread in a color that hides or highlights nicely
- Pins or clips to hold things steady
- Ruler or measuring tape, plus chalk or fabric pen
- Iron and pressing surface
A tidy workspace helps a ton. Pressing as you sew prevents slippery fabric from sneaking out of place. Think of pressing as part of the sewing process, not a luxury. And yes, fancy seam guides can help, but they aren’t mandatory—practice is the real MVP here.
Basic corner sewing: the straight shot approach
This is the core technique you’ll use for most projects. It’s simple, reliable, and forgiving if you go a little off.
- Match your edges. Align the two pieces where the corner will be, right sides together if you’re sewing a seam. Pin to keep them from misbehaving.
- Leave a small seam allowance. That’s your “buffer” for any tiny slips. Usually 1/4 inch (6 mm) works well, but check your pattern.
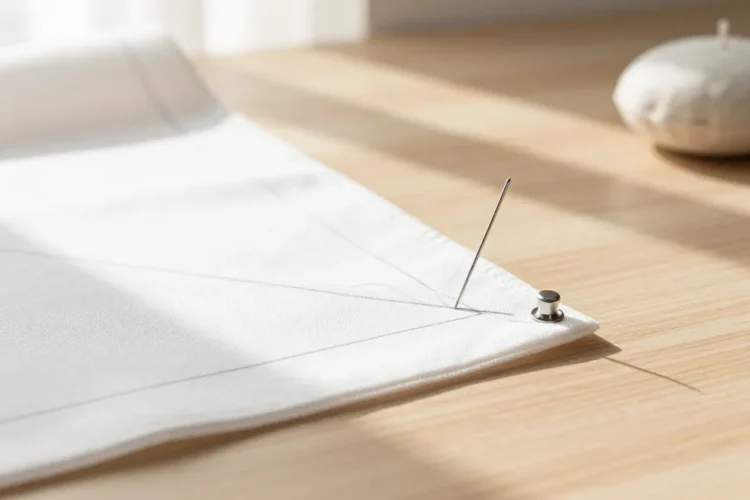
- Sew up to the corner, but stop with your needle in the down position right at the corner point.
- Pivot. Lift the presser foot, rotate the fabric so you’re sewing along the next edge, and lower the foot. This keeps the corner crisp.
- Continue to the end, then backstitch a little to secure. Key tip: don’t yank on the fabric at the corner. Gentle, steady feeding keeps the corner square. And if your fabric tends to shift, use a few more pins near the corner or a fabric clip.
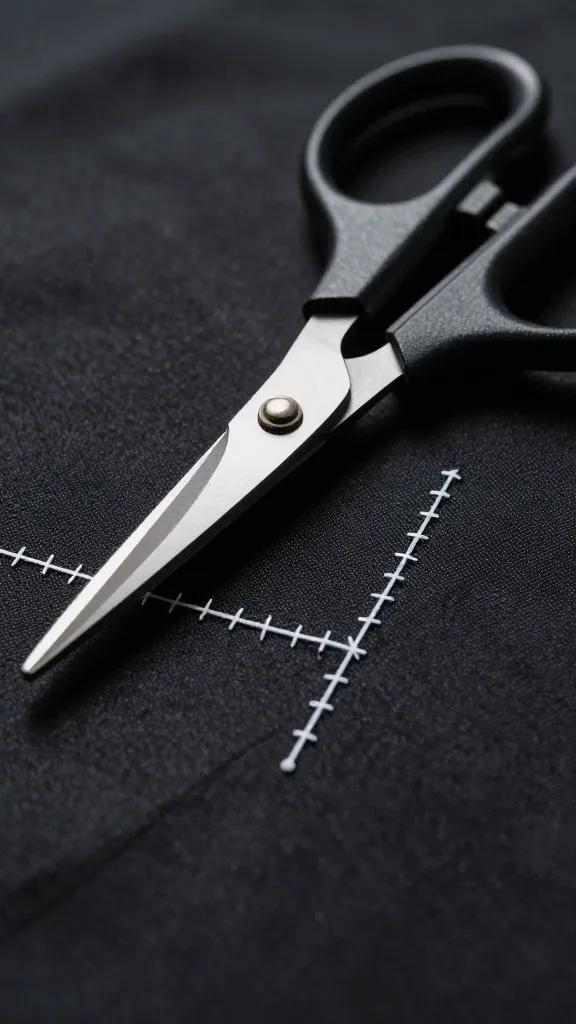
Trimming, notching, and turning corners: what to trim and why
Getting a clean outside corner is all about how you finish the seam allowance and turn the fabric.
Trimming the seam allowance
– Trim the seam allowance right after sewing the corner. This reduces bulk that can poke out.
– For inner corners, trim diagonally toward the corner point, but don’t cut into the stitches. You’re aiming for a tidy triangle of fabric.
Notching for outer corners
– Notching helps the fabric lay flat on the outside. For outer corners, snip a few small notches around the curved edges (not right on the stitches) so the fabric can spread.
– If you’re sewing heavy fabrics, you might zigzag the edge first to prevent fraying, then notch.
Hidden corners vs visible corners: when to mind the finish
Visible corners are your moment to shine; hidden corners hide inside seams and hems. The approach differs slightly.
Visible corners – like in a tote or pillow cover
– Keep seam allowances neat and pressed, so the corner reads clean from the outside.
– Consider clipping the seam allowance at 45 degrees at inner corners to reduce bulk.
Hidden corners – like inside a lining
– Sew with the lining fabric on top, so you can see exactly how the corner will look from the inside.
– Grade, clip, and press in stages. A well-pressed hidden corner feels luxurious even if no one sees it.
Common corner pitfalls and how to avoid them
Let’s save you from heartbreaks that sound like “ugh, why did I even try?”
– Pitfall: Fabric shifts while sewing.
Fix: Use pins or clips, and sew slowly across the corner. Stop with the needle down, pivot, then continue.
– Pitfall: Too much bulk at inner corners.
Fix: Trim the seam allowance and clip small notches where needed. Press flat as you go.
– Pitfall: Uneven stitches near the corner.
Fix: Sew a few tiny stitches before and after the corner to secure, then continue. Backstitching right at the pivot point helps, too.
– Pitfall: Puckering on delicate fabrics.
Fix: Use a slightly longer stitch length and a smaller needle. Reinforce by sewing from the right side first, then press.
Finishing touches that matter
A corner isn’t finished until you’ve given it a final touch-up.
- Press again after finishing the seam for a crisp edge.
- If you’re quilting, consider a small piping or bias tape to accent corners and hide any small mistakes.
- Finish raw edges with a zigzag or overlock stitch if your fabric frays easily.
Tip: If you’re undecided between two seam allowances, pick the one that’s less visible on the finished product. IMO, consistency beats perfection every time.
Practice projects to build corner confidence
Practice makes perfect, and corners aren’t a cosmic mystery. Try these low-stakes projects to level up fast:
- Throw pillow covers with a boxed corner. It’s a prime corner exercise and instantly useful.
- Napkins or placemats with mitered corners. You’ll learn precise 45-degree turns and neat edges.
- Simple tote bag with boxed corners. Extra space means extra chances to nail the corner alignment.
If you mess up, laugh it off. It happens to the best of us. Then unpick, re-pin, and pretend it never happened. We’ve all been there, and no, your cat does not judge your stitching—they just want the thread.
Common Questions
What needle and thread combo works best for corners?
A sharp universal needle (like a 70/10 or 80/12) works for most fabrics. Use a thread that matches your fabric weight—poly for durability or cotton for a classic, natural feel. If you’re sewing thick layers, consider a longer stitch length to avoid puckering.
How do I fix a corner that’s already sewn badly?
Carefully remove the stitches a little at a time around the corner. Re-pin, re-measure, then re-sew with the pivot technique. Take a minute to re-press before finishing. It’s almost always faster than you fear.
Do I need corner clippings or notches every time?
Nope. Notches are handy for inner corners or heavy fabrics. For simple, straight edges, careful trimming after sewing usually does the trick. Use notches sparingly so you don’t create weak points.
Can I sew corners by hand?
Absolutely. Hand-sewn corners can look gorgeous, especially on delicate fabrics or trim work. Use a small, tight backstitch and keep your stitches consistent for a neat finish.
How do I know if my corner is squared?
Check by laying the piece flat and looking along the edge. A true corner will have a crisp, right-angled appearance with minimal bulk. If the fabric bulges, re-press and adjust your seam allowances before trying again.
Conclusion
Sewing corners isn’t a mystic art—it’s technique, patience, and a little practice. Start with a solid base: sharp tools, a clean workspace, and a plan. Pivot at the right moment, trim smartly, and press often. Before you know it, you’ll be gliding through corners like it’s nothing, your future self will thank you when your projects finally lay flat and feel sewn with confidence. You’ve got this — now go tackle those corners like a pro.
0 Comments