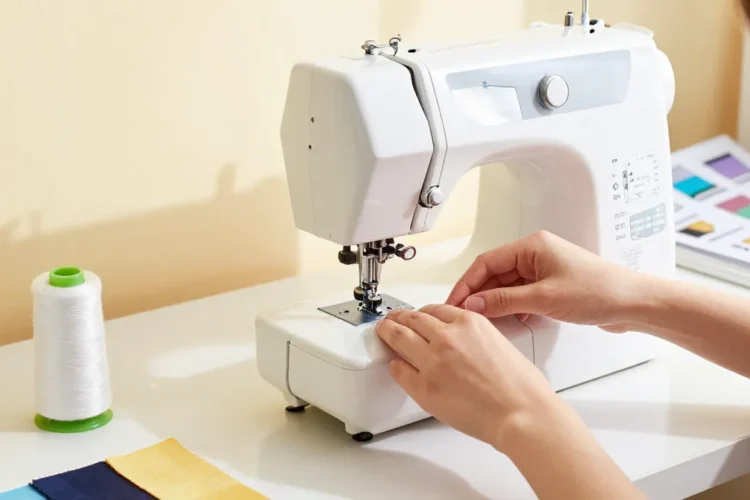
It’s sewing time, not spelunking in a hazard cave. If the bobbin thread keeps doing gymnastics or your top thread won’t behave, you’re not alone. Let’s demystify how to thread your sewing machine and bobbin correctly so you can actually finish that project without cursing at the thread spool.
Getting started: why thread tension matters more than your mood
Threading a machine is a tiny ripple in the big pond of sewing, but it sets the whole vibe of your stitch. If the tension is off, your stitches look goofy from both sides, and your fabric fights back. So yes, perfect threading = happier seams, easier projects, and fewer curse words.
Prep like a pro: what you’ll need before you thread
Before you even click the needle down, gather a few basics:
- New spool of your chosen thread
- Fresh bobbin wound evenly
- A clean bobbin case and throat plate
- Feeding finger-friendly fabric (not a stubborn denim if you’re just starting)
- Manual or quick reference for your exact model
FYI: stuck with the old bobbin you used for pillowcases? Winding issues or tangles can come back to haunt you. Fresh bobbin, fresh start.
Threading the top: step-by-step for most machines
Here’s a simple, friendly flow you can adapt. Different models vary, but the core idea stays the same.
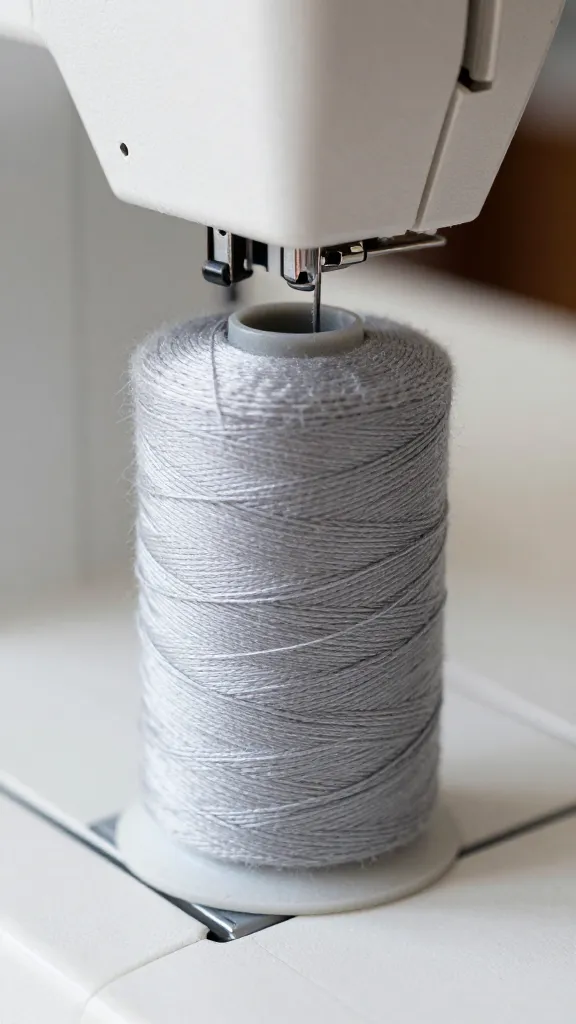
- Place the spool on the thread pin with the spool cap to hold it in place.
- Pull the thread from the spool towards the left, right, or straight down depending on your machine’s path. Follow the thread guides. Don’t rush; a teeny twist can cause tangles.
- Get through the tension mechanism if your model has one. Some machines loop the thread through a tension disk or a tiny hook—think of it as a mini obstacle course for thread.
- Guide the thread to the take-up lever. When you push the needle up and down with the handwheel, you’ll feel the thread seating into the lever.
- Slip the thread into the needle from front to back. A gentle push through the needle’s eye makes life easier than forcing it.
- Lower the needle, set stitch, and test on scrap fabric. If your fabric looks wavy or the thread nests, stop and reassess.
Common snag fixes when threading the top
- If the thread keeps catching, remove all thread and re-thread from start. Sometimes one tiny skip ruins the whole chain.
- Check the needle type. A bent or dull needle can ruin a perfectly threaded path. Replace if needed.
- Ensure the presser foot is up when threading. That opens the tension discs and keeps everything aligned.
Winding and chucking the bobbin: a little rebel management
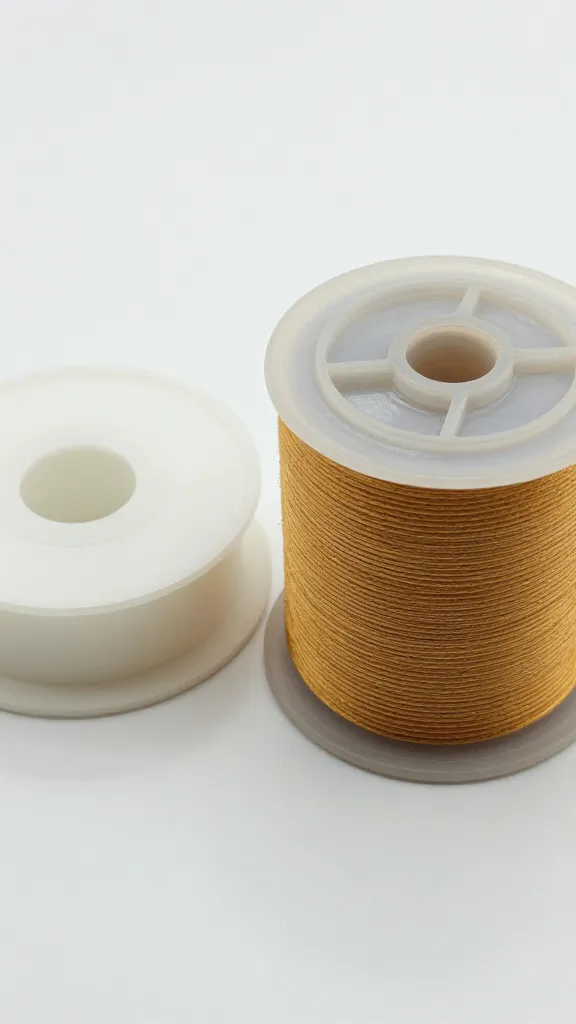
Bobbin stuff is where a lot of people get tripped up. A well-wound bobbin feeds evenly and sits nicely in the bobbin case. Here’s how to keep the bobbin from becoming a tangled disaster.
- Wind the bobbin evenly with the thread tension set to light. Don’t overfill it; leave a little room so the thread doesn’t stack up and snag.
- Place the bobbin into the bobbin case as your machine instructs—usually with the thread unwinding in a specific direction. Some bobbin cases have a little notch or arrow to guide you.
- Hold the thread tail while you pull the bobbin thread to draw it under the tension spring. This helps seat the bobbin snugly.
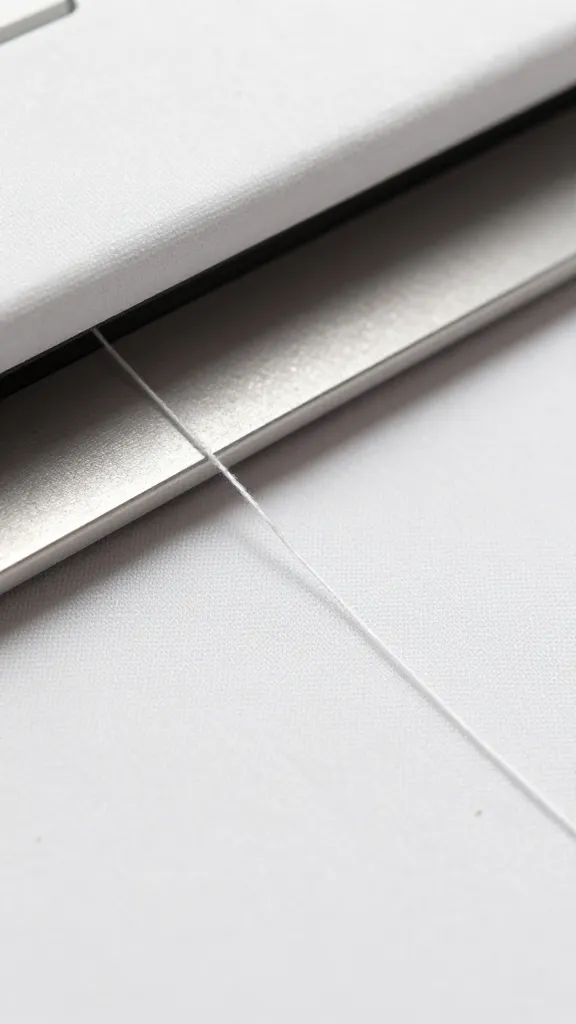
- Gently pull on the bobbin thread so it sits under the needle plate. Don’t yank; you want it to be ready to catch on the first stitch.
- Lower the feed dogs, hold the end of the top thread, and gently stitch a few inches. You should see the bobbin thread emerge from the needle plate under the fabric.
Why your bobbin thread might look wonky
- Bobbin wound unevenly: re-wind it tighter and more evenly.
- Bobbin isn’t seated correctly in the case: double-check the direction and make sure it spins freely when tugged.
- Tension mix-up: if the bobbin thread is too tight or too loose, your stitches will pull together oddly. Adjust the top thread tension first, then revisit the bobbin tension if needed (some machines have adjustable bobbin tension).
Tension talk: how to test and dial in
The golden rule: your top and bottom threads should form a balanced stitch on test fabric. Not too tight, not too loose, with no loops on either side.
- Sew a few stitches on scrap fabric. Examine both sides.
- If you see looped top threads on the bottom, loosen the top tension a tad.
- If you see loose bobbin threads on the top, tighten the top tension or check the bobbin seating.
- Keep adjusting in small increments. Tiny tweaks yield big results.
Quick tension cheat sheet
- Delicate fabrics: lower top tension slightly, or switch to a finer needle.
- Heavy fabrics: consider a higher stitch length and maybe heavier thread.
- Brighten your stitches with a sample piece first to avoid surprises on your actual project.
Dealing with common sewing machine quirks
No device loves to be overwhelmed. Here are some frequent quirks and friendly fixes.
Thread nests on the underside
– This usually means the top thread tension is too tight or the needle is struggling. Re-thread, try a fresh needle, and check your fabric type.
Skipped stitches
– Try a new needle, especially if your fabric is thick or has multiple layers. Also re-thread both top and bobbin; one missed guide can lead to a skipped stitch.
Thread breaks mid-stitch
– Wet the thread a tiny bit with saliva—okay, not literally, but sometimes friction causes tension to spike. Re-thread, ensure the thread path is clean, and check for burrs on the needle plate.
Maintenance mindset: keep your machine happy
A happy machine threads itself better. A little routine goes a long way.
- Clean lint from the bobbin area after big projects. Lint loves to haunt your tension discs.
- Oil only where the manual says. Too much oil is a magnet for dust and drama.
- Change needles regularly. A dull needle is your enemy when threading; it fights you every stitch.
Practice makes perfect: a mini threading drill
If you’re feeling tentative, try this tiny practice plan.
- Wind a bobbin, thread the top, and sew on a scrap. Record what happened.
- Reset with a different fabric. Cotton, then a knit. See how tension behaves differently.
- Document one tweak you’ll always remember for that fabric type.
Common Questions
Do all machines thread the same way?
Mostly yes, but the path can vary. Always consult your manual for the exact guides, threads, and hooks. If you’re stubbornly following a generic guide, you’ll probably have to do a little model-specific improvisation. FYI, model number tricks can save you a lot of frustration.
What needle and thread combo should I start with?
Start with a universal size 80/12 needle and a mid-weight polyester or cotton-wrapped polyester thread for most fabrics. If you’re sewing denim or leather, switch to a heavier needle and thread. It’s not a big deal, just a tiny adjustment for big results.
My bobbin keeps unraveling. What’s wrong?
Usually the bobbin isn’t seated properly or you wound it unevenly. Rewind, re-seat in the case, and pull a bit to ensure it spins freely. A little careful rework goes a long way.
How do I know if my thread is correctly threaded?
Test on a scrap fabric. Check two sides of the fabric—does the stitch lie flat, are there any loops on the underside, and do the stitches form evenly? If the top thread looks loose or the bottom thread shows through, you’re probably off on one of the guides or tension discs.
Is it okay to thread without the presser foot up?
Usually not. With the presser foot down, the tension discs close and threads won’t seat properly. Lift the foot to thread, then lower it to sew. Simple, right?
Conclusion: you’ve got this
Threading a sewing machine and bobbin isn’t an arcane ritual; it’s a small, repeatable sequence you can master with a little patience. Start with clean hands, fresh bobbin, and a clear path through the guides. Test on scraps, tweak your tension in baby steps, and celebrate when your stitches behave like a well-trained choir.
If you’re ever stuck, take a breath, re-thread from scratch, and pretend you’re teaching a robot to sew. It’s not about brute force; it’s about rhythm, precision, and a dash of curiosity. IMO, once you nail the threading basics, you’ll jump into projects with more confidence and a smile. Happy sewing!


0 Comments