It’s two machines, two purposes, and one eternal question: should you serge or sew? If you’ve ever stared at a stash of fabric and felt your brain do a little wonky dance, you’re not alone. Let’s cut through the noise and get you the real difference. No fluff, just the practical bits you actually need.
What actually makes a serger different from a sewing machine
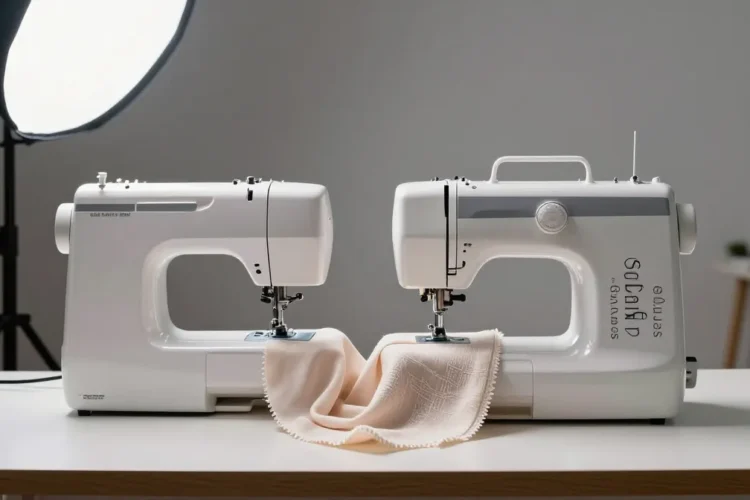
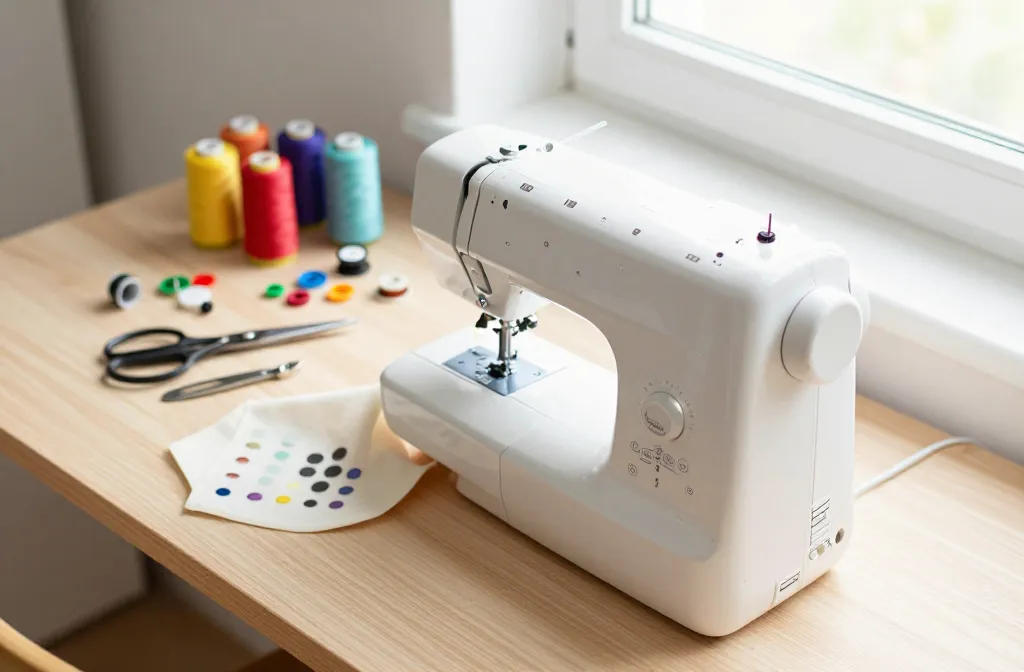
Sergers and sewing machines both save you from hand-stitching, but they specialize in different jobs. A sewing machine sews straight or decorative stitches with a single needle (and sometimes a few), while a Serger trims the edge, encloses it with multiple threads, and creates a clean, professional finish in one pass. Think of the sewing machine as your main workhorse and the Serger as the precision finisher that makes edges look shop-finished.
– Core function: sewing vs Serging
– Edge finishing: none vs overcast/trim
– Stitch variety: lots of built-in stitches vs a handful of stitch options
– Speed and setup: steady pace, adjustable tension, and a learning curve
Where each tool shines
If you’re building a small but versatile home studio, you’ll want both eventually. Here’s the short version of where each shines.
When the fabric edge is king
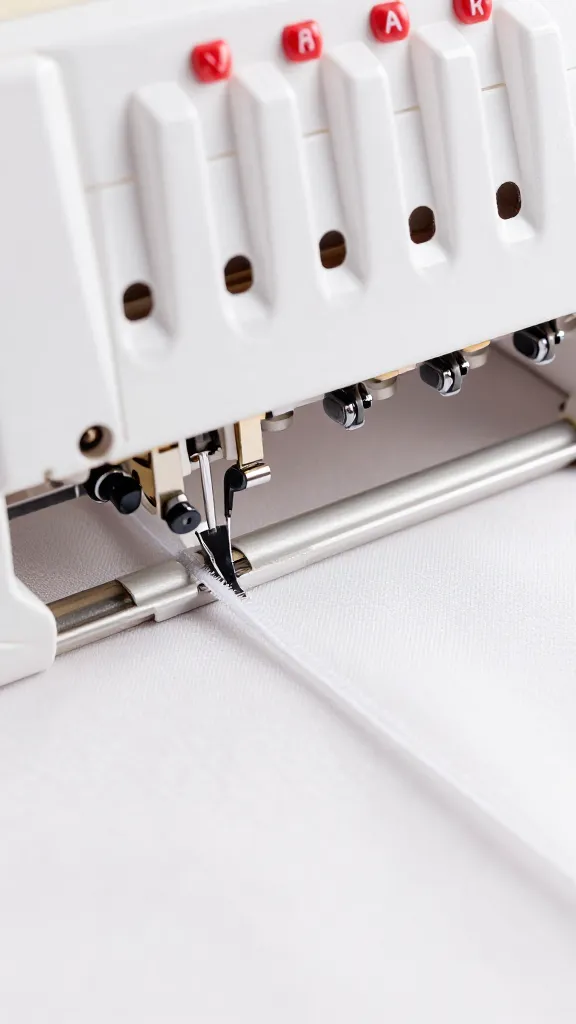
– Serger wins for delicate fabrics like chiffon or knits where you want a stretchable, clean edge.
– It prevents fraying and gives you a durable seam that doesn’t curl.
When you need precision seams
– Sewing machines handle top stitching, button holes, zippers, and precise seams.
– For complex garment construction, a sewing machine keeps you in control with varied stitches and techniques.
The real-world pros and cons
Let’s talk time, cost, and headache levels. Because nobody loves mystery maintenance.
- Pro for Serger: lightning-fast finish on edges and hems. It’s like the power tool of sewing—once you dial it in, you fly.
- Con for Serger: narrower learning curve. You’ll juggle multiple thread tensions, knives, and feed dogs. Don’t panic—practice helps.
- Pro for sewing machine: versatility. You can do topstitching, quilting, embroidery, and a million different stitches.
- Con for sewing machine: some tasks require extra steps or a separate Serger for that perfect edge finish.
Threading, tensions, and the ritual of setup
The two machines don’t share a single thread family. They each have their own threading drama.
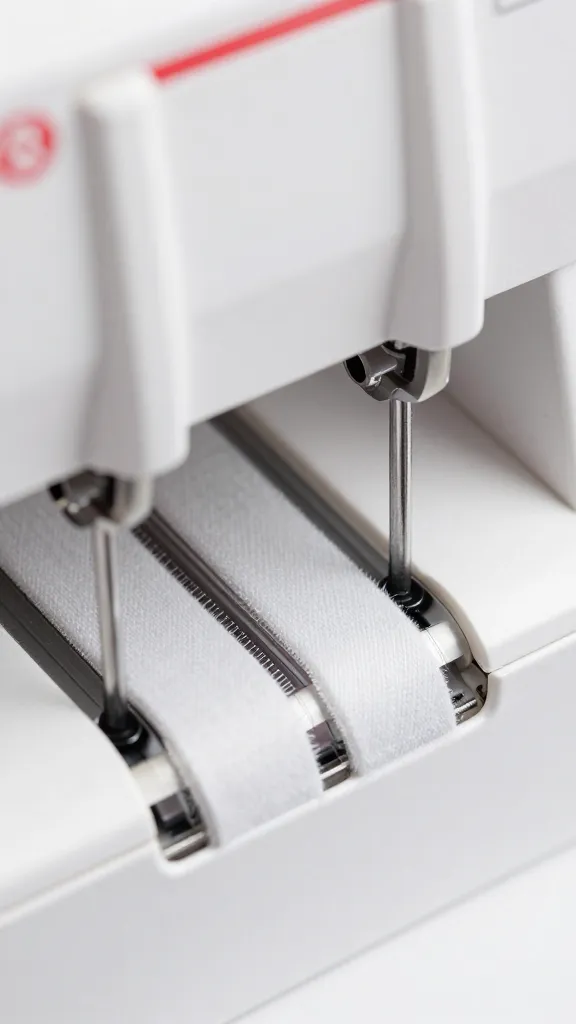
Serger threading basics
– You’ll typically thread 3-4 threads. More thread = stronger seam, but more drama.
– Consult the manual for color-coded guides. It saves you from cursing at the bobbin area.
– If you skip a step, your stitches will look wrong, or the machine will jam. FYI, it’s not you—it’s the threading.
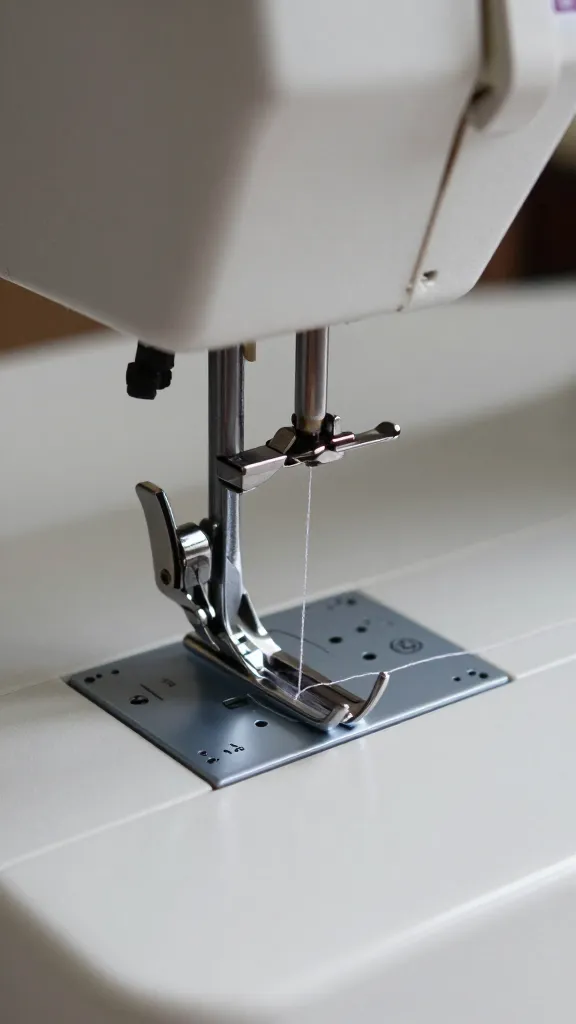
Sewing machine threading basics
– You’ve got a single needle, bobbin, and perhaps a loopy mystery of tension dials.
– Thread path tends to be simpler than a serger, but you’ll still want to test stitch on scrap fabric.
– Winding a bobbin while you watch TV is totally acceptable. Just don’t sew over a knot.
Learning curves and skill-building
No one becomes a master overnight. Here’s a realistic map to get you there without losing a weekend to frustration.
- Start with the basics on both machines: straight stitches on the sewing machine, and a simple rolled hem or overlock on the Serger.
- Practice with scraps. It’s like dating—you learn what works without risking your good fabric.
- Gradually add techniques: topstitching on the sewing machine, a narrow rolled hem on the Serger, then maybe a decorative stitch or two.
Garment making vs craft projects: which road are you on?
Your purpose matters. If you’re into soft garments, knits, and frequent hems, a Serger becomes a must-have eventually. If you’re quilting, bag making, or doing precise garment construction with zippers and buttonholes, the sewing machine is your best friend.
Garment-focused workflows
– Use the Serger for edge finishing and seam joining on knits.
– Use the sewing machine for the main seams, topstitching, and finishing details.
Quilting and crafts
– The sewing machine handles piecing, appliqué, and quilting stitches.
– A Serger isn’t essential here unless you want to finish the raw edges on certain projects.
Cost of entry and long-term value
You don’t need to break the bank to get started, but you should invest in the right tool for your needs. Here’s a quick reality check.
- Serger: entry-level models can be affordable, but you’ll pay more for features like differential feed, adjustable stitch length, and multiple thread tensions.
- Sewing machine: you can start with a basic model and grow into embroidery, quilting, and more. The long-term value is flexibility.
Maintenance habits that actually pay off
Two machines, two maintenance rituals. Don’t skip them.
- Serger: wipe, oil as per manual, and clean the blade area regularly. Replace blades when they start to miss cuts.
- Sewing machine: oil if your model asks for it, keep lint out of the bobbin area, and service every couple of years or as needed.
Common Questions
Do I really need a serger if I already own a sewing machine?
A Serger isn’t strictly essential, but it dramatically improves edge finishing and seam durability on knits and woven fabrics with stretch. If you foreseen lots of hemming and finishing edges, it’s worth considering. It’s a money-saver in the long run for professional-looking results.
Can I stitch with a Serger like a regular sewing machine?
Not exactly. A Serger trims while it sews and creates overcast edges. It doesn’t replace straight-stitch ability or buttonholes. For most projects, you’ll still rely on a sewing machine for precision sewing, zippers, and topstitching.
Which should I buy first, a Serger or a sewing machine?
If you’re starting from scratch, get a decent sewing machine first. It covers the core sewing needs, plus it’s more versatile for a wide range of projects. You can add a Serger later when you’re ready to tackle edge finishing at speed.
Is there a single machine that does both jobs?
There are combination machines and overlock-capable sewing machines that try to blend features, but they rarely outperform dedicated machines for their core tasks. If you’re serious about edge finishing and garment construction, you’ll eventually want both.
How long does it take to become proficient with a Serger?
It varies, but give yourself a few weeks of casual practice to feel comfortable. If you dedicate a couple of sessions per week, you’ll see tangible progress in a month or so. Patience pays off here—Sergers aren’t magic.
Conclusion
There you have it: the quick-and-dirty differences between Sergers and sewing machines, with a wink and a nod to real-life use. A sewing machine handles the broad strokes—buttons, topstitching, precise seams. A Serger takes care of the edges, trims away excess fabric, and gives you that clean, professional finish in one go.
If you’re a beginner sorting out your toolkit, start with a solid sewing machine. Add a Serger once you’re ready to tackle knit fabrics, rolled hems, and high-speed edge finishing. And remember, every sewist’s journey is personal—there’s no one-size-fits-all rule here. The best setup is the one that actually gets you sewing more, with less frustration. Happy stitching!
0 Comments