
I know it sounds boring at first glance, but seam allowance is like the backstage pass to sewing success. Get it right, and your projects glide together; get it wrong, and you’ll be seam-ripping forever. Let’s demystify it without the jargon trap.
What seam allowance actually is and why it matters
Seam allowance is the little margin you leave between your stitched seam and the raw edge of the fabric. Think of it as a safety buffer. Without enough room, you risk popping seams; with too much, you waste fabric and bulk up your garment. Most patterns include a default, but not always, you can adjust it, but you’ll pay with a different fit and finish.
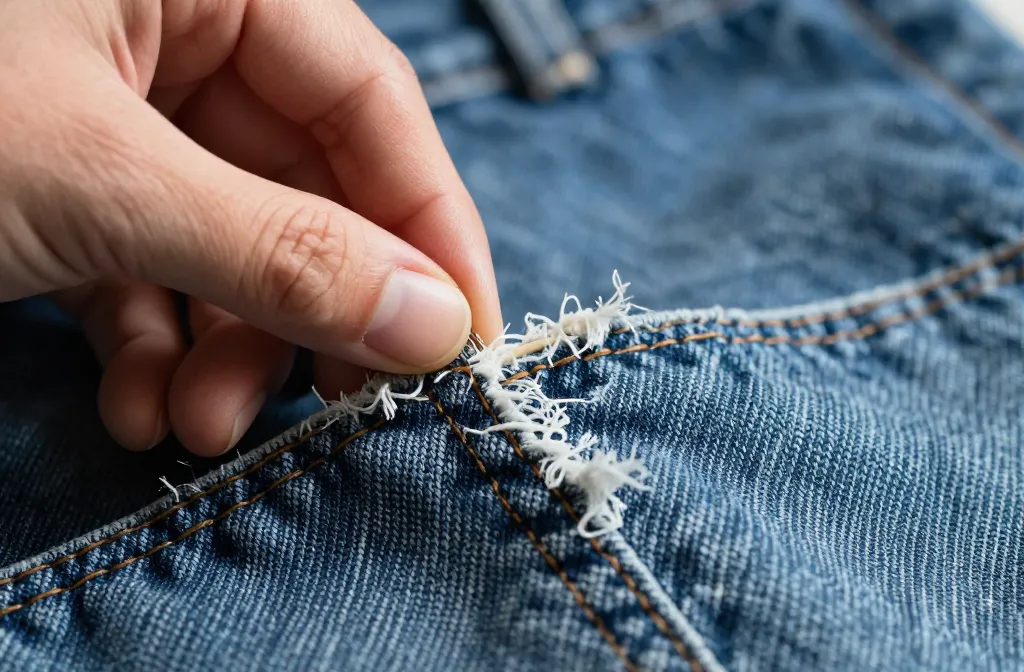
– It’s not just a pretty word: it protects seams from fraying.
– It helps your fabrics ease around curves.
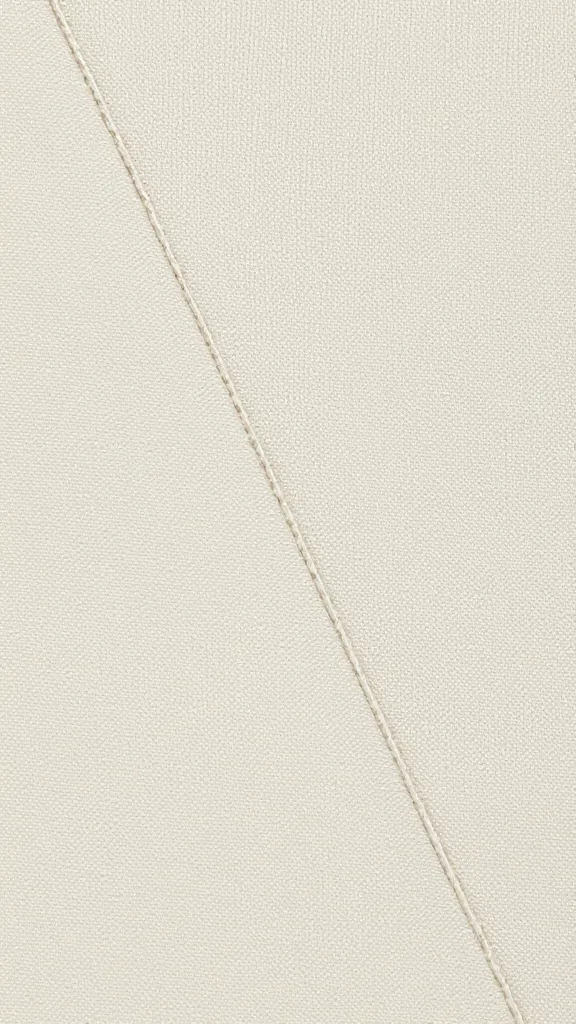
– It gives you space to press and topstitch without headaches.
Is seam allowance always included in a pattern?
Short answer: not always. Some patterns assume you’ll add your own seam allowance, especially if the designer wants you to pick a specific fabric or finish. Others come with a built-in allowance you don’t have to touch. It’s always worth checking the pattern envelope or instructions before you cut a single thread.
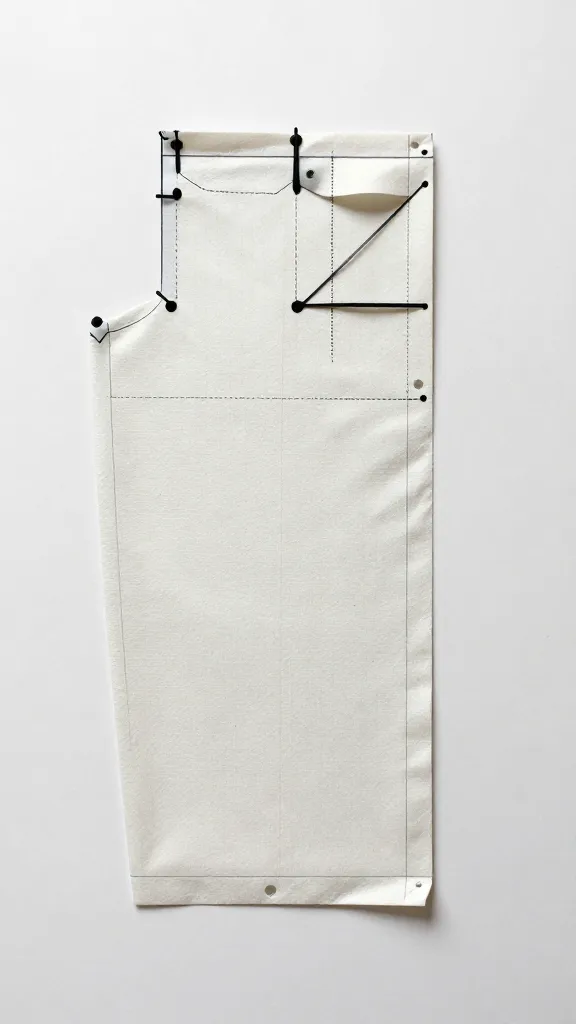
– Patterns with built-in allowance typically show the seam line and a dotted cutting line.
– Patterns that require you to add your own often say “add seam allowance 1 cm (3/8 in)” on the pattern pieces.
– For vintage patterns or DIY PDFs, you might see different instructions, so read the notes twice—you won’t regret it.
How to know what to do on the fly
If you’re staring at a pattern and nothing looks obvious, ask these quick questions:
– What does the pattern say about seam allowance? Is there a note like “seam allowance included” or “add 1 cm”?
– What is the fabric type? Delicate fabrics can behave differently, so you might want a wider seam allowance for stability.
– Are you planning any specialty finishes? French seams, Hong Kong seams, or bound edges might need a different approach.
If you’re unsure, start with a standard 6–8 mm (1/4 in to 5/16 in) seam for woven fabrics. For knits, you often want a smaller seam (about 3–5 mm) because knit edges don’t fray as easily and you’ll use stretch.
How seam allowance fits with different fabrics
Fabric type matters more than you might think. It isn’t one size fits all.
– Woven: tend to fray, so a consistent seam allowance helps. Classic is 6–8 mm.
– Knits: stretch and curl can complicate things. A narrower seam (3–5 mm) or even a different technique (like serging) can work better.
– Delicates: chiffon, silk satin—these often need precise, narrow seams and careful pressing to avoid distortion.
– Heavyweight fabrics: you might want a larger seam allowance to reduce bulk, or you might cut separate pieces for different widths.
Different finishes you can pair with seam allowances
Seam allowance isn’t just a number on a line—it guides how you finish the edge and how the garment moves.
– Pinked edges: quick and dirty, not great for light fabrics long-term.
– Zigzag or Serge finishes: most common for woven fabrics. Keeps edges tidy and prevents fraying.
– French seams: best for delicate fabrics; you end up enclosing raw edges inside the seam.
– Hong Kong seams: a neat, clean finish ideal for sheer fabrics. Optional win: you might even follow a pattern that uses a specific finish because it’s designed to work with the included seam allowance. If the pattern instructs a French seam, you’ll likely follow that for the look and durability.
When you should adjust the seam allowance
You’re not stuck with the pattern’s default forever. Here are scenarios where tweaking makes sense:
– You’re changing size: if you’re grading between sizes, confirm whether the pattern includes seam allowance in both sizes. If not, add your own.
– Fabric behavior: some fabrics “ease” more than others. If you notice puckering or edges that don’t sit flat, consider widening the seam slightly on curves or areas under tension.
– Garment design details: collars, cuffs, or pockets may benefit from different seam widths for stability and finish.
– Precision projects: if you’re sewing something that requires exact fit (like a tailored blazer), you might want to shave or increase seam allowance for fine-tine adjustments.
A good rule of thumb: test on scrap fabric or a muslin before cutting your fashion fabric. It saves heartache and makes you look like a sewing ninja.
Seam allowances in practice: quick step-by-step
Here’s a simple, no-drama approach to handle seam allowances on a project.
– Read the pattern notes: find out if seam allowance is included and how wide. Note any special finishes.
– Pick your fabric and cut a mock-up if you’re unsure.
– If making adjustments: redraw the pattern with your chosen seam allowance or mark the width and add it to your cutting lines.
– Cut and sew a sample: check the fit, handle, and finish. Are edges neat? Do you have enough ease?
– Finish edges accordingly: serge, zigzag, bind, or French seam depending on your fabric and pattern.
If you want a pro tip: always sew a simple test seam on scrap first to confirm tension and fabric behavior before you commit to your actual fabric.
Common Question
What exactly is seam allowance, and why is it necessary?
Seam allowance is the extra fabric added beyond the seam line to give you space for stitching, pressing, and future alterations. It prevents seams from bursting, allows for adjustments, and helps edges stay neat as you work with different fabrics. Without it, you risk fatigue tears and a garment that won’t survive a single wash.
How do I know the right seam allowance for a project?
Start with the pattern’s guidance. If it’s vague, classic defaults work well: 6–8 mm for woven fabrics and 3–5 mm for knits. Consider fabric type, finish method, and whether you’ll need room for alteration. When in doubt, do a quick muslin test to see how it behaves.
Can seam allowance be different on different pieces of the same pattern?
Yes, it can. Some patterns mix seam allowances for various sections to reduce bulk in tricky areas (like hip curves) or to accommodate different finishes. Always check the pattern instructions; if it doesn’t say, use a consistent width unless you have a specific reason to vary it.
What if my pattern doesn’t include seam allowance and I’m cutting from a pattern sheet?
Add your own seam allowance to every edge you cut. Mark a new cutting line parallel to the original at your desired width, then cut along that line. Double-check measurements before you snip. It’s a tiny step that saves big headaches later.
How do I handle seam allowances on curved edges?
Curved edges need a bit of patience. Short, even stitches help. For tighter curves, reduce the seam allowance slightly on the steeper curves to reduce bulk. Clip notches carefully to help the fabric lay flat once stitched.
Conclusion
Seam allowance isn’t glamorous, but it’s the unsung hero of clean, durable sewing. It protects your stitches, guides finishes, and keeps your garment from turning into a hot mess on the first wash. Whether the pattern includes it or you need to add your own, knowing how seam allowance behaves across fabrics and finishes makes sewing feel less like guesswork and more like strategy. So grab your fabric, pick your seam allowance mindset, and sew like you actually know what you’re doing, you’ve got this, your future self will thank you.
0 Comments