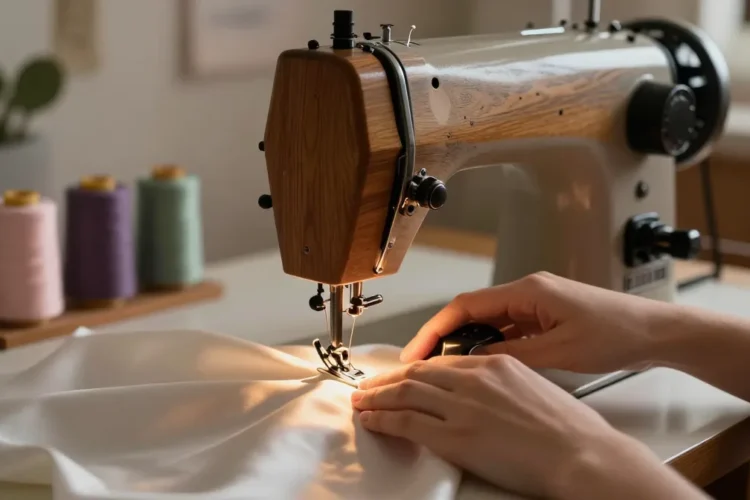
The speed of your sewing machine doesn’t have to feel like a mystery mission. You can tame that motor, dial in perfect stitches, and actually enjoy sewing again. Let’s cut to the chase and get you stitching like a pro (or at least like someone who knows what they’re doing).
Why speed control matters more than you think
If your fabric keeps bunching, or your stitches look like they’ve had one too many cups of coffee, you’ve probably got speed issues. Controlling speed helps with delicate fabrics, accuracy for zippers, and overall consistency, a little adjustment can save you a ton of frustration and thread disasters.
Find your machine’s speed sweet spot
Every machine has a dance floor where it shines. Some run fast and furious, others purr at a gentle clip. Here’s how to locate yours:
- Start slow on scrap fabric to map out where the stitch length and tension feel right.
- Gradually increase speed in small steps until you hit a comfortable max. Don’t slam the pedal to the metal on a test swath.
- Note the fabric type. Denim needs more speed sometimes, silk wants finesse. Different materials, different tempos.
Foot pedal finesse: how to use it without shocking your nerves
Your foot pedal is the metronome of your sewing life. Here’s how to keep it from becoming a wild horse:
Pedal pressure basics
- Keep your heel planted and use the ball of your foot to press. This gives you smoother starts and stops.
- Practice a slow press, then a gradual release. You’ll gain better control over stitch formation.
Tip: use the knee lift if you have one
If your machine has a knee lift or a hand lever, use it to lift the presser foot without losing your rhythm. It’s like giving your foot a sidekick so you can pivot, trim, and adjust mid-stitch.
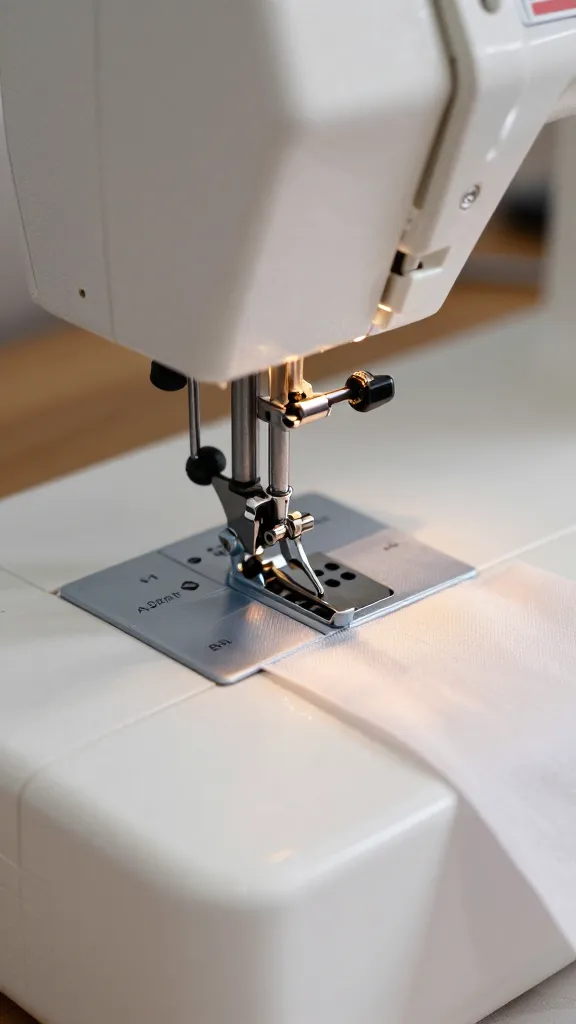
Presser foot choices that help tame speed
The right foot can be a speed control hero. Different fabrics and stitches like different feet, and some feet offer built-in speed cues.
- Zipper foot for precise zips—steady, not speedy.
- Walking foot helps feed heavy fabrics evenly, preventing kickback and drama.
- Overcast foot keeps edge finishes tidy at moderate speeds.
- For quilting, a quarter-inch foot helps you stay on track at a comfortable pace.
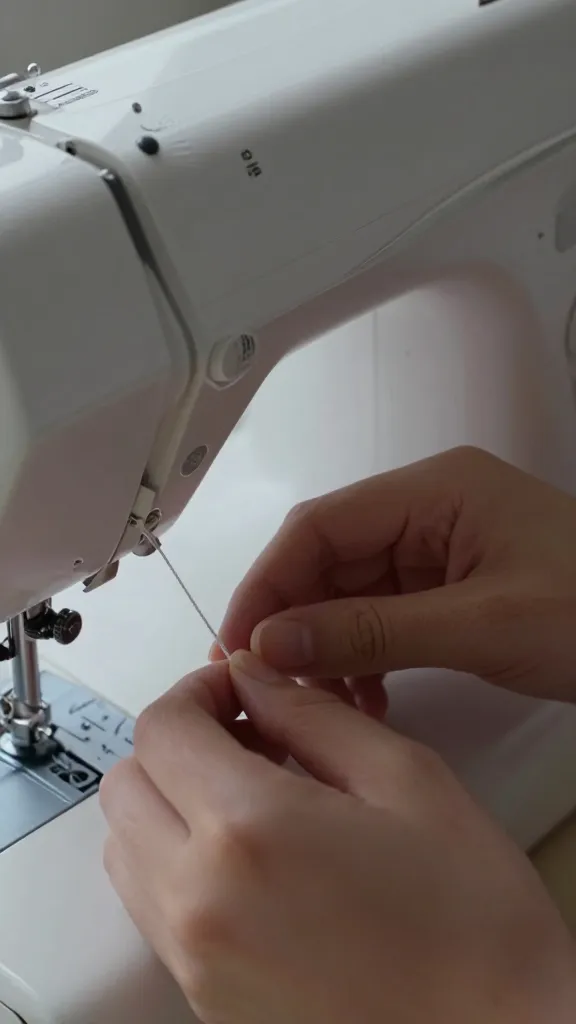
Thread tension and speed: a duo that refuses to fight
Speed and tension are roommates—they either get along or cause a messy apartment. If your stitches look wavy or you see loops on the underside, the issue isn’t just speed; tension is involved.
Check tension before you blame the pedal
- Test with a standard cotton thread on cotton fabric. If the top and bottom stitches align, you’re good.
- If curls or loops appear, tweak the upper thread tension in small increments and re-test.
- Ensure the bobbin is wound evenly and seated correctly. A wonky bobbin can wreck your speed control party.
Maintenance quick wins: smooth machine, smoother speed
A well-maintained machine behaves better at all speeds. Do these quick checks to keep your speed predictable:
- Clean lint and dust from the feed dogs and bobbin area. Lint is the speed killer you don’t see coming.
- Oil if your machine requires it. A tiny drop in the right place keeps things gliding.
- Change needles regularly. A dull needle fights fabric and slows you down with mashed stitches.
- Use quality thread that matches your fabric. Cheap thread is a speed disruptor with thread breaks and tension issues.
Speed control tricks for tricky fabrics
Some fabrics demand a more nuanced approach. Here are practical moves for the tough stuff:
- Silk and satin: go slow, use a fine needle, and reduce the tension slightly so your stitches aren’t nests of sighs.
- Knits: enable longer stitch length and enable a walking foot if you’ve got one. The goal is stable feed without stretching.
- Leather: test on scrap, use a heavy needle, and glide at a controlled pace with a firm presser foot pressure.
When to use speed presets or programmable stitches
Some machines offer speed controls beyond the pedal—either electronic speed limits or programmable stitches. Use them wisely:
- Electronic speed limit: set a max speed to avoid runaway threads, especially if you’re new or babysitting a large project.
- Programmable stitches: practice with a few stitches at a lower speed, then ramp up as you gain confidence. It feels like progress with less drama.
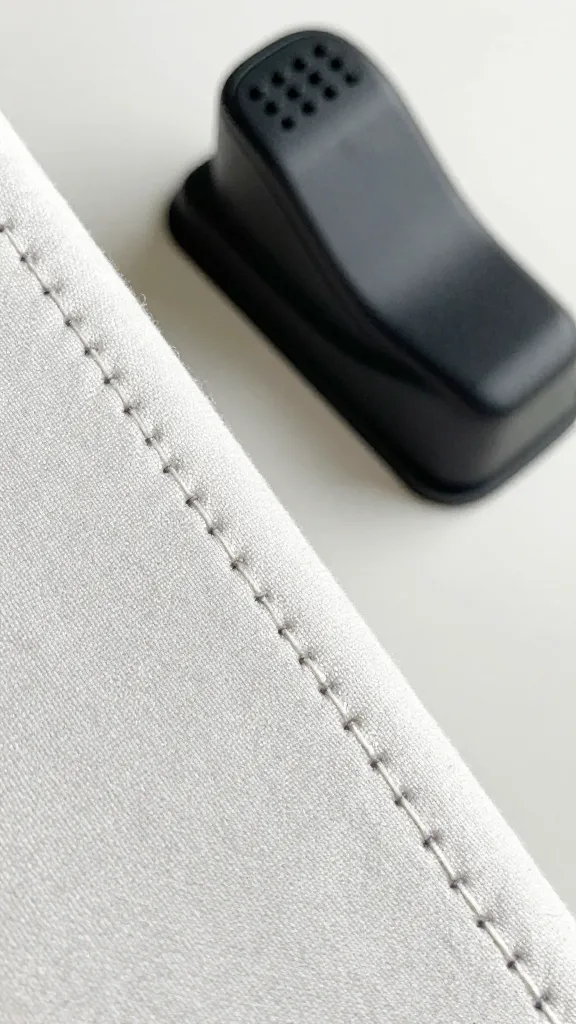
Common pitfalls and how to dodge them
Don’t let small mistakes ruin your day. Here are frequent speed-related blips and fixes:
- Pulling fabric while sewing: this surprises the machine and speeds up uneven feeding. Let the machine do the moving; guide with your hands, don’t fight with gravity.
- Stitch length inconsistent: speed can influence feed; keep a steady pace and check your fabric grip.
- Jamming or thread breaks: often a needle issue or tension mismatch. Stop, reassess, and test on scrap before continuing.
Common Questions
How do I know if I’m going too fast for a fabric?
Test on a scrap first. If you see skipped stitches, thread breaks, or fabric snags, dial back a notch or two. Silk and delicate knits usually want a slower pace; denims and canvas can handle a bit more speed.
Is it better to sew slowly or fast when starting a project?
Start slow to establish stitch tension and alignment. Once you’re confident, gradually increase speed in small increments. It’s all about controlled progress, not speed racing.
What if my machine has a speed slider in addition to the pedal?
Use the slider to cap the maximum speed during tricky sections or for beginners. The pedal still controls real-time acceleration, but the slider keeps things from spiraling out of control.
How can I practice speed without wasting fabric?
Grab inexpensive scrap fabric and thread. Create tiny practice hoops: stitch in place, move a little, and repeat. It’s practice, but without the guilt of ruining a fancy project.
Does using a slower speed affect stitch quality?
Not if you’re dialing in the right tension and stitch length. In fact, slower speeds for delicate fabrics can improve quality and reduce the chance of skipped stitches or puckering.
What’s the quickest way to improve speed control?
Consistent practice, smart pedal technique, and understanding your machine’s feet and tension. Spend 10–15 minutes a day practicing on scraps with different fabrics. Your muscle memory will thank you later.
Conclusion
Mastering speed is less about chasing the fastest stitch and more about making your machine behave the way you want. Start slow, pick the right foot, tweak tension, and keep your machine happy with regular maintenance. Before you know it, you’ll float across fabric like a skilled seam whisperer, the secret is patience plus a little grit—and maybe a snack for the creative brain.
If you want, tell me your exact machine model and fabric type, and I’ll tailor a quick speed control plan just for you.

0 Comments