Don’t worry about tension anymore. If your stitches look like a goofy zigzag or your fabric keeps bunching, it’s almost certainly a thread tension thing. Tension is the secret sauce that makes every seam look professional, not a mysterious black magic. Let’s demystify it and get you sewing like a pro—without needing a degree in physics.
What sewing machine tension actually does
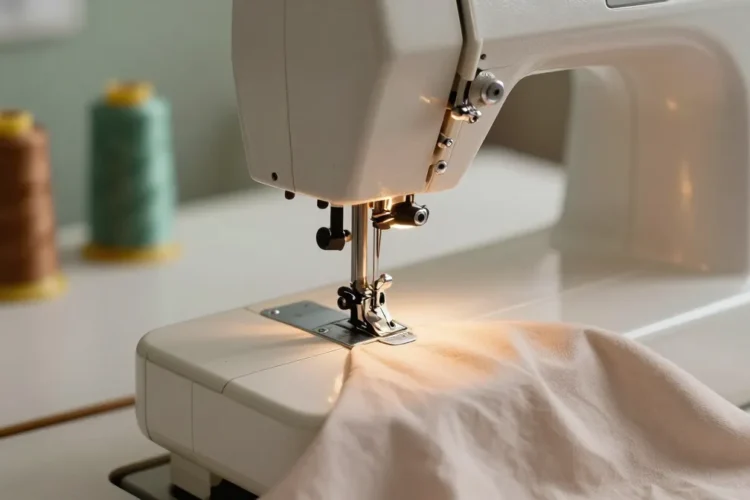
Your sewing machine has a dance going on between the top thread and the bottom thread. When they pair up just right, your fabric glides, stitches sit neatly on the surface, and any edge you sew stays put. If the timing’s off or the thread isn’t chosen well, you’ll see loops on the top, bottom, or both. In short: tension controls how tight each stitch is.
– Top thread tension adjusts how tightly the needle pulls the top thread through the fabric.
– Bobbin (bottom) tension handles how snugly the bobbin thread sits with the top thread.
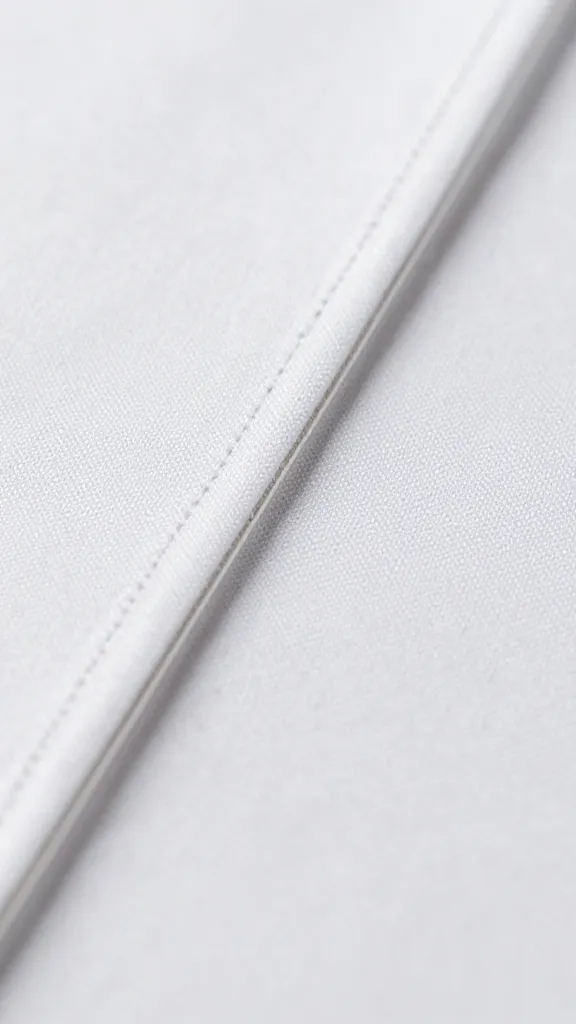
– The sweet spot is where both threads meet in the fabric, with stitches nicely formed on both sides.
Ask yourself: are my stitches tight like a splinter or loose like a noodle? The answer usually points to tension.
Common tension mishaps and what they look like
Let’s diagnose without tearing your hair out.
- Top thread too tight: Stitches appear on the top of the fabric with little to no thread on the underside. The fabric may pucker. This happens if you’ve got the presser foot pressure or needle size off, or you’re using a very thin fabric.
- Bobbin thread too tight: Bottom thread shows on the top, creating a line of small knots along the top or a tangle underneath. Your fabric might feel stiff when you pull.
- Balanced but ugly stitches: Both sides look odd, or you see loops on both sides. This usually means the machine is fighting the fabric instead of working with it.
- Inconsistent tension: Some stitches are fine, others aren’t. This could be a needle at the wrong size, a thread not seated properly, or a dirty machine.
If you’re staring at a wonky seam, don’t panic. Tension is adjustable and forgiving—mostly.
How to check your machine tension in 3 quick steps
Fast and painless checks you can do in a few minutes.
- Thread it properly: Make sure you’re threading the machine and the bobbin correctly. A common culprit is a mis-threaded bobbin or a loose bobbin case. Re-thread both with clean hands and take your time.
- Test on scrap fabric: Use the same fabric you’ll sew with. A small swatch helps you avoid wasting project fabric. Pick a basic straight stitch or a simple zigzag.
- Adjust the top thread first: If top stitches pull tight on the top surface, loosen the top tension a touch. If stitches pull through the fabric, tighten the top tension a bit. Make small adjustments—tiny turns go a long way.
When you test, aim for balanced stitches: tiny vertical loops on the underside and nearly invisible stitches on the top, with the fabric lying flat.
How to adjust tension properly
Here’s a practical, no-drama approach to tuning your machine.
1. Start with the basics
– Use the correct needle for your fabric. A jeans needle on silk can wreck tension and fabric alike. A ballpoint needle works wonders on knits. FYI, a damaged needle can also skew tension, so inspect it first.
– Thread quality matters. Cheap threads can behave badly under tension, causing inconsistent stitches.
– Clean and oil as needed. A dusty bobbin area can cause unpredictable tension.
2. Tune the top tension (the usual suspect)
– If the top stitches look neat on the bottom and the bottom shows loops, loosen the top thread a notch.
– If the top stitches pull the fabric and leave a hole or the bottom looks loose, tighten the top thread a notch.
– Make micro-adjustments and test. A quarter-turn of the dial can mean the difference between “meh” and “wow.”
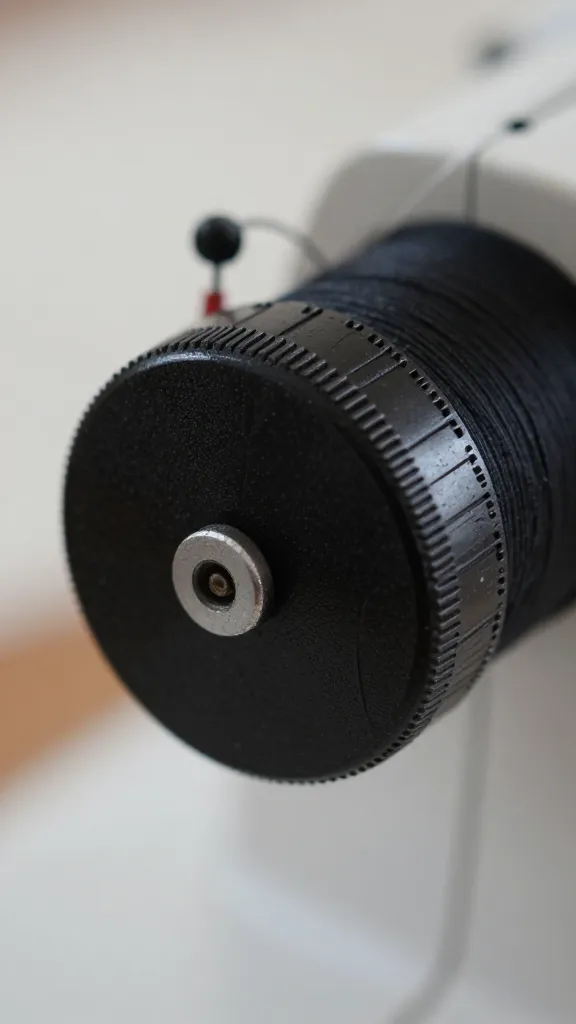
3. Get the bobbin tension right
– The bobbin thread should pull gently from the bobbin case with a slight resistance. If it’s too tight, you’ll see the top thread jamming; too loose and you’ll get loops on the bottom.
– Re-wind your bobbin neatly. A wobbly bobbin can throw off tension entirely.
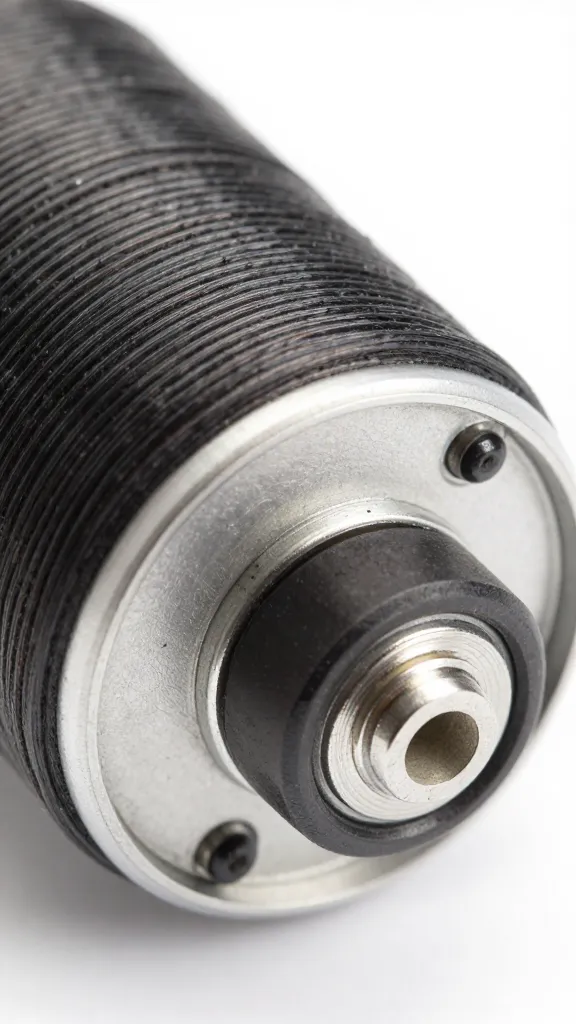
– If you’re using a drop-in bobbin, ensure the case is seated correctly. If you’re using a classic bobbin with a hook, make sure the tension screw on the bobbin case is set to standard for most fabrics.
4. Balance the combo
– After you get the top and bottom tension to behave, sew a few more test stitches. If you still see issues, try adjusting both a touch—sometimes you need a slightly looser top with a slightly tighter bottom, or vice versa.
– Remember: some fabrics love a longer stitch length or a different stitch pattern. Tension changes with stitch type.
Fabric-friendly tension tweaks
Different fabrics act differently. Here’s how to adapt without becoming a tension nerd.
- Cotton or woven fabrics: Usually friendly. Start with standard tension. If you see a lot of puckering on the top, loosen the top tension a notch.
- Delicate fabrics (silk, chiffon): Use a finer needle and lighter thread. Loosen top tension slightly and test. Tiny adjustments save a lot of drama here.
- Knit fabrics: Use ballpoint needle, and consider a slightly looser top tension so your stitches don’t gather the fabric. A stretch or zigzag stitch can handle the give better.
- Heavy fabrics (canvas, denim): Tighten top tension a notch or two, but ensure the bobbin isn’t strangled. A longer stitch length helps too.
Common myths about tension
Let’s debunk a few myths that waste your time.
- More tension is always better: Nope. Excess tension makes stitches brittle and fabric won’t feed smoothly.
- All fabrics need the same settings: Not close. Each fabric type has its own sweet spot.
- Oil fixes everything: Oil is for the moving parts, not a quick fix for tension. Use oil as intended and clean dust first.
Pro tips from the sewing room
Some practical, swear-free wisdom you’ll actually use.
- Mark your settings: If you find a good tension setup for a fabric, write it down or take a photo. Future you will thank past you.
- Keep two spools handy: Some projects feed one color on top and another on bottom. It’s not cheating—it’s efficiency.
- Check the presser foot pressure: If your fabric isn’t feeding evenly, adjust the presser foot. Too little pressure causes slipping; too much causes puckering.
When to call in the pros
If your machine keeps misbehaving after you’ve tried everything, it might be timing, a bent needle plate, or a warped bobbin case. A trip to your local shop or a call to the manufacturer’s support line isn’t failure—it’s smarter than cursing at your fabric.
Common Questions
How do I know if the top tension is wrong?
Look for top-side puckering, thread showing on the underside, or fabric doesn’t lay flat. If the bottom shows knots or loops, the top tension is likely off—usually too tight.
Is it better to loosen or tighten the bottom tension first?
Start with the top tension. It’s the more common culprit. If you still have issues after adjusting the top, check the bobbin tension and re-thread everything carefully.
Can different fabrics require different tension settings?
Absolutely. Each fabric has its own sweet spot. When you switch fabrics, test on scrap first and adjust accordingly. FYI, a simple tension chart for common fabrics can be a lifesaver.
What if I’m stitching something stretchy?
Use a ballpoint needle, consider a zigzag or stretch stitch, and loosen the top tension slightly. Knit fabrics love a little give, not a chokehold.
My stitches look great on the top but terrible on the bottom—what now?
That usually means the bobbin tension is off or the bobbin isn’t seated correctly. Re-thread the bobbin, ensure it drops smoothly into the case, and test again. A quick clean and rethread often fixes it.
Conclusion
Tension isn’t a force; it’s a relationship between your thread, fabric, needle, and machine. Start with the basics, test on scraps, and make tiny adjustments. Before you know it, you’ll be sewing clean seams and not chasing elusive puckers like a cat after a laser pointer. FYI, patience pays here—tiny turns, big improvements. With a little practice, you’ll be whispering to your machine, and it’ll listen.
0 Comments