I’ll spare you the drama: seams come undone because something isn’t holding on tight enough. Let’s fix that, quick and friendly. You’ll walk away with practical tips you can actually use, not just vibes.
Seams Changes
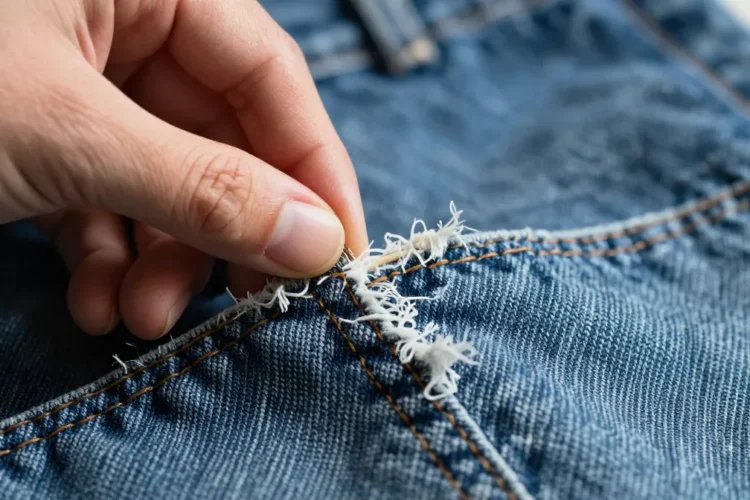
Ever notice a seam start peeling away at the edge like it’s got commitment issues? It usually boils down to four things: poor stitching, fabrics that don’t like each other, too much wear and washing, or a loose thread that started a chain reaction. The good news: most of these are fixable, and you don’t need a fancy sewing degree to do it.
– Poor stitching: a few skipped stitches or a thread that’s too loose can make a seam pop open faster than a soda can at a barbecue.
– Fabric + needle drama: delicate knits, stretchy fabrics, or heavy denim each need the right needle and stitch type.
– Washing and wear: hot water, harsh detergents, and rough cycles beat seams up over time.
– Thread snagging: those little frays that start as a single thread can unravel a whole seam if you don’t nip them in the bud.
How to assess a seam that’s on the edge of surrender
Before you dive in, take a quick peek and ask yourself a few questions:
– Is the seam unraveling along a fold or edge, or is it a straight seam? Different fixes, different tools.
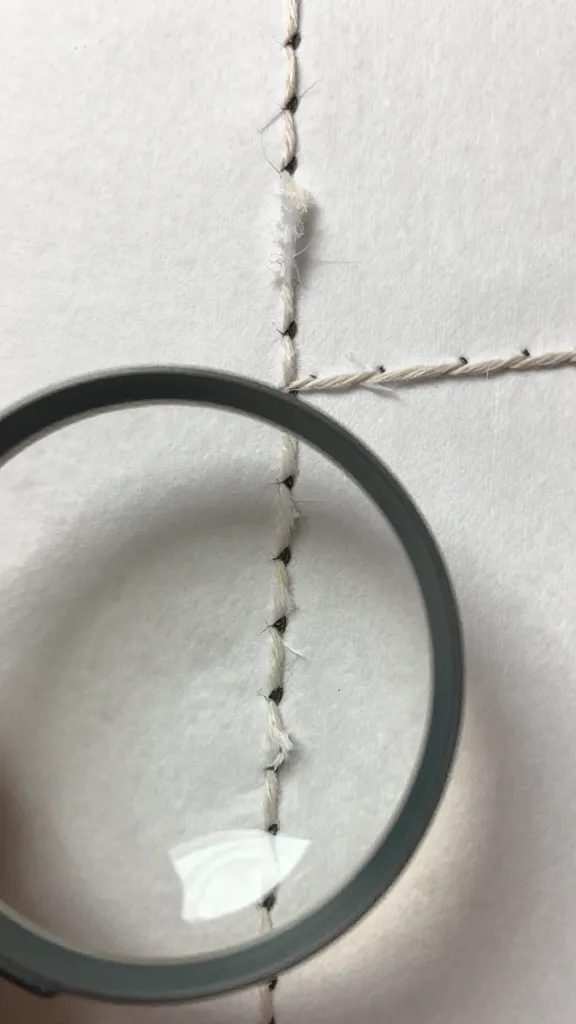
– Do the stitches look loose or missing entirely? If there are gaps, you’ll want to re-stitch with the right tension.
– Is the fabric pilling or worn? Weak fabric can require reinforcement or patching.
– How old is the garment? Old seams benefit from reinforcement; new ones might just need a touch-up
If you answered “yep, all of the above” to most of those, you’re in the right headspace for some solid fixes.
Fix tricks you can try right away
Here are practical, bite-sized fixes. Pick a method that matches your fabric and the kind of seam.
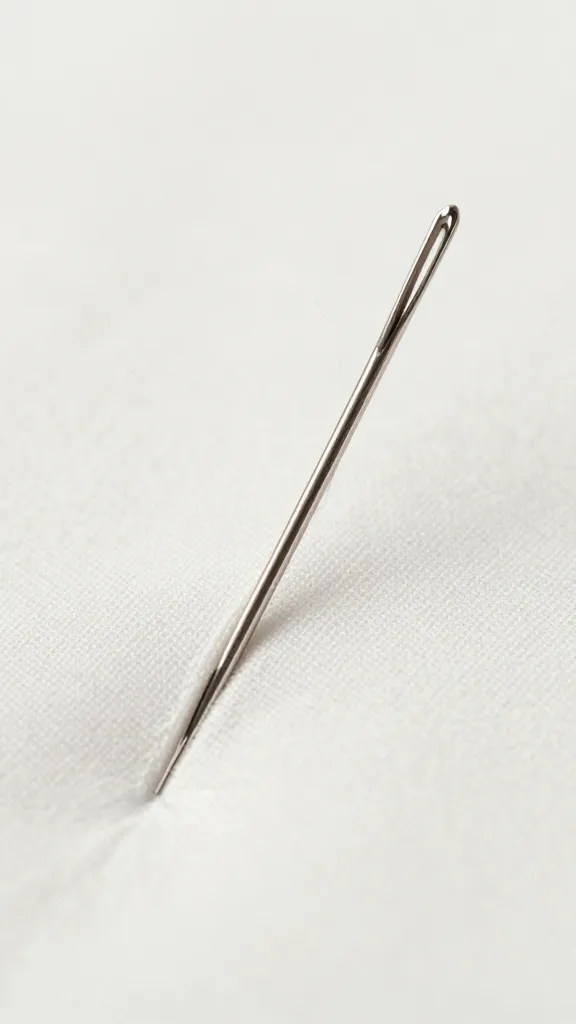
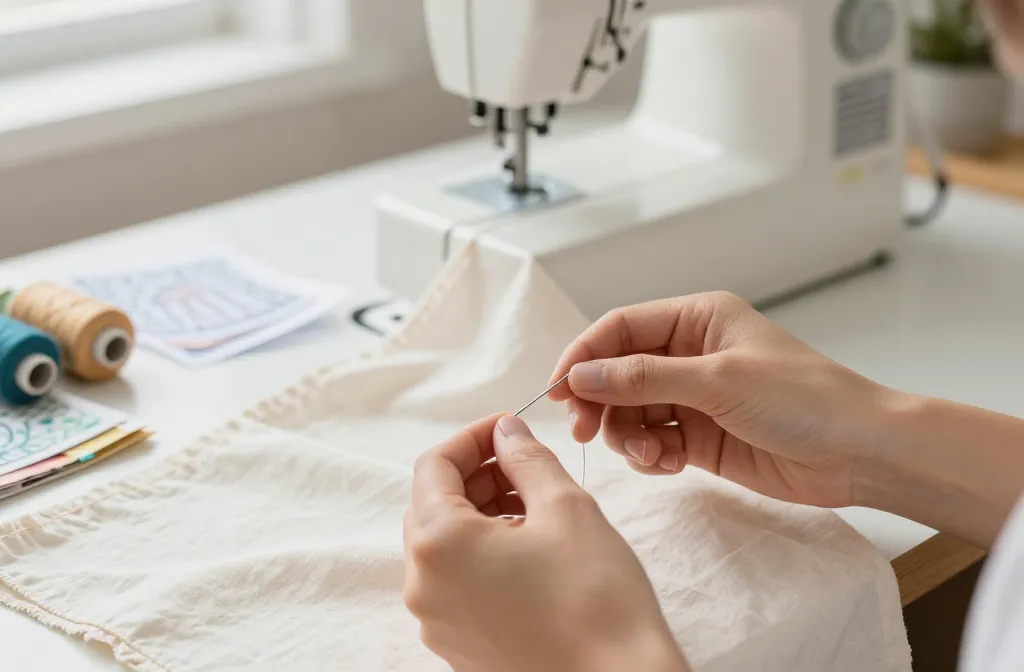
1. Quick re-stitch with a hand needle
– Thread a sharp needle with a color-matched thread.
– Knot the end, then start a little backstitch a stitch or two before the broken spot.
– Go forward with small, even stitches, catching a bit of the fabric on both sides.
– Tie off securely and trim close
This is your best friend for delicate fabrics or small gaps. It’s patient but effective.
2. Re-sew using a sewing machine
– Use a matching thread, proper needle for the fabric, and a straight or zigzag stitch depending on stretch.
– Reinforce by sewing a few millimeters before and after the broken area (backstitch, don’t be shy).
– If the fabric is stretchy, switch to a narrow zigzag or a stretch stitch to avoid puckering.
Pro tip: test on a scrap first, tension is everything here.
3. Use a seam sealant or fray check for edge fibers
– Apply along the raw edge of a seam to stop fraying before it spreads.
– Let it dry completely before washing
This isn’t a substitute for stitching, but it buys you time and keeps frays from multiplying.
4. Add a small facing or patch for extra security
– Cut a second fabric strip and sew it along the inside edge to reinforce the seam.
– This works like a tiny armor plate for weak spots, especially in jackets or jeans.
If you hate visible repair work, this can still stay mostly hidden on the inside.
5. Block and press to settle things
– After you fix the seam, press with a warm iron (not scorching) and a pressing cloth.
– Let it sit cool in place for a minute or two.
Heat and pressure help the threads settle and the fabric to mesh properly again.
When you should consider more than DIY fixes
Some situations require a pro touch or a more aggressive repair approach.
– Multiple seams failing in the same garment: time for reinforcement or a professional patch.
– Delicate or vintage fabrics: a tailor can handle fabric with care and the right needles.
– Structural damage: if the garment has ripped along a stress line, you might need a patch or replace the panel.
– Absurd wear patterns: if you see constant fraying at the same spot, the seam might be under too much stress—time for redesign or a sturdier seam.
If in doubt, don’t bulldoze through. Ask a tailor for a quick consult. It saves you time, money, and frustration in the long run.
Choose the right stitch and tool for the job
Not all stitches are created equal. Here’s a quick cheat sheet so you don’t fight gravity with the wrong gear.
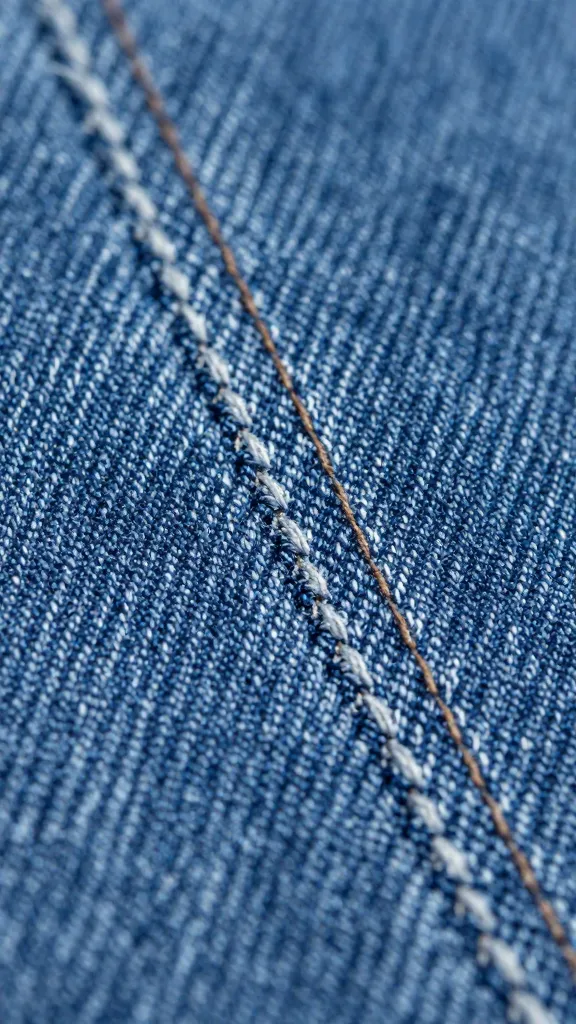
– Straight stitch: solid, no-frills, works for most woven fabrics.
– Zigzag stitch: adds stretch protection, great for knits and fabrics that want to move.
– Overlock/Serger: clean finish, strong edge, fantastic for stretchy or fraying fabrics.
– Hand stitching: precise, perfect for delicate fabrics, hems, or tiny repairs.
Needles matter too:
– Sharp needles for woven fabrics.
– Ballpoint needles for knits.
– Denim needles for heavy weight fabrics.
Thread matters as well:
– Match the weight and fiber. A cotton thread for cotton, polyester for durability, or a reinforced thread for heavy denim.
How to prevent future seam issues
A little proactive care keeps most of the drama at bay.
– Wash smart: cold water, gentle cycles, and zip up zippers to reduce snagging.
– Dry smarter: air dry when possible; throwing everything into the dryer is like a test of endurance for seams.
– Don’t over-stuff pockets or bags: extra stress is basically a flaunt-your-weakness sign for seams.
– Reinforce high-stress areas: elbows, knees, waistbands—add a second stitching line or a patch.
– Inspect regularly: give your go-to outfits a quick once-over after a few wears. Tiny issues today save big fixes tomorrow.
Understand fabric for smarter repairs
Fabric texture and weave influence how you fix and how long it lasts.
– Wovens vs. knits: knits stretch; wovens don’t. Plan your stitch type accordingly.
– Lightweight fabrics: delicate edges love a narrow stitch and light pressure when pressing.
– Heavy fabrics: secure with a stronger stitch, but don’t pull too hard or you’ll distort the seam.
– Elastic fabrics: avoid pure straight stitches if possible; use stretch stitches or serging.
If you’re unsure, test on a scrap first. That one extra scrap session saves you stress.
Common Questions
Can I fix a seam without a sewing machine?
Yes. Hand-stitching works beautifully for small gaps or delicate fabrics. Use neat, even stitches and secure knots at both ends. For longer tears, a sewing machine makes the job faster and sturdier, but you can absolutely DIY it by hand.
My seam keeps opening at the same spot. What gives?
That spot is under repeated stress. Reinforce it with a second row of stitches, add a tiny patch on the inside, or consider moving the seam to a less stressed area if possible. Sometimes a fabric upgrade is the simplest cure.
How do I stop fraying on a raw edge?
Fray check liquid, seam sealant, or a narrow zigzag stitch along the edge works great. For textiles that fray a lot, consider finishing with a serger or a binding to seal the edge.
Are there quick fixes that don’t look DIY?
Absolutely. A neat backstitch, a tiny patch on the inside, or a lightweight “facing” strip glued and stitched in place can look professional while keeping the repair strong. The key is to match fabrics and keep stitches unobtrusive.
How do I fix a seam on stretchy fabrics without making it bulky?
Use a stretch stitch or a narrow zigzag, and only sew where needed. Don’t overdo thread tension, and consider a small amount of serging if you have a serger—but don’t overcomplicate it.
Conclusion
You don’t have to dread a snag or a seam that sighs under pressure. With the right approach—smart stitching, proper tools, and a dash of patience—you can lock seams down like a pro and keep your favorite pieces in rotation, a little habit of quick checks after wash day goes a long way. So grab a needle, pick your fabric, and give that seam some sturdy love. You’ve got this.
0 Comments