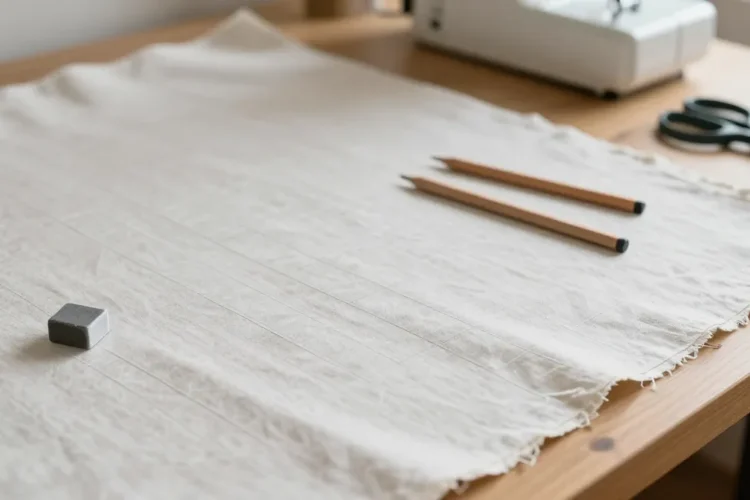
You’ve got a beautiful fabric, a sharp needle, and a deadline you actually care about. The only thing standing between you and perfectly aligned seams is marking the fabric correctly. Let’s cut the guesswork and get you clean lines, every time, a little marking goes a long way—like, a really long way.
Choosing the right marker for your fabric
Not all markers are created equal. You’ll see chalks, pencils, water-soluble pens, tailor’s tacks, and temporary sprays. So how do you pick?
- Natural fibers (cotton, linen): chalks and pencils wipe away easily with a damp cloth. Go for erasable options.
- Synthetic fibers (polyester, nylon): some markers sit on the surface. Test first—right side, left side, 2 minutes later.
- Delicate fabrics (silk, chiffon): use fine, reversible methods like tailor’s tacks or thin water-soluble marks.
- Dark fabrics and bold patterns: consider chalk on light, or a temporary spray that dries clear. Always test a hidden seam first.
Test, test, test: a quick marker trial
Here’s the boring-but-crucial step that saves you a headache later.
- Mark a small scrap or inconspicuous edge of the fabric.
- Wash or press as you would for the final project to see if the mark stays or vanishes.
- Pick the marker with the cleanest removal and least residue after testing.
Where to place marks for precision
If your marks disappear mid-seam, you’ll regret not being more intentional. Do this instead:
- Notches go on the seam allowance, not the fabric face. It keeps your design intact.
- Reference points like darts, pocket placements, and grain lines go on the fabric surface but away from the seam allowance when possible.
- Keep marks under 1/4 inch when you can. Tiny is your friend.
Common marking methods and when to use them
Let’s break down the most reliable options and why you’d pick each one.
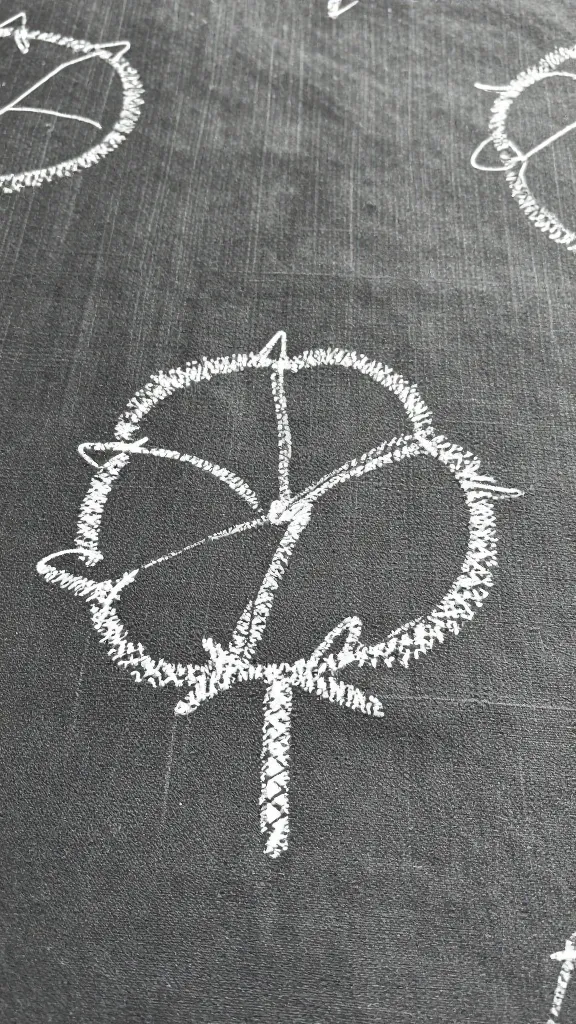
Chalk markings
Chalk is a classic for a reason: easy to see, easy to erase. Choose as you please:
- Block chalk works on large areas. Great for hems and hems lines.
- Chalk pencils offer precision for darts and curves.
- Wipe away with a damp cloth; test first on delicate fabrics to ensure no residue.
Fading pencil or tailor’s pencil
A fine line, minimal residue. Tests show you won’t be surprised by a stray mark after steaming.
- Perfect for precision work—pleats, darts, and grain alignment.
- Cross-hatch lines can help you transfer multiple points quickly.
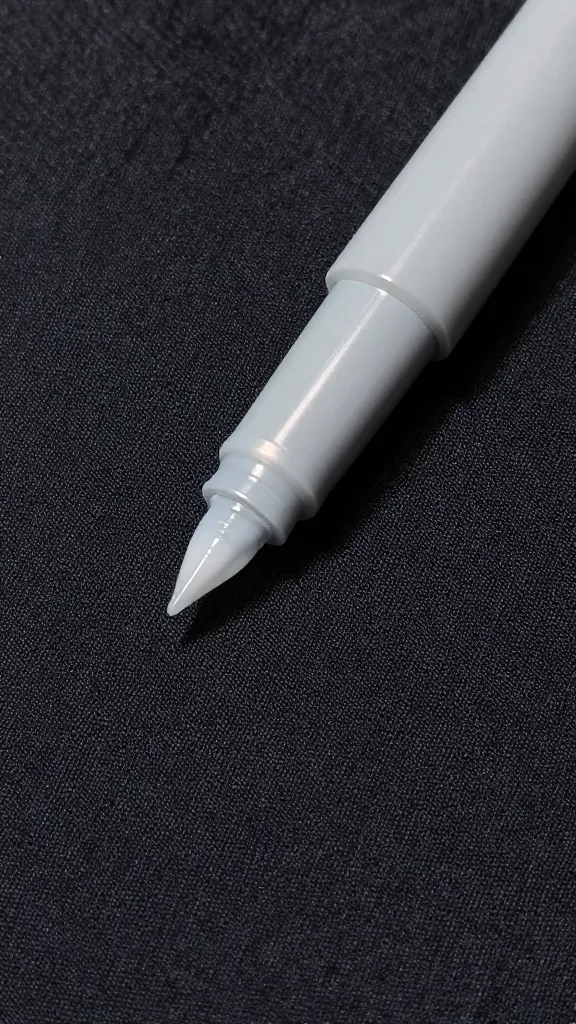
Water-soluble markers
Nice for delicate fabrics—marks vanish with water or steam.
- Do a quick wash test. If your fabric is colorfast, you’re good to go.
- Keep the marks small and on the seam allowance if possible to avoid visible lines.
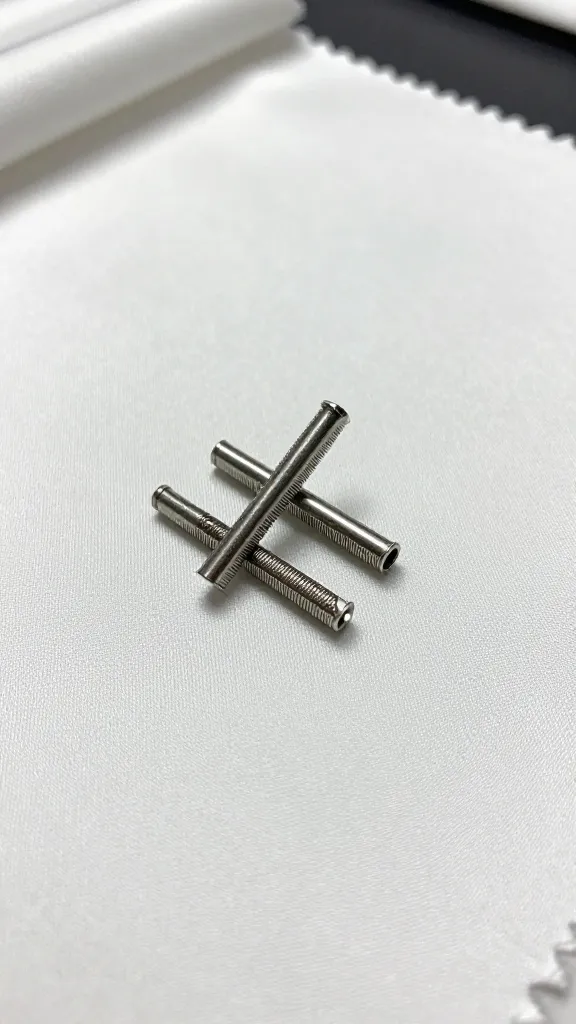
Tailor’s tacks
Old-school but gold for precision positioning. They’re permanent until you remove them.
- Great for heavy fabrics where chalk won’t last through handling.
- Gentle pull-out method: remove tacks before you sew to prevent snagging.
Fabric-safe erasable pens
Some erasable pens disappear with a quick iron. Hot tip: test heat settings on scraps first.
- Ideal for project staging, especially when you need to test fit before final stitches.
- Confirm no residue after pressing—some inks stay stubbornly behind.
Marking for tricky fabrics
Some materials just don’t play nice with generic markers. Here’s how to handle the hard cases.
Silk and chiffon
Go light and reversible.
- Prefer tailor’s tacks or fine water-soluble markers with quick wash tests.
- Press gently after marking to avoid shifting the grain or marking too deeply.
Leather and vinyl
They don’t erase, so plan more precisely.
- Use tailor’s chalk or removable wax pencils. Mark on the less-visible edge.
- Consider punching or pinning at the seamline and transferring with tracing paper if needed.
Heavyweight fabrics
Mark boldly but remove cleanly.
- Chalk works well on cotton twill or denim.
- Be mindful of bulky marks that could show through. Keep lines long and clear but not heavy.
Layering and marking for complex projects
When you’re dealing with multiple pieces, your markings can get chaotic fast. Here’s the sane approach.
- Label pieces as you cut. A little sticker or a note on the wrong side helps you keep track.
- Use a color code for different types of marks (e.g., red for notches, blue for darts, green for seam allowances). Keep colors consistent project-to-project.
- Mark both fabric layers if you’re sewing a two-piece construct simultaneously. It saves time and avoids misalignment.
Removal and final check
Marks aren’t permanent friends. You want them gone when you’re done, ideally without a trace.
- Warm water and a damp cloth usually do the trick for chalk and pencil marks.
- For markers, follow the product’s removal instructions. Some require heat, some require gentle washing.
- Check the seam line with a light press. If you still see a ghost mark, repeat removal gently.
Common Questions
How do I know if a mark will stay on through washing?
Always test first on a scrap or a seam allowance you’re not using. If it’s a soluble marker, mark, wash, and confirm the mark disappears. If it’s permanent, you’ll need another method for the project.
Can I mark on the right side of the fabric?
Usually no. Marks on the right side risk showing in the final garment. Save them for the wrong side or seam allowance whenever possible.
What’s the best way to remove marks from dark fabrics?
Dark fabrics can be stubborn. Try a dye-free eraser or a damp cloth with a gentle, color-safe cleaner after the mark is fully dry. Always test on a hidden area first.
Do I need to remove marks before pressing?
Yes, if the marking method could transfer or warp under heat. Some marks vanish with heat, but if you’re unsure, wash or dampen before pressing.
How can I speed up marking without sacrificing accuracy?
Use a transfer method for multiple points at once, like tracing patterns onto tracing paper and then transferring with tailor’s chalk or a light pencil. It keeps lines neat and saves time.
Conclusion
Marking fabric isn’t glamorous, but it’s what makes the sewing magic happen. Do a quick marker test, pick a method that suits your fabric, and keep the lines minimal and precise. If you’re ever in doubt, lean on the trusty tailor’s tack or a fine chalk line—these are the veterans of most pro sew rooms, the right marking method is less about fancy tools and more about deliberate habits: test, transfer, remove, repeat. You stitch with confidence when you’ve marked with intention. Happy sewing!

0 Comments