I’m not going to bore you with excuses or long-winded introductions. If you want to sew, you’ll want results fast. So here are 10 useful beginner sewing skills you can actually use, right now, without drowning in a sea of jargon.
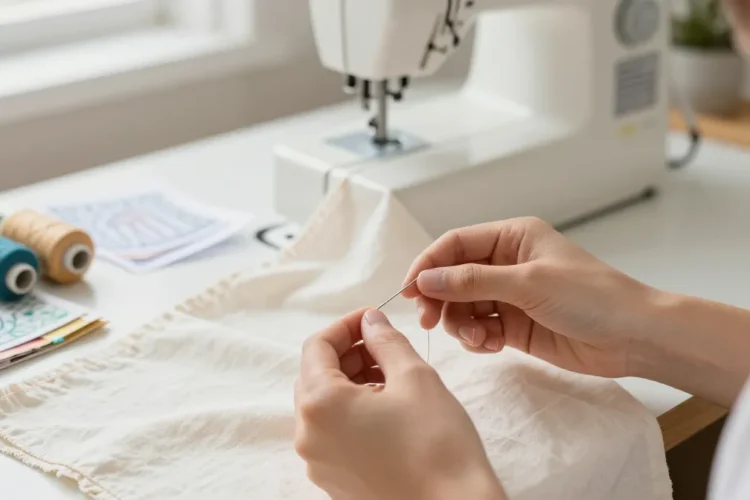
1. Threading a needle like a pro
No shame if your first try looks more like a fishing line knot. Mastering a good thread is the foundation of every project. Here’s the quick version:
- Use a sharp needle and quality thread that matches your fabric.
- Thread the needle from the top to the bottom or vice versa, whatever feels natural.
- Pull until the thread ends are even, then knot or use a small backstitch.
Tip: don’t pull so tight that the fabric puckers, a little patience goes a long way here.
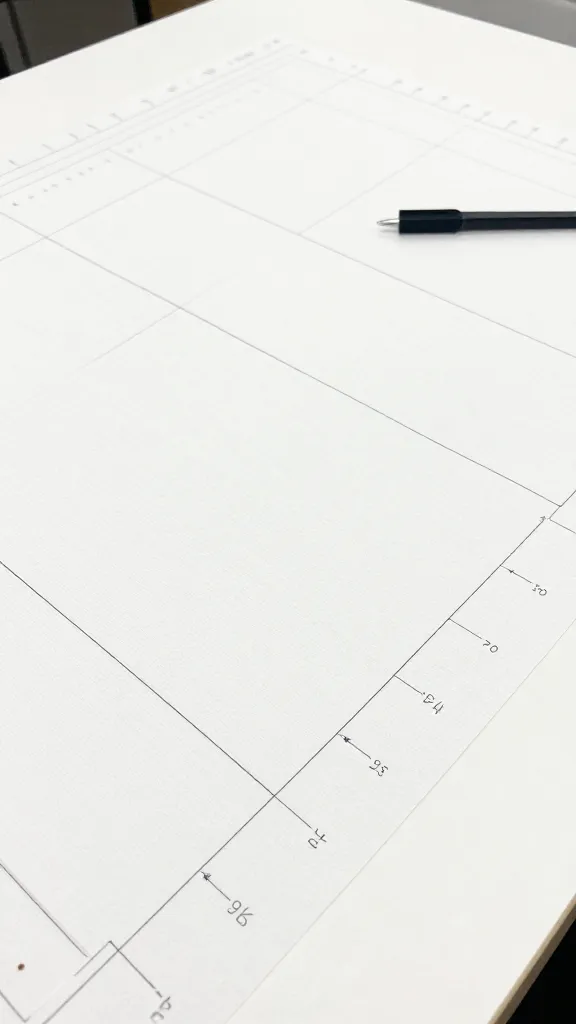
2. Reading a pattern and choosing fabric

Patterns aren’t scary once you know the lingo. Learn to:
- Identify pattern pieces, their grainline, and notches.
- Match pattern sizes to your measurements—don’t assume one size fits all.
- Choose fabric that behaves well with your design (cotton for beginners, avoid slippery fabrics until you’re comfy).
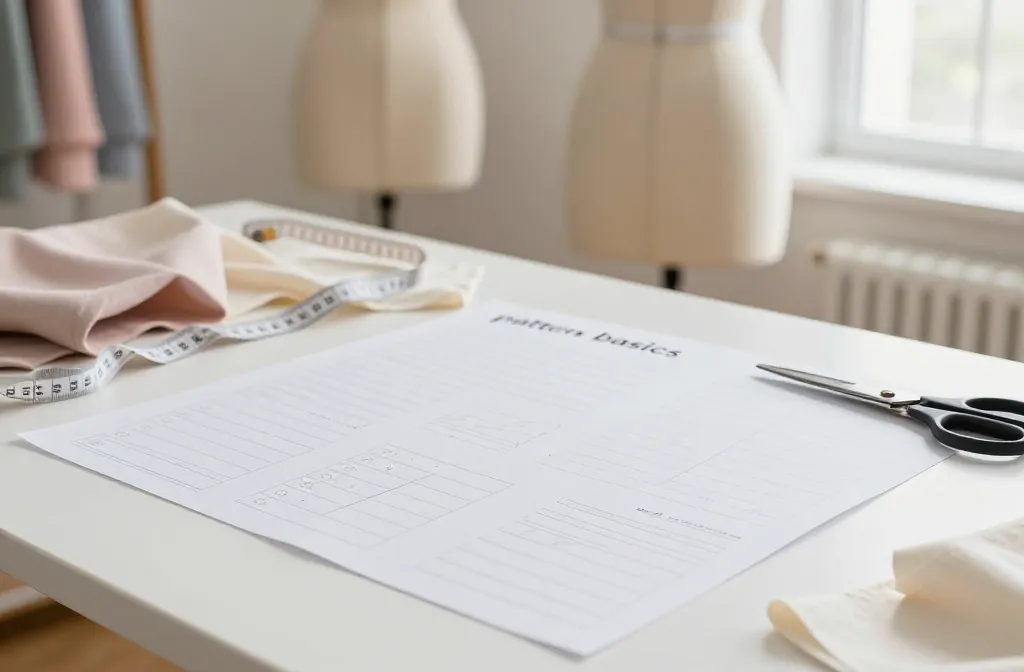
Quick pattern hacks
What the notches actually mean
Notches align pieces so seams match perfectly. If you skip them, you’ll end up with something that looks DIY, not purposeful.
3. Straight stitching without turning your project into a blob
The backbone of most sewing is a straight stitch. Practice makes perfect.
- Set your machine to a basic stitch length (around 2.5–3.0 for woven fabrics).
- Keep a steady pace and don’t yank the fabric; guide, don’t push.
- Use a scrap piece to test tension before you dive in.
Mini challenge: sew a 6-inch rectangle and check for even edges. If it waves like a flag, your tension or needle type might be off.
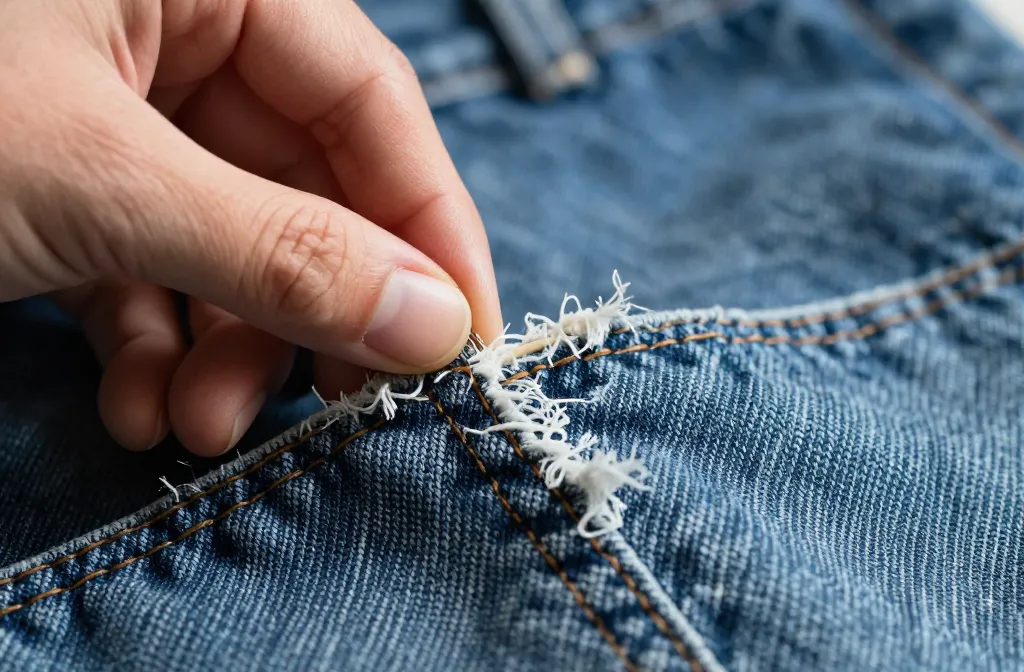
4. Seam finishes that prevent a frayed future
A neat finish keeps your clothing and projects from unraveling. Start with simple options:
- Zigzag or overcast stitch on woven fabrics.
- French seams for a clean, sturdy look on light fabrics.
- Raw edges? Serge or use pinking shears if you’re in a pinch.
If you’re not sure which to pick, start with a zigzag. It’s forgiving and versatile.
5. Knee-deep in hems: the art of a clean edge
Hems are tiny details that say, “I care.” Here’s how to nail them without drama:
- Press, press, press—the 80% of hemming happens with the iron.
- Use a washable basting stitch to hold before you stitch the final line.
- Topstitch for a visible, chic finish on casual projects, or blind stitch for a clean, almost invisible edge.
Hemming tip: test a small swatch first to see how your fabric behaves with the chosen stitch.
6. Zippers, buttons, and other fasteners

Fasteners add personality and practicality to your pieces. Start simple:
- Invisible zippers on a straight seam are easier than they look once you’ve practiced.
- Buttons: learn a simple shank method for a neat pull, or sew on a shankless button for a flat look.
- Snap fasteners are great for beginners and kid-friendly projects.
If you’re intimidated, practice on scrap fabric before touching your actual project.
7. Aligning fabric while you sew
Fabric shift is real, and it makes you question your life choices. A few tricks help:
- Use tailor’s chalk or a fabric pen to mark seam lines and notches.
- Always pin or clip along the seam to prevent movement.
- Take your time to align edges and press as you go to set each step.
It’s not cheating to plan; it’s smart sewing, good marks save you hours later.
8. Pressing like a pro
Ironing isn’t optional; it’s part of the process.
- Press, don’t drag the iron—lift and press to set seams.
- Use a spray bottle for stubborn wrinkles and delicate fabrics.
- Invest in a good iron and a sturdy ironing board; your future self will thank you.
Remember: heat settings matter, low heat for delicate fabrics, higher heat for cottons.
9. Basic fitting: how to make things just fit better
You don’t need a tailor for small tweaks.
- Take in or let out a seam by 1–2 cm on each side, test on a mock-up first.
- Shorten sleeves and hems evenly to avoid a bulky look.
- Make a simple muslin (cheap fabric) to test the fit before touching your final piece.
If it feels a bit loose in the shoulders, you’re likely not alone—adjusting there makes a big difference.
10. Finishing a project with confidence
You’re almost there. Wrap it up with these steps:
- Trim threads and clean up stray fibers for a polished look.
- Give everything a final press to set the shape.
- Make notes on what you’d do differently next time—learning is casual and ongoing.
Question to yourself: would you wear this or use this daily? If yes, you’re doing great.
Common beginner hiccups and quick fixes
– Thread keeps breaking: check needle size, thread type, and fabric weight. Switch to a ballpoint needle for knits, sharp for wovens.
– Fabric puckers along seams: reduce tension, use smaller stitch length, or align fabric edges more carefully.
– Zipper sticking: move slowly, use a lead-in tape, and ensure it’s the right zipper for the project.
Practice plan for steady progress
– Week 1: Practice straight stitches on scrap fabric, then sew a simple pillow cover with a visible seam.
– Week 2: Try a simple tote bag with a reinforced handle, practice topstitching.
– Week 3: Hem a pair of curtains or a skirt, experiment with a basic invisible hem.
– Week 4: Add a zipper to a pouch or small bag.
Common Question
What equipment do I absolutely need to start?
You need a sewing machine, basic threads, a pack of assorted needles, scissors, pins, and a measuring tape. A seam ripper helps when you mess up—aka inevitable.
Can I start with any fabric, or should I stick to cotton?
Cotton is forgiving and great for beginners. Once you’re comfy, try denim, linen, and knits, stretch fabrics require a ballpoint needle and often a different stitch.
How long does it take to get decent at sewing?
Depends on how often you practice. You’ll see real progress in a few weeks with consistent, short sessions. The key is showing up for the practice.
Is it worth joining a sewing class or community?
Absolutely. The feedback, tips, and shared projects can accelerate your learning and make it more fun. It’s also a great way to stay accountable.
What’s the best way to store fabric so it doesn’t warp?
Roll fabric instead of folding it flat when possible, or fold with acid-free tissue. Keep it in a cool, dry place and away from direct sunlight to prevent color fading.
Conclusion
Sewing doesn’t have to be mystifying. With these 10 beginner skills, you’ll tackle projects with more confidence and a lot less frustration. Start small, practice often, and celebrate tiny wins—like finishing a simple tote or hemming a pair of curtains without cursing at your machine, the coolest thing about sewing is how quickly you can turn a handful of materials into something you actually use and love. Now go grab a scrap, thread your needle, and make something delightful.
0 Comments