You can read a PDF sewing patterns easily until you come across hard one. Then it becomes a tiny, satisfying DIY: align edges, print the right scale, and watch a pattern bloom into fabric magic. Here’s a friendly, no-nuss guide to slash your setup time and get perfect patterns every time.
1. Understand the pattern’s print requirements
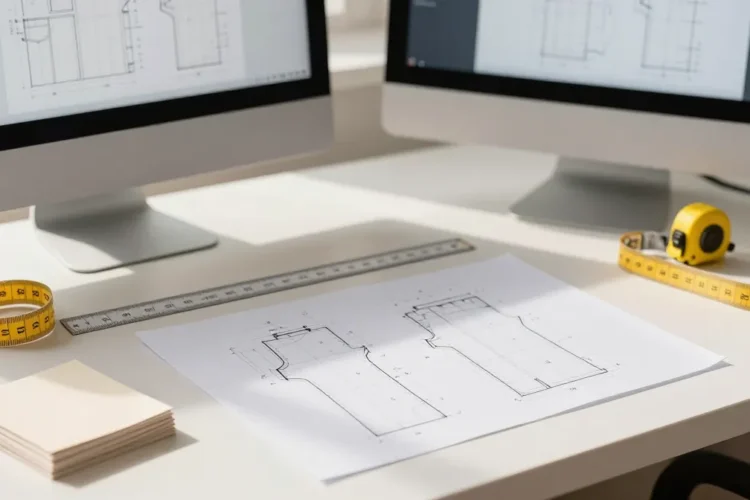
Start smart, not messy. Before you print, check the pattern’s notes for printer settings and paper size. Do you need A4, US Letter, or a mix? Some patterns come with multiple print sizes—don’t eyeball it, measure twice, cut once.
– Look for the printer instructions on the pattern page.
– Note the scale: 100% or actual size (no scaling).
– Check for add-on sheets like BOM or test squares.
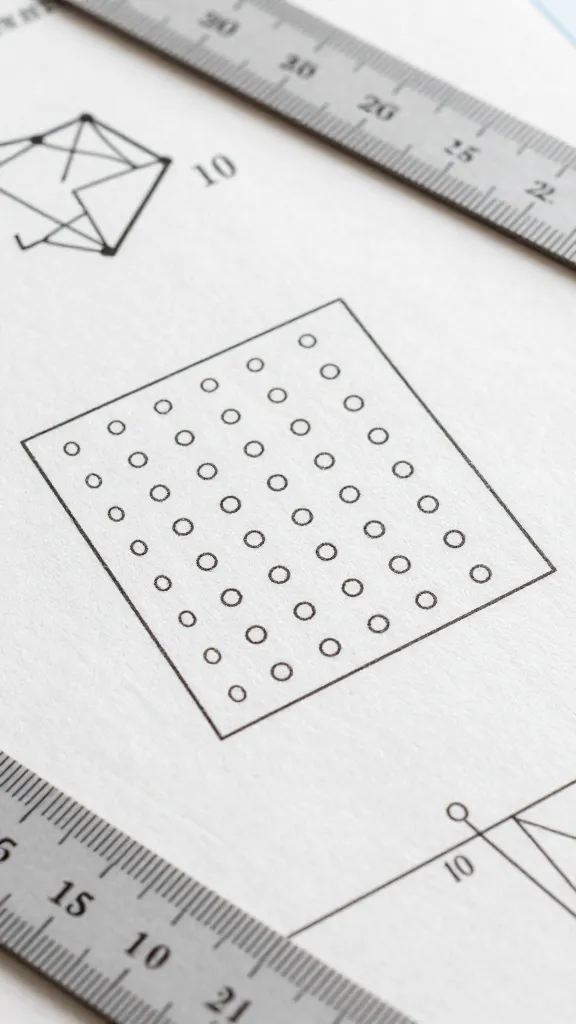
Pro tip: If the pattern uses a “test square” to verify scale, print that first. If it doesn’t line up, you know you’re in trouble before you waste fabric.
2. Set up your printer and paper correctly
This is where many projects derail. Tiny misalignments become big headaches on a seam line.
– Turn off any “fit to page” or “shrink to fit” options.
– Choose the correct paper size in your print dialog (A4 or Letter, not both at once).
– Print a test page if available to confirm 100% scale.
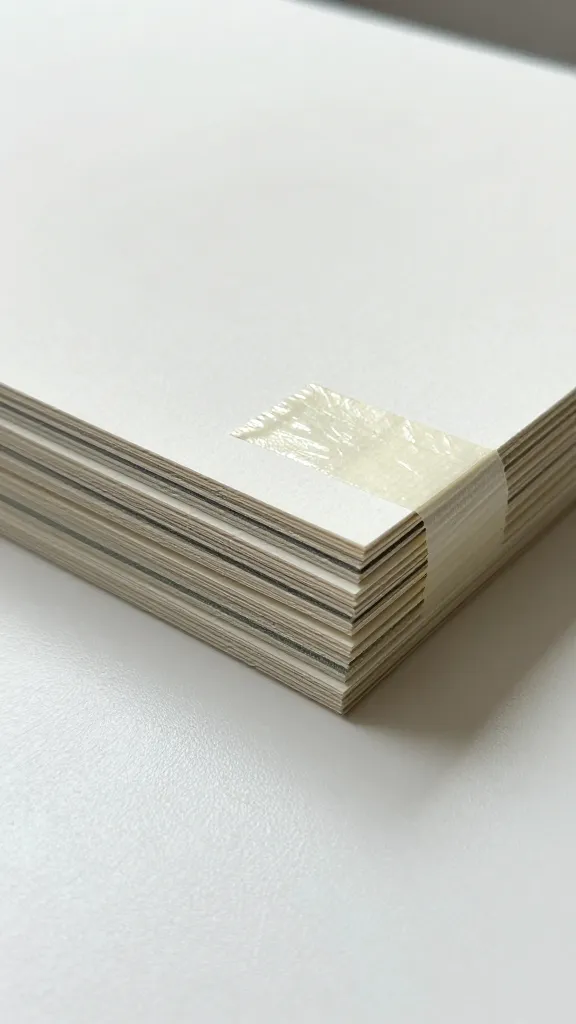
Now, about paper choices: standard printer paper works for test prints, but you’ll want something a bit sturdier (like light card stock) for your final layout, it’s easy to tape sheets together and keep everything aligned.
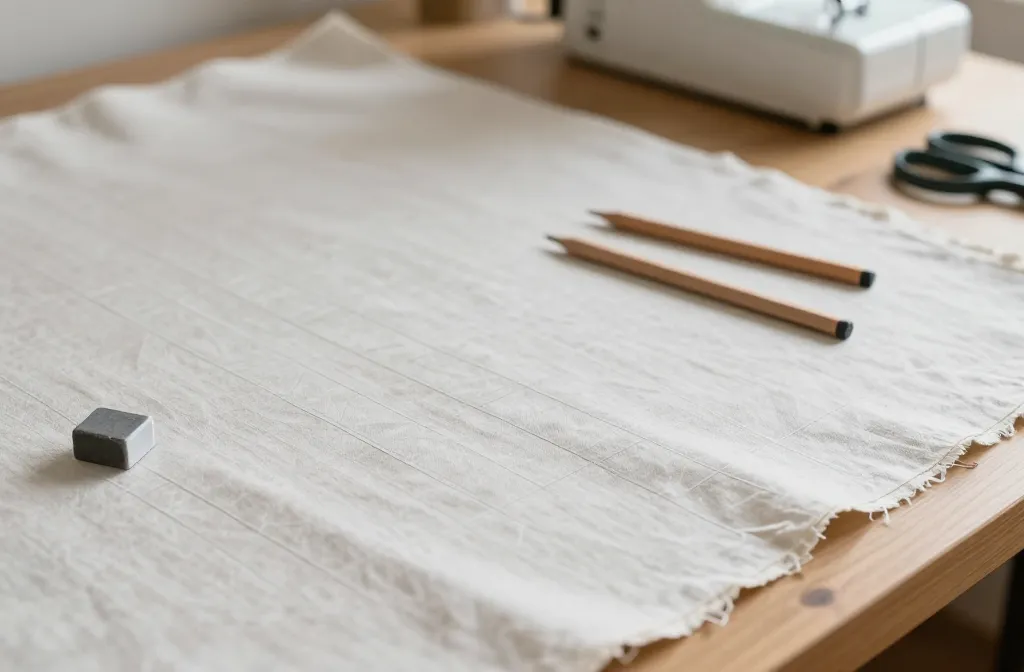
3. Align and assemble like a pro
Once your sheets arrive, the real fun begins: assembly.
– Trim the margins as directed. Some patterns want you to trim down so the edges butt up cleanly.
– Line up the alignment marks on adjacent pages. Ignore the accidental misprints—they’re not the ones pretending to be your seam allowance.
– Use gentle tape or removable glue to keep sheets in place during cutting. No need to turn your living room into a tape museum.
Dealing with mismatch pages
When pages don’t line up perfectly, don’t panic. Most mistakes come from leaving too much space around the edges or not trimming correctly.
– Double-check the scale on a test square.
– If two pages are off by a millimeter or two, keep going. A tiny drift can be worked into a seam with careful pinning.
4. Tape or glue with intention
There are two camps here: the tape squad and the glue squad. Both get the job done; it’s just a matter of your preferred mess level.
– Tape method: Clear tape along the edges keeps things tidy and reversible.
– Glue method: A thin line of repositionable glue helps with accuracy, but you’ll need a bit more drying time.
Whatever you choose, avoid bulky adhesive that leaves lumps under your fabric. You want crisp lines, not fabric shaped like a quilted map.
5. Verify accuracy before cutting fabric
Accuracy now saves you from sewing room drama later
– Re-measure a few critical lines (grain lines, seam lines, notches) after assembling the pages.
– Compare the pattern pieces to your measurements; if something feels off, trust your ruler.
– Use a cheap muslin or scrap fabric to do a quick mock cut if you’re nervous about wasting good fabric.
The test mock-up
If you’re tackling a complex garment, a quick muslin version helps you spot fit issues before you chop into your nice fabric. It’s cheaper than a panic in the sewing room.
6. Cut efficiently and accurately
Cutting is where precision pays off in the long run.
– Pin pieces to keep fabric stable, especially on slippery or stretchy fabrics.
– Use pattern weights to avoid shifting when you don’t have a lot of hands.
– Transfer notches and markings cleanly—chalk, tracing wheel, or sharp pencil are all acceptable.
Tip: Keep a dedicated “pattern cut” scissors separate from your fabric shears. It’s a small habit, but it saves big headaches.
7. Organize for sewing sessions
A tidy workflow makes sewing more fun and less chaotic.
– Bundle pieces by garment section (bodice, sleeves, skirt) and label clearly.
– Store matched pieces with their corresponding notions so you don’t lose the critical part of the puzzle
– Create a little “assembly plan” so you know what gets sewn when. It sounds nerdy, but it saves time and frustration.
8. Troubleshooting common issues
Even the best-laid plans go sideways sometimes.
– Misaligned print: Revisit the print scale and reprint the affected pages.
– Notches don’t line up: Check grain lines and ensure you cut on the correct edges.
– Fabric mismatch: If your pattern pieces are too small or too large, you probably scaled the print unintentionally
There are many sewing hiccups trace back to a single print-setting oversight. Breathe, retrace, and you’ll recover fast.
9. Go digital-savvy: organize files and versions
Digital organization saves you heartbreak down the line.
– Keep a folder for each pattern with the PDF, any updated size sheets, and a note about the fabric choice.
– Name files clearly: PatternName_Size_Version.pdf
– Consider printing a “checklist” page that notes your chosen size, prints, and any alterations.
Pro tip: Back up the PDFs somewhere reliable. Nothing’s worse than losing a perfect pattern just because your hard drive froze.
10. Final checks before you cut
One last sweep to close the loop.
– Confirm your seam allowances are included (or add them if the pattern assumes a standard 5/8 inch).
– Re-check the size and fit against your measurements.
– Enjoy a moment of triumph because you just printed a life-changing sewing plan.
Common Questions
How do I know I printed at 100% scale?
Print the test square that comes with the pattern or print a known dimension as a check. Measure the square or dimension after the page prints; if it’s off, adjust the printer settings to 100% (no scaling) and reprint.
Can I print on regular printer paper and still sew accurately?
Yes, for the printout itself. Use it to assemble, align, and check fit. For final cutting, use pattern paper or muslin to keep your fabric pristine. The key is accuracy in the print, not the paper you printed on.
What if my pages won’t line up perfectly?
Don’t panic. Re-check the scale, trim margins as directed, and align based on the pattern’s alignment marks. If you’re still off, reprint the problematic pages.
Do I need all the sheets when the pattern shows multiple views?
Yes and no. If you’re only sewing one view, you can print only the pages needed for that view. Just make sure you don’t miss any pages that contain crucial pattern pieces or instructions.
How should I store printed PDFs for future use?
Save the PDF and any accompanying documentation in a dedicated pattern folder. Back it up to cloud storage or an external drive. Keep a notes file on alterations you make so you don’t repeat mistakes.
Common Question
Printing PDF sewing patterns doesn’t have to be a slog. With a little upfront setup, a love of clean edges, and a dash of patience, you’ll turn flat PDFs into fabric-packed joy more often than not. So grab your printer, print the test square, and dive into the pattern—you’ve got this. Happy sewing, friend, and may your seams be straight and your hems flawless.
0 Comments