
I know the feeling: you pick up a gorgeous wool coat pattern and then you realize you actually have to sew it. Fear not, fellow sewist. Here are 10 practical tips to nail a wool coat without turning your living room into a fabric-factory disaster.
Be picky with your wool and notions from the start
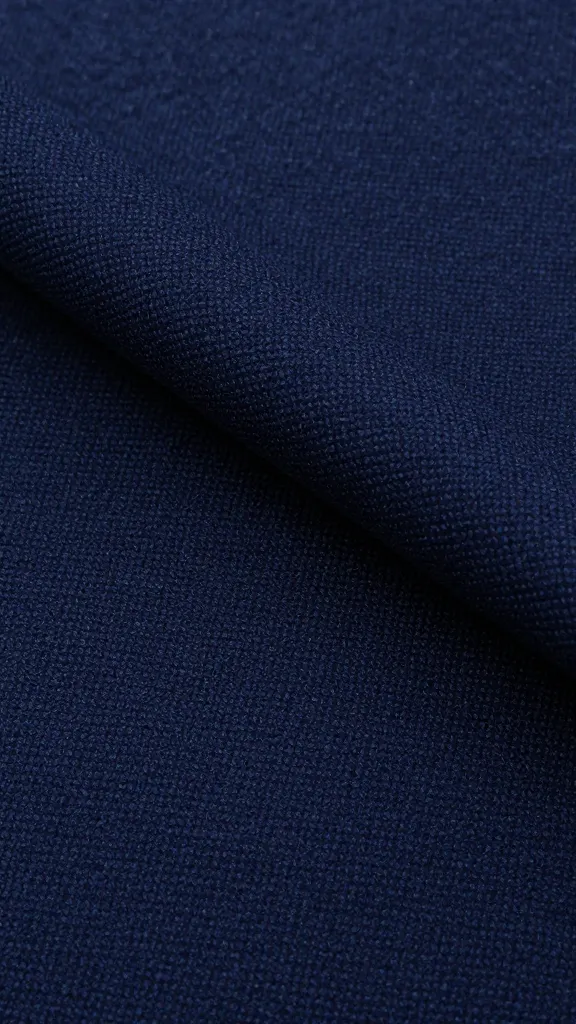
Wool is forgiving in some ways, but it’ll show your mistakes if you skimp on quality. If you’re aiming for something that lasts, invest in medium-to-heavyweight wool with a tight weave. Lighter wools can be fine, but they behave differently when pressed and stitched. Clear your color palette before you buy—stick to something you’ll actually wear, not just something that looks impressive on the bolt.
Tip: choose a fabric with at least a 2- to 3-season weight if you want something your future self will still love in a year.
Prep like a pro: take your measurements and block the coat
You don’t want a coat that fits in the hips and swallows your shoulders. Do a quick muslin or a fabric scrap mock-up to test the fit. Even better, mine the pattern’s sizing and compare it to your chest, waist, and hip measurements. If you’re between sizes, size up and adjust.
- Mark the grainline and true the pattern pieces.
- Stabilize tricky areas with light interfacing where needed—shoulders and the lapel love that.
- Consider a wearable muslin in a cheaper fabric to test fit and movement.
Interfacing and stabilizing: the backbone of structure
A wool coat needs structure without turning into a stiff, cardboard block. Interfacing is your best friend here, especially around the front edges, collar, and lapels.
- Use a fusible interfacing on the front edge only if you’re sure you want it. For softer drape, go with non-fusible and apply it with steam.
- Consider a lightweight canvas or hair canvas in the lapels or front facing for that classic tailor look.
- Pressing rules: heat matters more than you think—treat wool gently, but don’t skip the steam.
When to skip interfacing
If you’re making a casual wool cape or a unstructured style, you can skip heavy interfacing. But for a proper wool coat with a defined silhouette, a bit of stiffening makes a world of difference.
Stitching tricks that save your coat and your patience
Sewing wool can be temperamental. It likes to creep and shift, especially on longer seams. Here are tricks to keep it honest.
- Use a walking foot or a Teflon foot to handle the pile and prevent snags.
- Sew with a shorter stitch length on seam lines to reduce bulk and keep rows neat.
- Finish seam allowances with a serger or a clean zigzag to prevent fraying.
- Press with a tailor’s ham and a narrow seam roll so you don’t squash the shape.
Topstitching and details
Topstitching can elevate a coat—think of it as jewelry for fabric. Use a thread color that complements or matches, and keep stitches even. If you’re new to topstitching, practice on scraps until you’re confident you can hit a straight line.
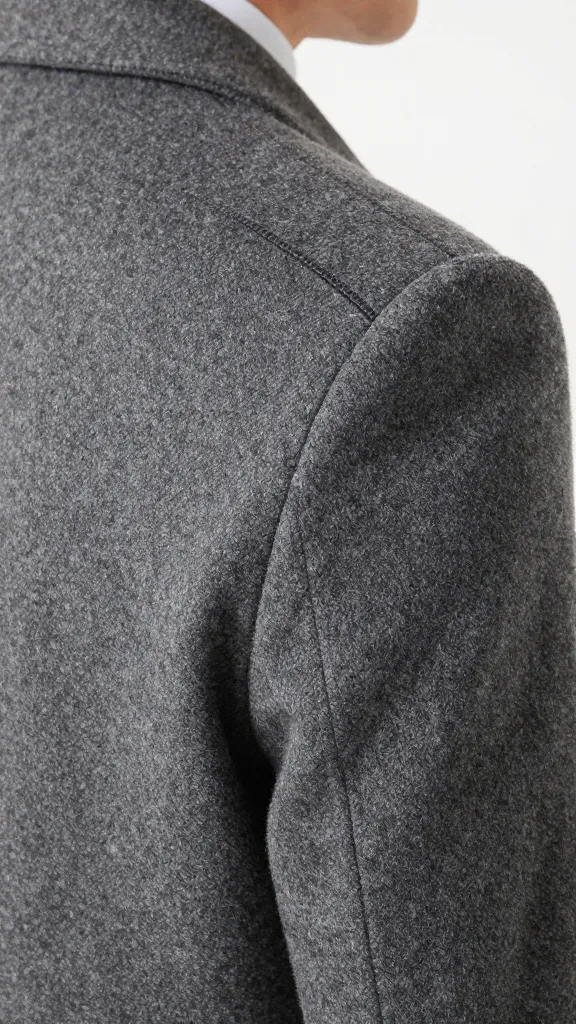
Collars, lapels, and the magic of balance
The collar and lapels are the most visible parts of your coat. They can make or break the look.
- Interfacing in the lapel helps it lie flat. The edge should be clean and crisp.
- Gradual shaping around the neck stops the coat from standing away from your throat. Pin, baste, then sew.
- Test the roll: is your collar curling oddly? It probably needs a touch more interfacing or a longer lapel seam.
Notch collars vs. shawl collars
Notch collars keep things traditional and sharp, while shawl collars lean cozy and chic. Your pattern and fabric choice will steer you here, but don’t be afraid to mix styles if the pattern allows.
Fillings, linings, and the snooze-worthy but essential lining game
Lining might seem like a boring afterthought, but it’s where your coat gains comfort, weight, and drape.
- Choose a lining fabric that slides easily over other clothes. Silk, acetate, or a smooth poly are common picks.
- Interlining can add warmth without bulk. A light quilted or satin-backed fabric works well in cooler climates.
- Match the lining to the coat’s weight: heavy wool needs a sturdy lining that won’t sag after miles of wear.
How to sew a clean lining
Baste the lining separately first, then join to the coat at the seams. Align the armhole seams carefully and press as you go. No one wants a lining that shifts mid-walk.
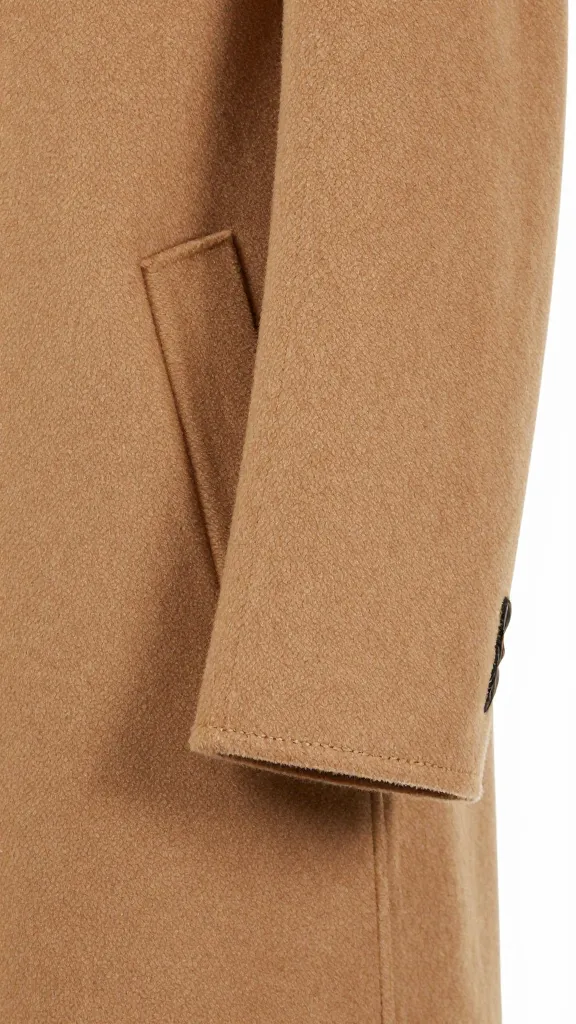
Pockets, hems, and that finishing touch that screams “you made this”
Pockets are handy, but they’re also a design detail. And the hem? It’s where the coat finally feels finished.
- Patch pockets or welt pockets? Go with your pattern and your vibe. Welt pockets can look chic but require careful cutting and handling.
- Hemming wool coats takes planning. If you’re alternating between a long and a short coat, test the hem on a scrap first to get the ideal break.
- Edge finishing matters: a clean edge with a weighty tailor’s hem adds longevity and a polished look.
Finishing touches: care, fit checks, and real-world wear
You’re not done after the last stitch. It’s time to check, press, and care for that new coat.
- Do a final wearable muslin check. Move, sit, and walk—your coat should feel like a second skin.
- Wash and care labels matter. Wool coats usually need careful cleaning, not a spin in the washing machine.
- Storage is underrated: wrap it in a breathable garment bag and hang it on a sturdy hanger to maintain the shoulder shape.
Common Questions
Is wool coat sewing beginner-friendly?
It can be, with the right pattern and a little patience. Start with a simpler silhouette and a lighter wool for practice. If you’ve never sewed a coat before, allocate extra time and don’t rush the fitting stages.
How do I pick the right wool for a winter coat?
Look for a tight weave and a weight that suits your climate. Aim for 300+ grams per meter or the pattern’s recommended weight. Blends with cotton or synthetic fibers can improve durability and ease of handling.
What kind of lining should I use?
A smooth, slippery lining makes the coat easy to wear. Poly or silk blends are common. If you want extra warmth, add a lightweight interlining behind the lining.
How do I fix a stripe pattern that shifts while sewing?
Cut all pieces with the pattern aligned to the grain and use pattern weights to keep everything stable. Pin on grain and sew slowly, especially at seams where patterns must match. Finish with a press to set the alignment.
My coat looks great but the lapels don’t roll nicely. What now?
Check your interfacing in the lapels. If it’s too stiff, swap for a lighter weight or use a more flexible interfacing. Ensure you press using a tailor’s ham to shape the roll evenly. It can take a few adjustments, but you’ll get there.
Conclusion
Sewing a wool coat isn’t just about stitching fabric together; it’s about building a timeless piece you’ll wear for years. Start with quality wool, plan the structure, and respect the details that give a coat its soul. If you approach it like a project, not a sprint, you’ll end up with something you’re proud to wear and actually show off to friends. FYI, the first coat will likely teach you something new—embrace it and move on to the next one with wiser hands. Happy sewing, you stylish genius.
0 Comments