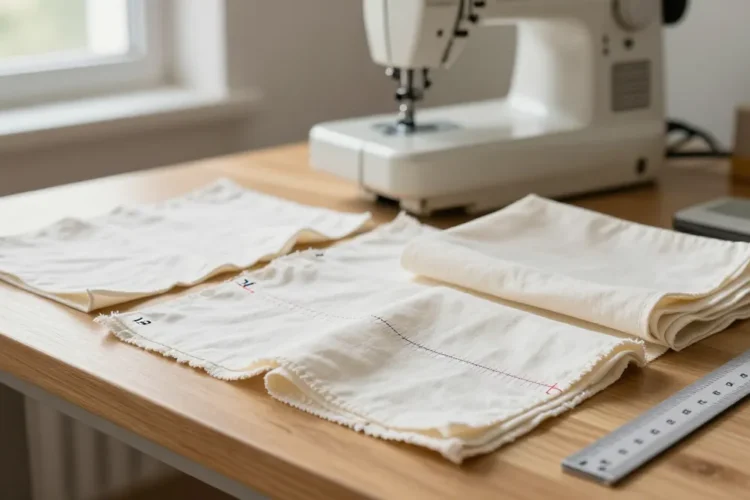
The moment you slip on fabric and watch your seam line wander off like a distracted GPS, you know you’re not just sewing — you’re steering. Let’s get your stitches behaving: we’re talking 5 types of seam allowances and killer tricks to keep those lines straight. No fluff, just practical wisdom you can actually use.
1. The Classic 5: Common Seam Allowances and When to Use Them
Seam allowances aren’t one-size-fits-all. Different fabrics, garments, and even the mood you’re in call for varying widths. Here are the five workhorses you’ll reach for most.
- 1/4 inch (6 mm) — The tiny-but-mighty choice for knit fabrics and light seams. It’s forgiving and keeps bulk down on hems and jersey projects.
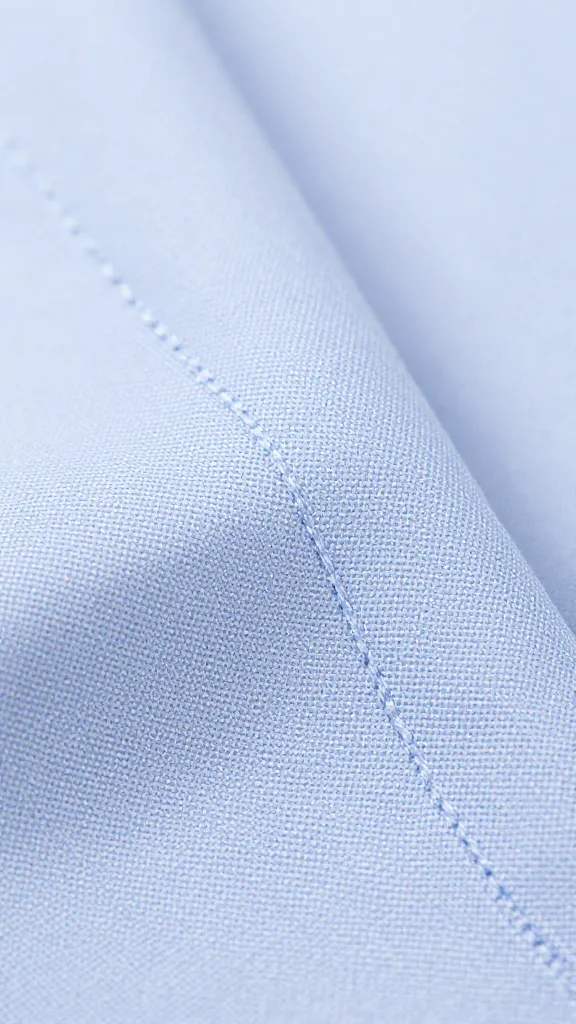
- 3/8 inch (10 mm) — The crowd-pleaser for woven seams that want a bit more room without feeling bulky. Great for shirts and dresses that fold nicely.
- 1/2 inch (12 mm) — The go-to for adventurous fabrics or heavy-duty seams. You’ll feel the difference with topstitching, too.
- 5/8 inch (16 mm) — The classic for home decor, canvas, and outerwear where you need heft and durability.
- 1 inch (2.5 cm) or more — Special projects, heavy fabrics, or wide hems. Also handy for edge finishing on some quilts.
Why these matter? Uneven fabric edges, thread tension, and fabric stretch all fight you. Pick a seam allowance that matches the fabric’s behavior so your finished piece lays right and doesn’t puff or gape.
2. How to Choose the Right Seam Allowance on the Fly
Not every project deserves the same width. Here’s a quick cheat sheet so you don’t have to pause Reddit to remember.
- Lightweight woven — 1/4 to 3/8 inch. Keeps seams flat and minimizes bulk in delicate fabrics.
- Medium-weight woven — 3/8 to 1/2 inch. Balanced, sturdy, and friendly for most garments.
- Knits — 1/4 inch or smaller. Allows stretch and reduces the risk of wavy edges.
- Heavy fabrics (canvas, denim) — 5/8 inch or more. Strength and less fraying at the edge.
- Home decor / bags — 1/2 to 5/8 inch. A little more room for durability.
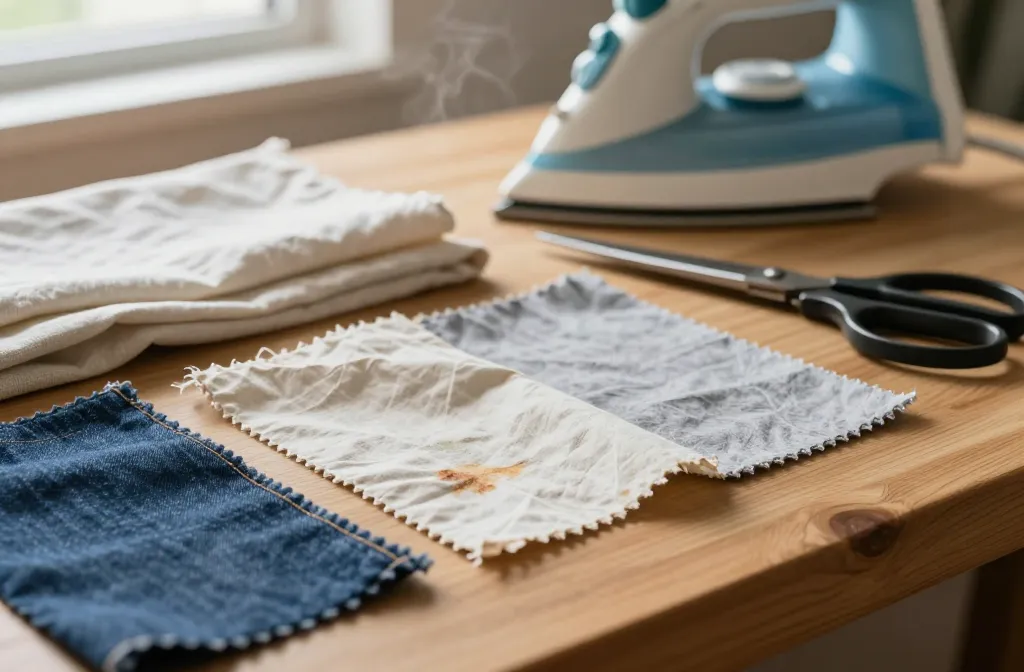
Tip: always test on a scrap first, a quick burn test (singing fiber, not actual fire) can reveal if your fabric behaves under seam pressure. If it behaves, you’re good. If it doesn’t, adjust.
3. Keeping Your Stitches Straight: The Practical Playbook
Stitching straight isn’t magic — it’s a plan. Let’s break it down into doable steps.
3.1 Use a Guiding Tool
– Mark a line with tailor’s chalk or a fabric pen and use that as your guide.
– Align your raw edge with the edge of your presser foot or a travel guide on your machine.
– Consider a seam guide or a magnetic guide on your machine if you jump between projects often.
3.2 Line Up the Fabric, Not Just the Needle
– Position the fabric so the edge sits evenly along the guide.
– Feed evenly; don’t push or pull. Let the machine do the work.
– If your fabric drifts, increase stitch length just a touch to help the feed dogs grab evenly.
3.3 Slow and Steady Wins the Race
– Dial down your speed for the first few inches. Once your fabric bites and tracks well, you can speed up slightly.
– Short, deliberate stitches help you maintain a straight line and reduce wobble.
3.4 Use a Walking Foot or Even Feed Foot
– These babies help feed top and bottom layers together, reducing shifting and curling.
– If you don’t have one, add tissue paper or tissue with spray starch under the fabric for a moment to tame it.
4. Tackling Common Straight-Line Struggles
We’ve all been there: the seam veers, the fabric curls, and your inner critic starts narrating in all-caps. Here are fixes that actually work.
- Edge curling with woven fabrics—use a seam guide and press a light crease along the line. Baste first if you’re unsure.
- Fabric slip—sandwich tissue under the fabric to reduce friction, especially on slippery silks and satins. Remove the tissue after the seam is sewn.
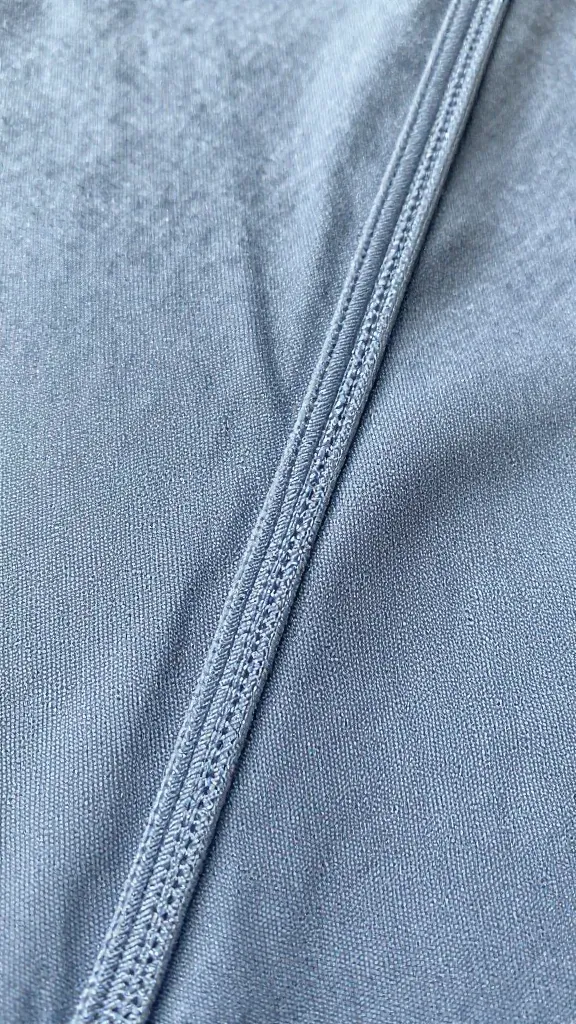
- Stretchy fabrics—use a stretch stitch or zigzag and maintain gentle tension. If possible, use a walking foot to prevent waves.
- Fabric drift—mark both sides of the seam allowance line and align before you sew. A skim of water-soluble marker can be your friend here.
5. Taming Edge Finishes for Clean, Straight Seams
Seam allowance is one thing; how you finish the edge matters just as much for a crisp result.
5.1 Finishing Without Bulk
– For light fabrics, a simple zigzag or serpentine stitch works.
– A narrow overcast stitch or pinking shears can keep the edge from fraying without eating your seam line.
5.2 Bound and Boundless Finishes
– Bound seams (bias binding) hide the raw edge and keep it tidy.
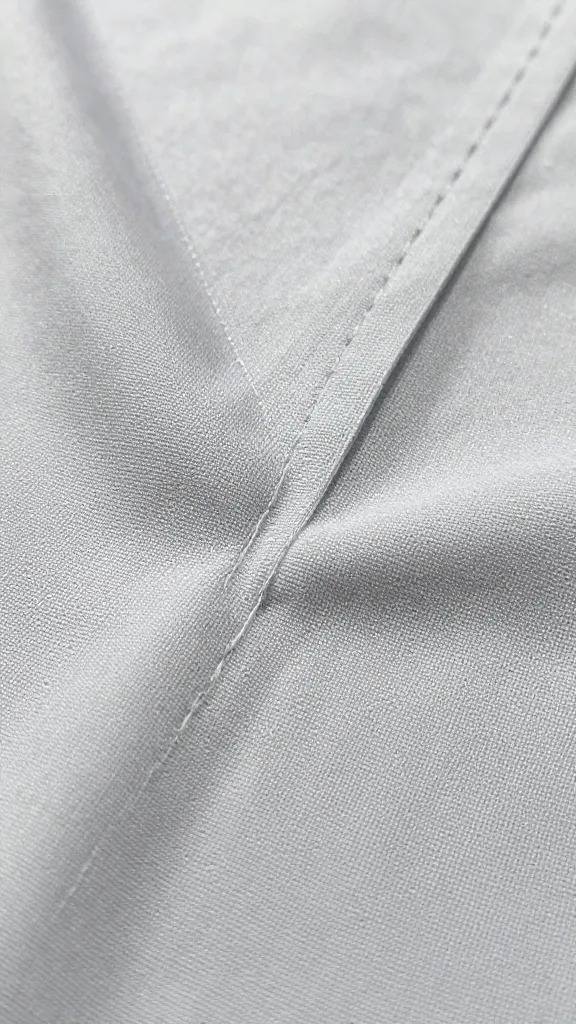
– Enclosing the seam with a French seam gives you a nearly invisible finish on light fabrics.
5.3 Topstitching as a Cosmetic and Functional Tool
– Topstitch close to the seam line can help flatten the seam and add a designer touch.
– Use it sparingly on knits to avoid distortion.
6. Tools That Make a Real Difference
Some gear turns a good seam into a great one. Here are a few you might want to consider.
- Quality sewing machine with stable stitch quality and adjustable stitch length.
- Walking foot for slippery or layered fabrics.
- Seam guides on the machine or a magnetic guide for quick alignment.
- Fabric markers that wipe away cleanly for temporary lines.
- Rotary cutter and mat for precise edge work if you’re cutting on a roll.
7. Practice Projects to Build Confidence
Practice is your best teacher. Try these quick exercises to nail seams and line control.
- Cube a scrap stack: sew a bunch of 1/4 inch seams on different fabrics. Note which fabrics track best and where you need to slow down.
- Make a simple pencil pouch: this has multiple seams of the same width and a predictable outcome.
- Try a tiny project with a walking foot: a tote bag or a simple pillow cover helps you feel the difference in feed without wasting fabric.
Common Question
How do I know which seam allowance to choose for a pattern?
Pattern recommendations are usually based on fabric type and garment design. If it leaves you guessing, start with 1/2 inch for woven garments and 1/4 inch for knits. Always test on scraps before you commit to the real fabric.
What if my stitches aren’t straight even with guides?
Check your needle alignment, ensure the presser foot is aligned, and confirm your fabric isn’t slipping. Try reducing speed, using a walking foot, and marking a stricter line to follow. It’s often a combination of tension, feed, and mental focus.
Does a walking foot really help with straight seams?
Yes, especially with slippery or layered fabrics. It helps the top and bottom layers advance at the same pace, reducing drift. If you’re new to it, practice on a scrap first to feel the difference.
How can I prevent fraying along seam allowances?
Finish the edges with a zigzag stitch, overlock/serger, or bind the seam. For delicate fabrics, consider pinking shears or a narrow seam finish to minimize bulk and fray risk.
Conclusion
Stitching straight and choosing the right seam allowance isn’t a secret club. It’s about reading your fabric, setting up a tiny plan, and practicing with intention. Start with the fabric in front of you, pick a seam width that respects its personality, and keep a guiding line visible. Before you know it, your seams will look so confident that even your bobbin will roll its eyes in approval, the more you sew, the better your eye gets at spotting drift before it becomes a problem. Happy sewing, friend — may your seams stay true and your fabric stay friendly.
0 Comments