I’ll admit it: sewing straight is a tiny superpower. It feels like magic when the seam lines up, and you don’t have to pretend your machine ate your fabric. Let’s cut to the chase with three simple tips that actually work, no mystic ritual required.
Tip 1: Nail the fabric and the needle’s alignment
Ever start a project and wonder why every line looks wobbly? Mystery solved: alignment. Your fabric and needle need to be coachable, not dramatic.
– Start with clean, ironed fabric. A smooth surface makes a huge difference.
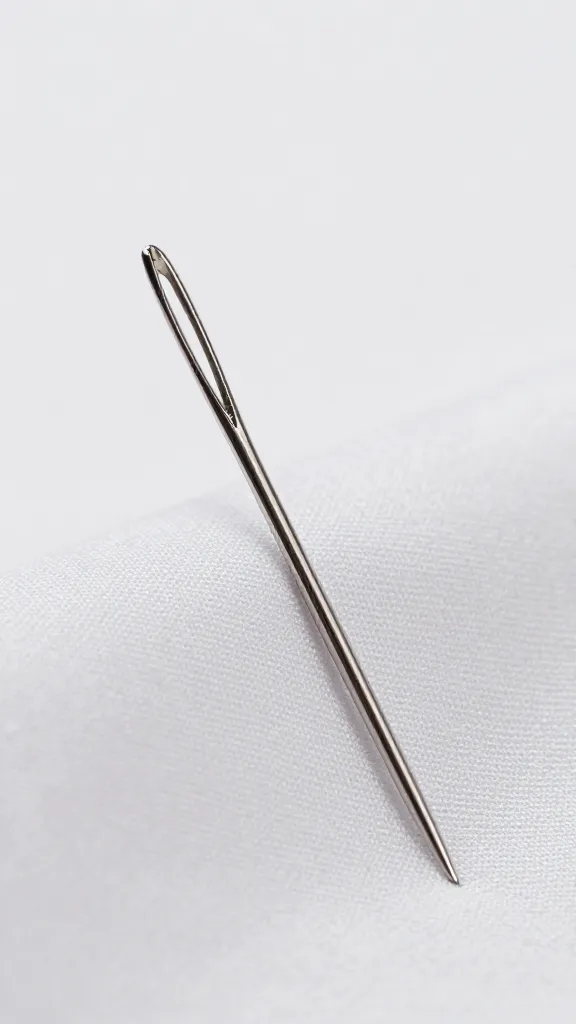
– Use the right needle for your fabric. A sharp needle for woven cotton, a ballpoint for knits, and a microtex / loafer for delicate fabrics.
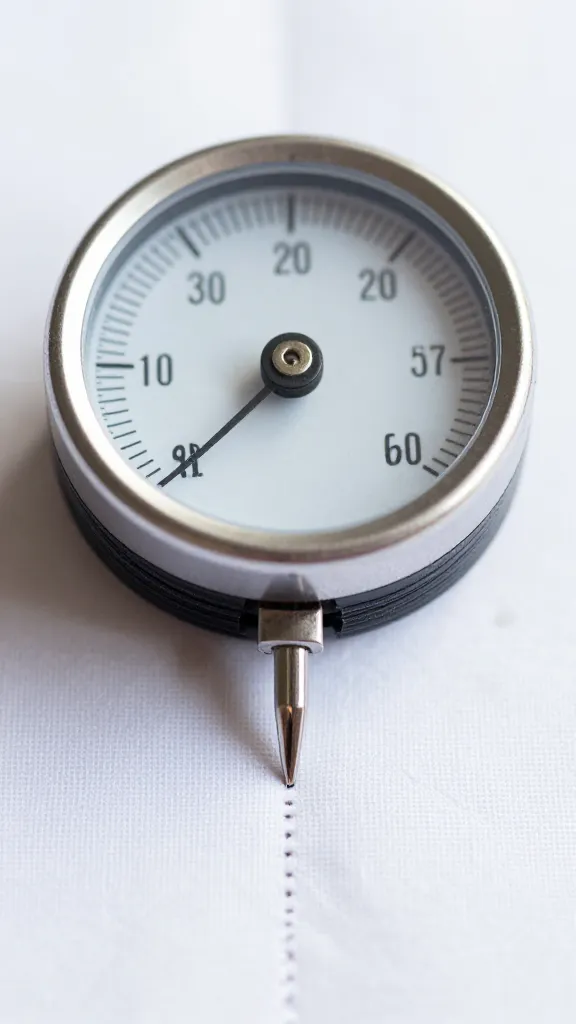
– Thread tension matters. If your stitches look like a staircase, you’re fighting the machine. Try a tiny adjustment on tension, then test on scrap.
Quick tension test
Do a quick test before you commit to the whole project. Sew a short line on scrap fabric, then flip it and check the back. If the stitches look balanced on both sides, you’re good. If not, tweak a notch and re-test. FYI, small tweaks make big differences.
Tip 2: Use guides, not guesswork

Guides are your friends. They’re like the training wheels that stay on just long enough to learn the balance.
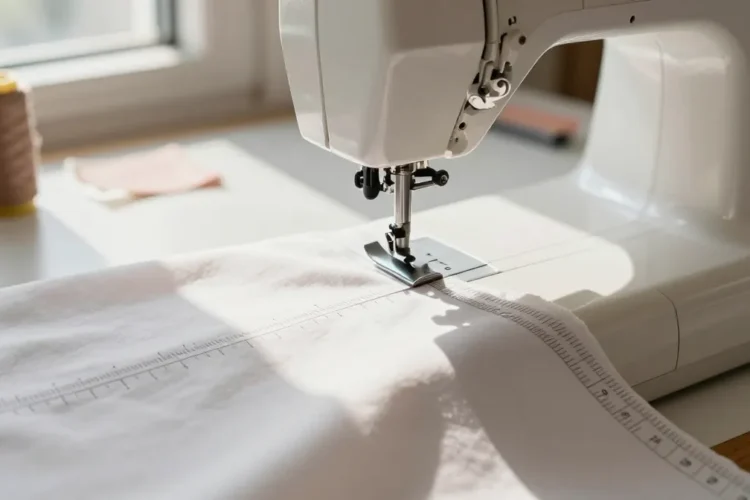
– Stick to a consistent seam allowance. If you’re you’re aiming for 1/4 inch, use your machine’s guide or a ruler.
– Mark your fabric, not just your brain. Chalk, erasable pens, or fine-line fabric pencils help you see where to sew.
– Align edge with the presser foot edge. It sounds obvious, but you’ll be surprised how often people sew with the edge flopping around.
Walking feet and magnets
Consider a walking foot for slippery fabrics. It helps feed layers evenly, so your edge doesn’t chain-dance away. And if you’re working on a long seam, a magnetic seam guide can save patience and a few expletives—use them wisely, though.
Tip 3: Practice with purpose, not endless doodling
Practice makes progress, not perfection, right? But you don’t want to waste fabric on aimless doodling.
– Do focused practice swatches. Pick one seam type (center, French, topstitch) and repeat 10-15 times.
– Vary your fabrics. Cotton behaves differently than wool or jersey. Get a feel for how each one feeds through your machine.
– Stop and inspect. If your line veers, stop early, fix your grip, and re-seat the fabric. No heroic bravery here—precision helps you sleep at night.
Fast-track drill
Create a tiny “seam sampler” page with 3-4 swatches. Label them: straight, slight curve, and corner. When you’re on a deadline, you can glance at your cheat sheet and stay honest with your stitches.
Mindset shift: get comfy with the seam as a guide, not a threat
The mental game matters almost as much as the foot pedal. If you’re tense, your hands betray you.
– Slow down. Speed isn’t your friend when you’re learning to control fabric. Think deliberate, not speedy.
– Breathe. Yes, really. A slow breath helps your hands relax and follow the fabric.
– Build a routine. Pin, baste, align, sew, press. A predictable flow reduces mistakes and boosts straightness.
Basting as a straightener
Basting detaches your fear from the final seam. A quick basting stitch holds layers together and gives you a chance to adjust without ruining the fabric. Then you can sew with confidence.
Gear and tricks that actually keep you honest
The right tools make straight seams feel almost effortless.
– Pin long edges. Pins every 2-3 inches on long seams keep fabric from slipping.
– Use a walking foot or a non-slip pad on slippery fabrics. Your fabric won’t stage a getaway if you’ve got the right grip.
– Press with purpose. A crisp seam starts with pressing. Set the iron to the fabric’s recommended heat and press, don’t iron, for goodness sake.
Finishing touches that help
– Backstitch at the start and end of each seam to lock stitches. It’s not sexy, but it works.
– Clip threads regularly. A little trim prevents unraveling that makes a seam look crooked.
– Press, don’t iron. A quick, steady press helps seams lie flat and straight.
Common stumbling blocks and how to beat them
We all hit the same potholes. Here’s how to dodge them.
– Fabric shifts during sewing: Use pins, clips, or a fabric glue stick to hold layers in place. A touch of starch can also help, but don’t go overboard on stiff fabrics.
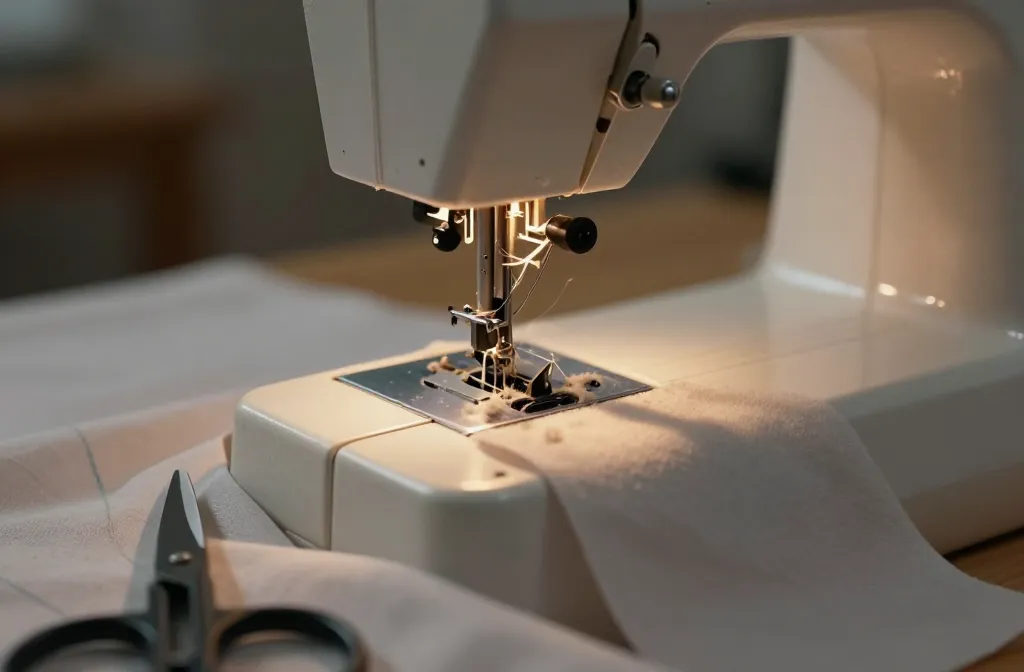
– Uneven feed from the bottom bobbin: Re-thread, check the bobbin tension, and clean lint out of the bobbin area. It’s not glamorous, but it fixes a lot.
– Needle strikes end-of-fabric drama: Slow down as you approach the edge, and consider using a shorter stitch length to keep control.
Common Questions
Why do my seams still look crooked even after following tips?
Streaks of crookedness often come from fabric shifting or inconsistent seam allowances. Recheck your pinning, ensure your fabric edge stays aligned with the guide, and test on scrap after any adjustment. Small, deliberate tweaks beat big, frustrated decisions.
Should I always use a walking foot?
No, but it helps with slippery fabrics and multiple layers. Start with a standard foot, then add a walking foot when fabric shifts are a problem. IMO, it’s a lifesaver for tricky materials but a little overkill for simple cotton.
How do I practice without wasting fabric?
Cut a few inexpensive scraps or repurpose old garments. Build a tiny seam sampler with 3-4 swatches, labeled. It’s cheap, practical, and you’ll actually learn faster.
What’s the fastest way to improve my straight seams?
Consistency wins. Practice with a fixed seam allowance, use guides, and sew at a comfortable pace. Short, focused practice sessions beat marathon sessions where you drift into the “almost there” zone.
Can I use a beginner stitch on tricky fabrics?
Yes, but test first. A basic straight stitch works for many projects, but some fabrics like heavy wool or sheer chiffon respond better to specific tensions or stitches. Always test on scrap before committing to your project.
Conclusion
Three tips, a handful of tricks, and you’re already ahead of the curve. Nail alignment, use guides, and practice with intent. Add a dash of the right gear, a calm mindset, and a habit of quick tests, and you’ll sew straighter seams without turning your living room into a sewing lab.
If you’ve got a project on the go, tell me what fabric you’re wrestling with and where your seams tend to wander. FYI, I’m rooting for you—and I’ve got your back with more tips if you need a nudge. Happy stitching!
0 Comments